Inspiration from modern Automatic Shifter designs
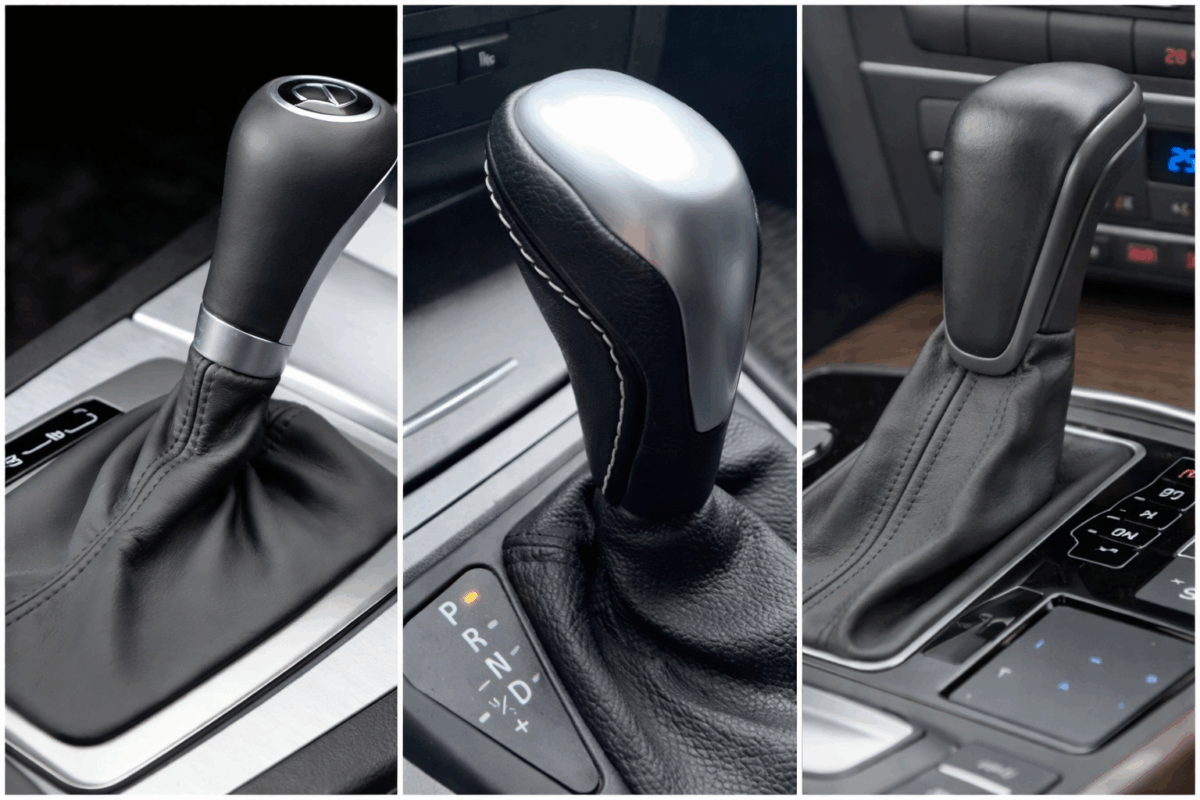
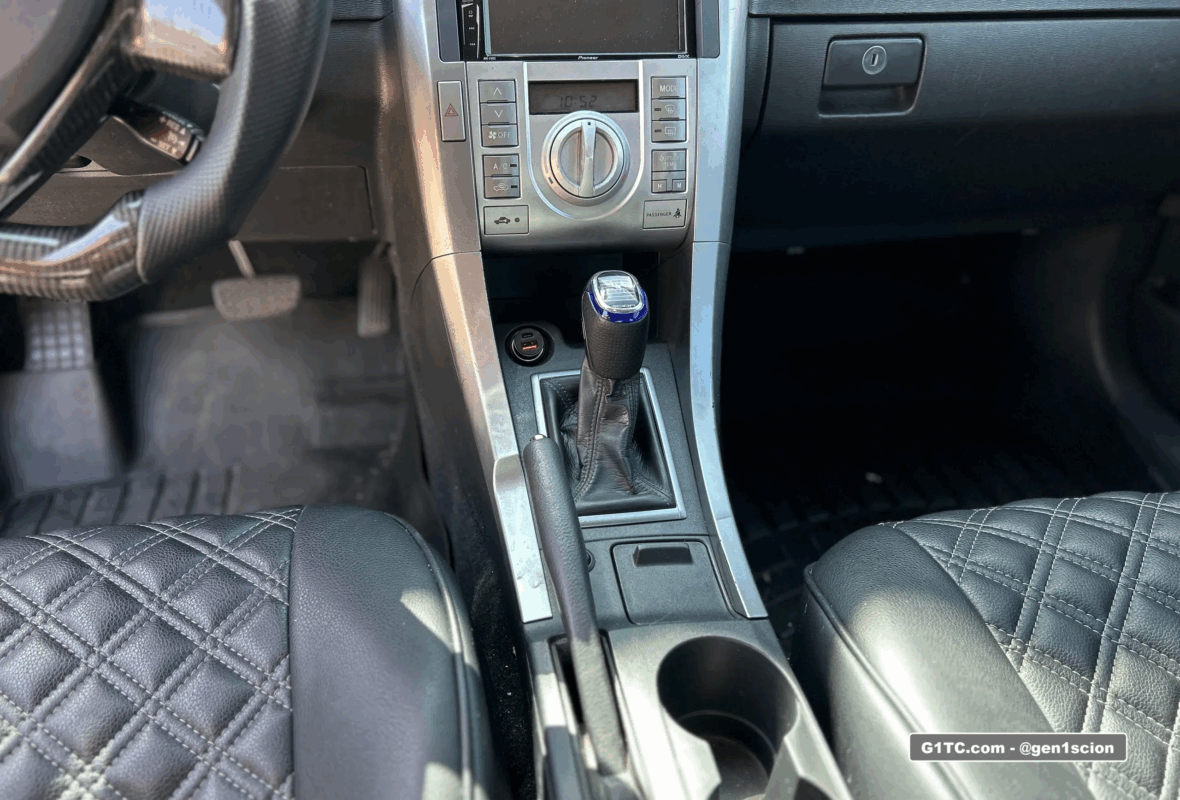
Inspired by some of the newer automatic shift knob designs, in this article I’ll show you how I cut down my shift knob, rethreaded it, added the OEM shift boot for a cleaner more refined look.
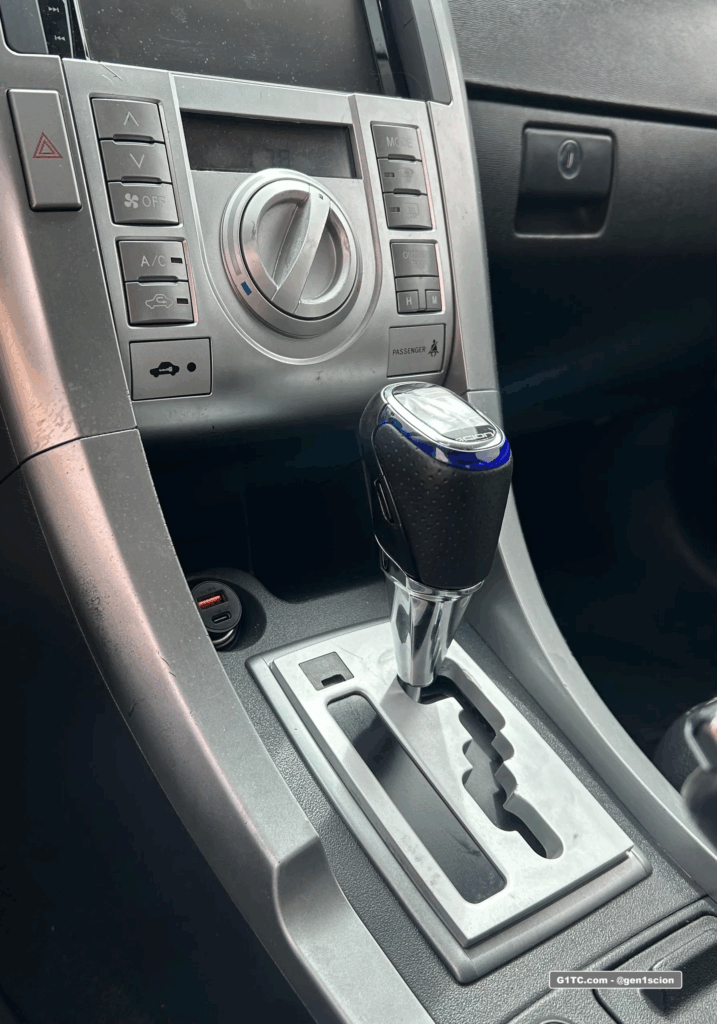
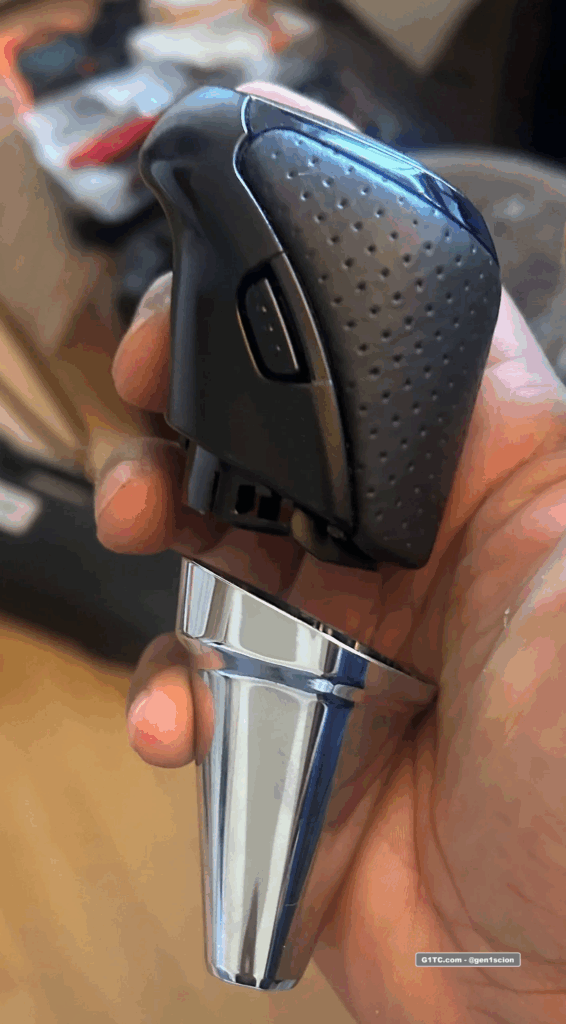
Some before and after
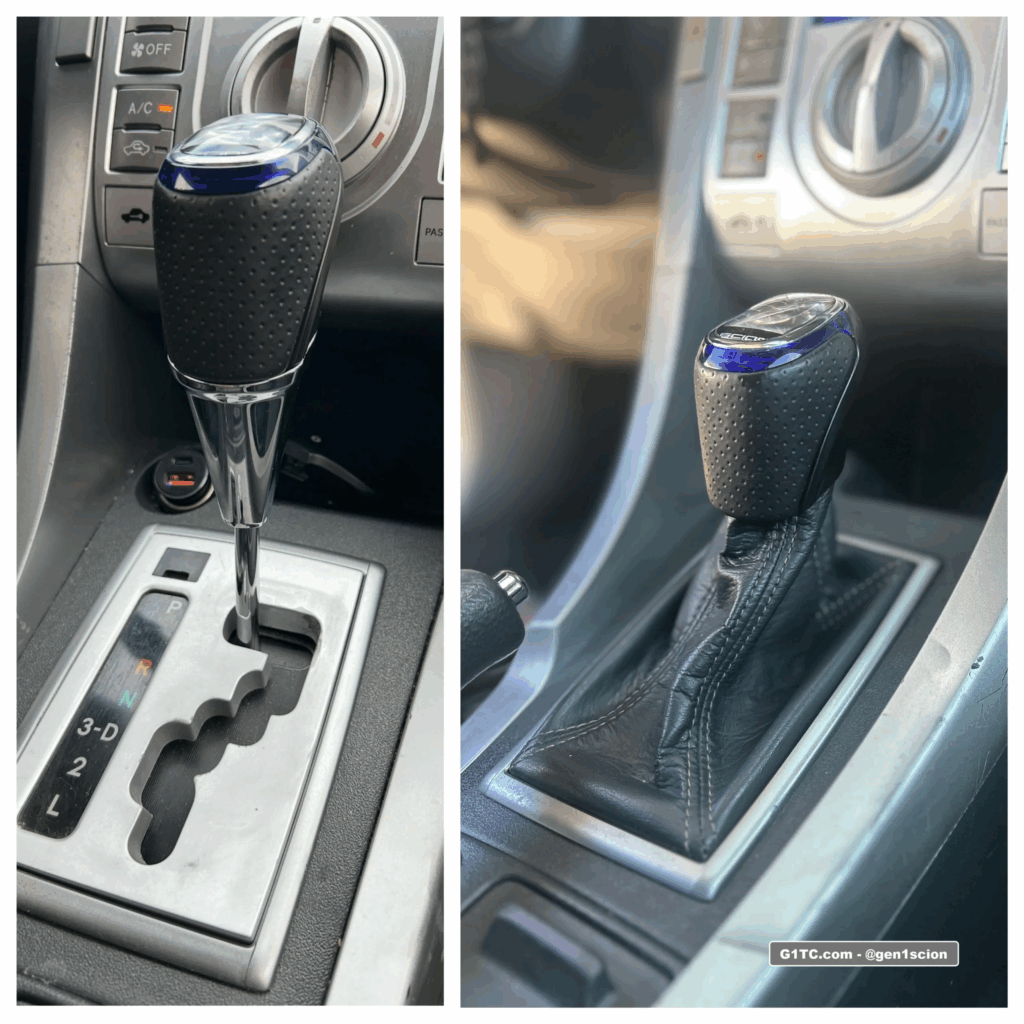

The quick summary
-
The original OEM rod thread is M8-1.25 for the automatic. I cut that entire thread off using a grinder. I started with about 1.5″ of height.
-
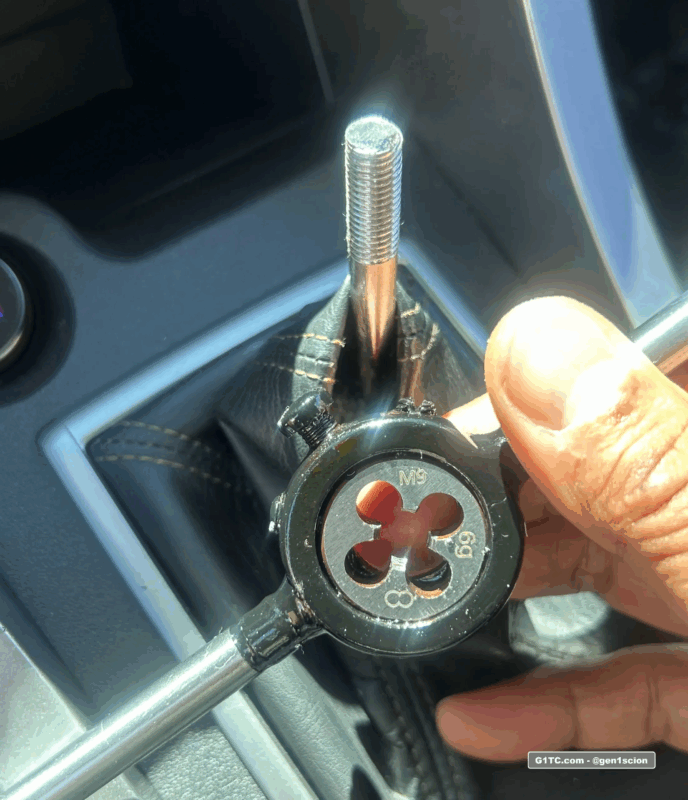
The shaft beneath that is wider. I thread that to M9x1.25. I ended up cutting another .75″ off that.
-
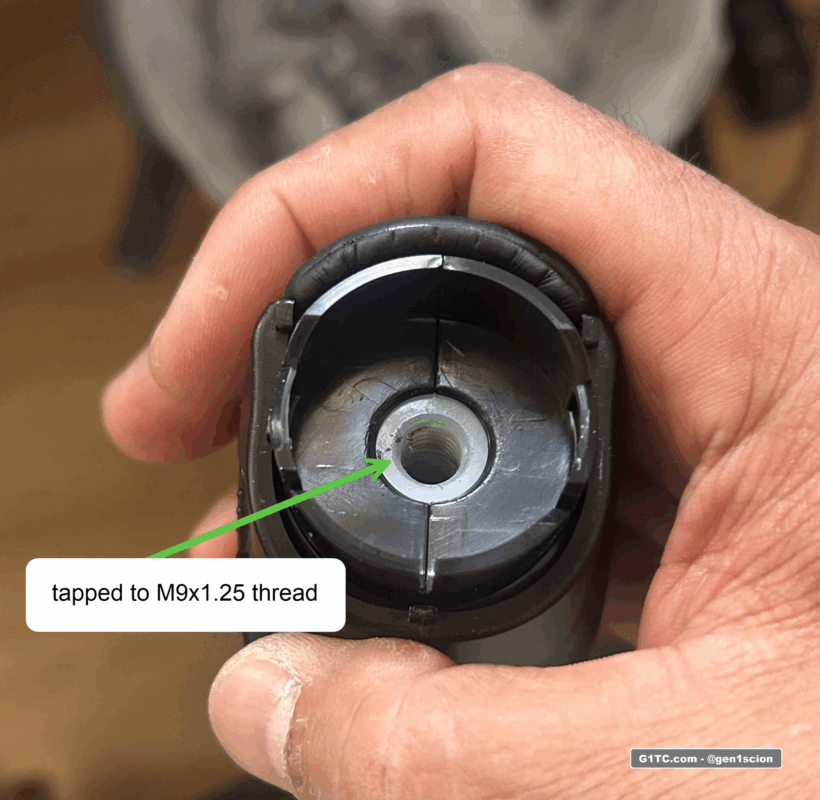
I also rethreaded the OEM Illuminated shift knob to M9x1.25
-
Total height reduction is about 2.25 inches, actual height reduction depends on how far down you thread the rod
-
I had to take apart the Illuminated knob, the chrome base and the front/back panels (they are glued together)
- I used gaffer tape to attach the leather to the knob, then reglued the panels.
Tools used
-
Gaffer tape (heavy duty and sticky)
-
Glue or adhesive (I used AISIN Gasket sealant)
-
Rubber bands (for the final glue up)
Cutting the rod down
-
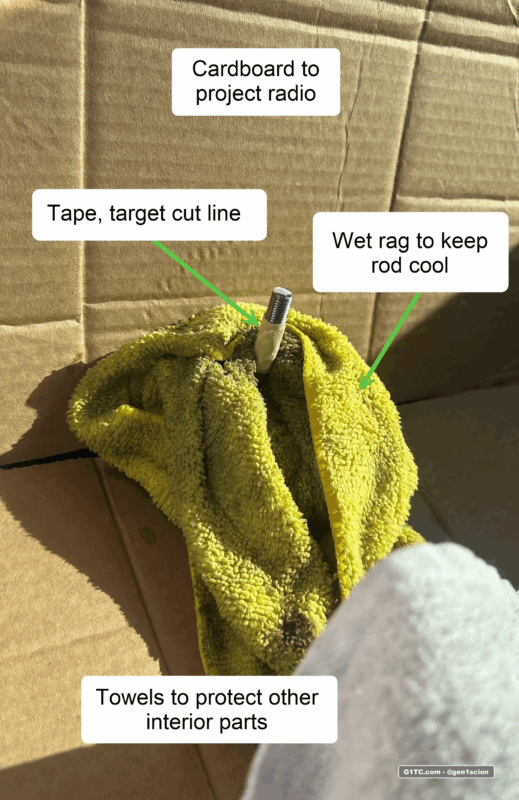
There’s no magic here, I used an angle grinder inside the car. Protect the area around it from sparks and flying metal dust.
-
IMPORTANT: If you’re not sure how low you want to go, take off little by little. I ended up taking off 1/2″ first on the original M8x1.25 thread, then the entire M8 thread off (about 1.5″). Threaded it to M9x1.25, then chopped another .75″ off that. You can always go lower, you can’t add height.
-
REALLY IMPORTANT: Get a wet rag and wrap the rod, it will get hot fast and you want to stop that as much as you can.
-
Cut fast, get it over with as soon as you can, you don’t want that rod to heat up any more than it needs to. There are parts you can’t see inside that shifter assembly that will heat up or melt. We don’t know. And we don’t want to find out the hard way.
Threading the rod
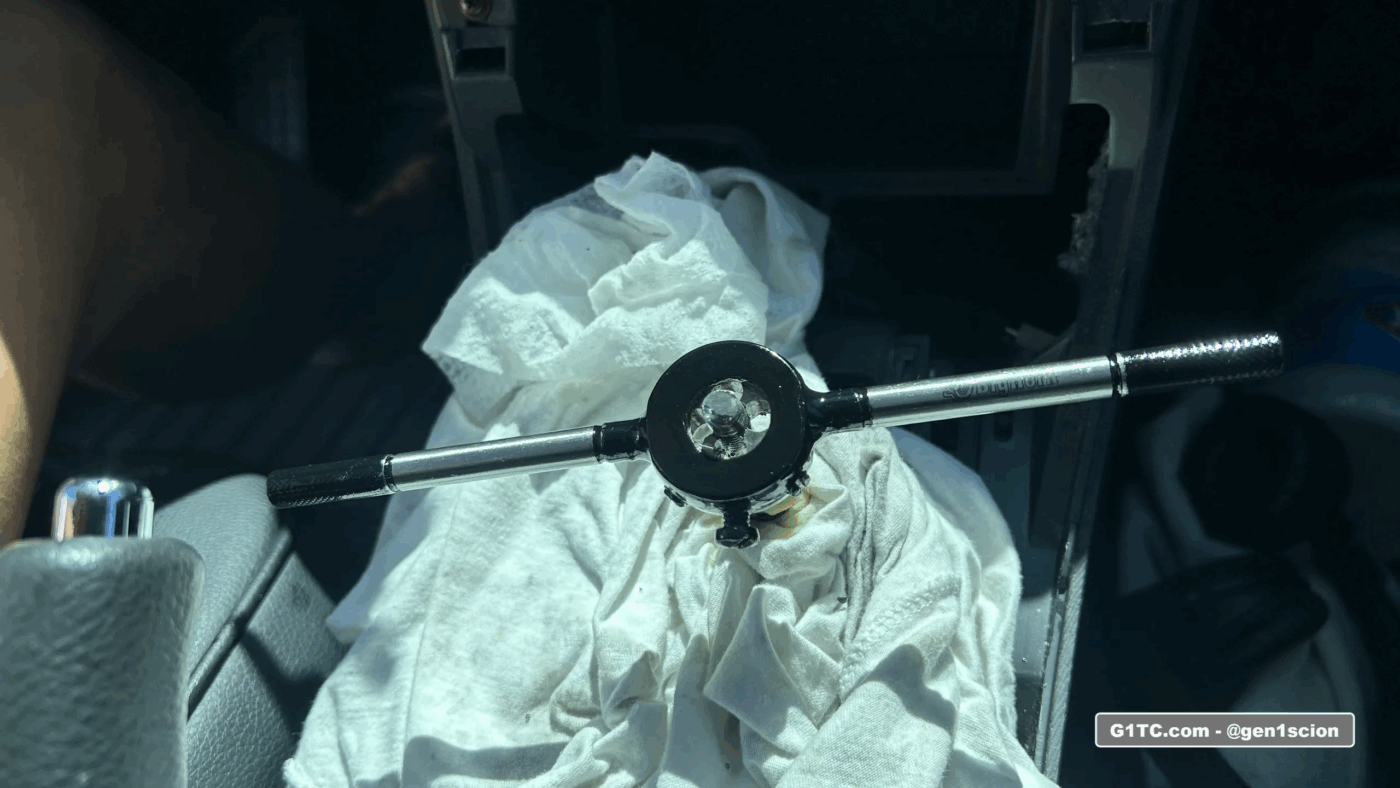
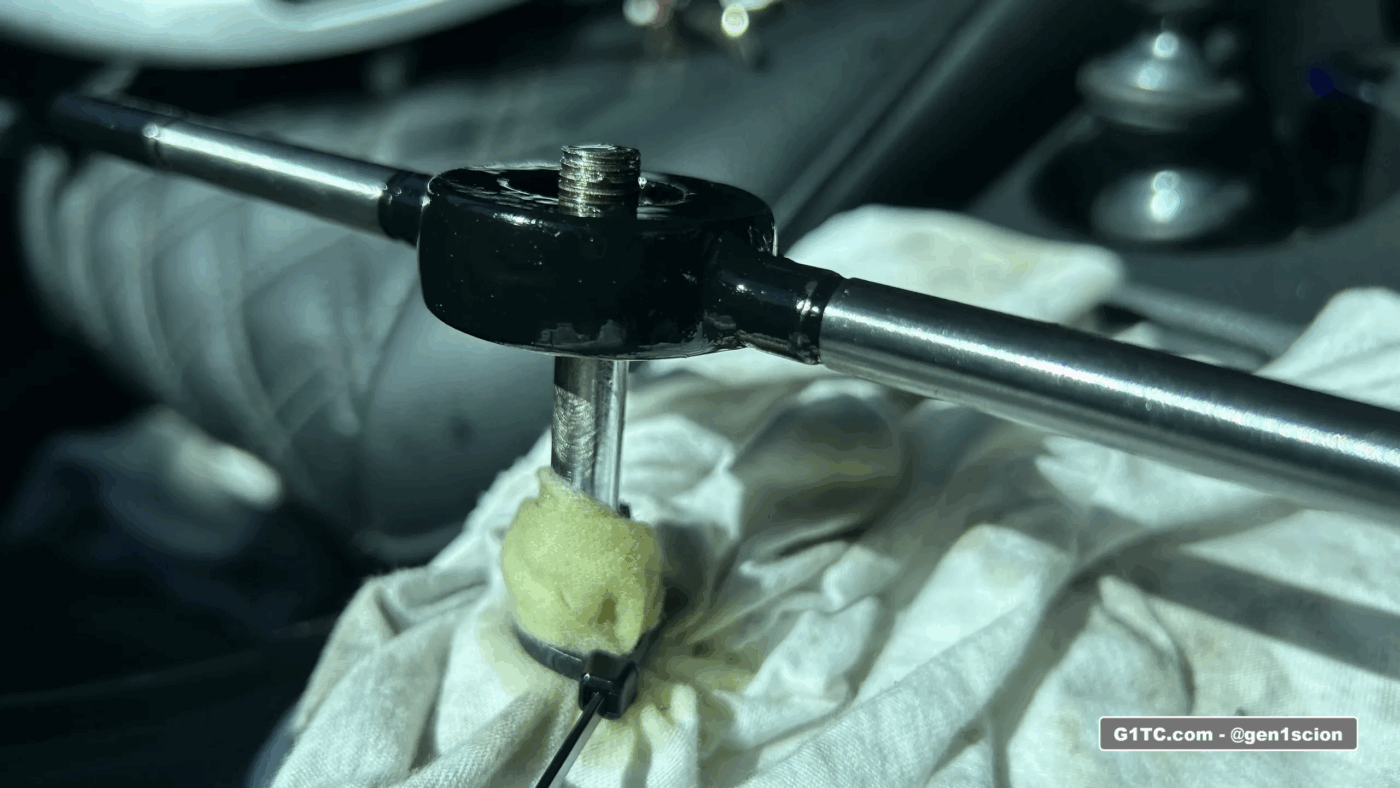
Next I thread the rod to M9x1.25. Use Tap Magic oil. For more clearance with spinning your die handle, put the car into “DRIVE” with the parking brake on.
Threading the inside of the shift knob
Now you need to thread the inside of the shift knob from M8x1.25 to M9x1.25. I didn’t have to drill out anything here. It’s plastic, I just let the M9 tap do all the cutting. It worked fine.
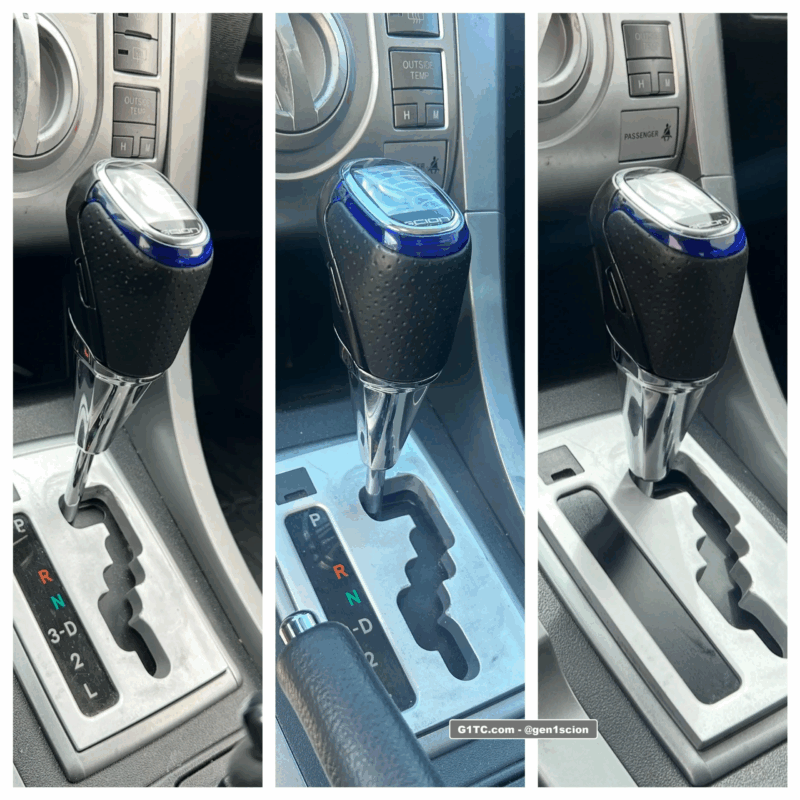
Test knob height during this stage. Stop, install the knob, put it into park and assess height. From here you can chop it down more, and thread more down. Remember you can’t add, so just take your time here assessing your final desired height.
Here were the stages of my test fit.
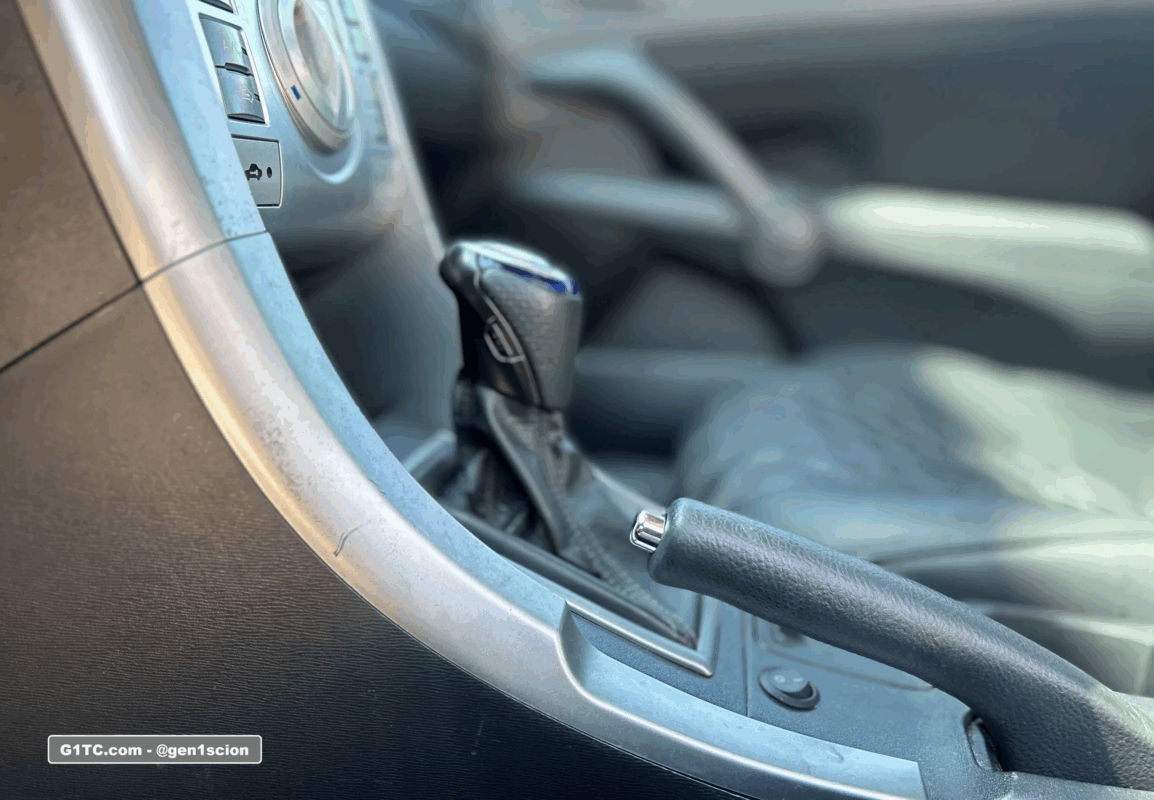
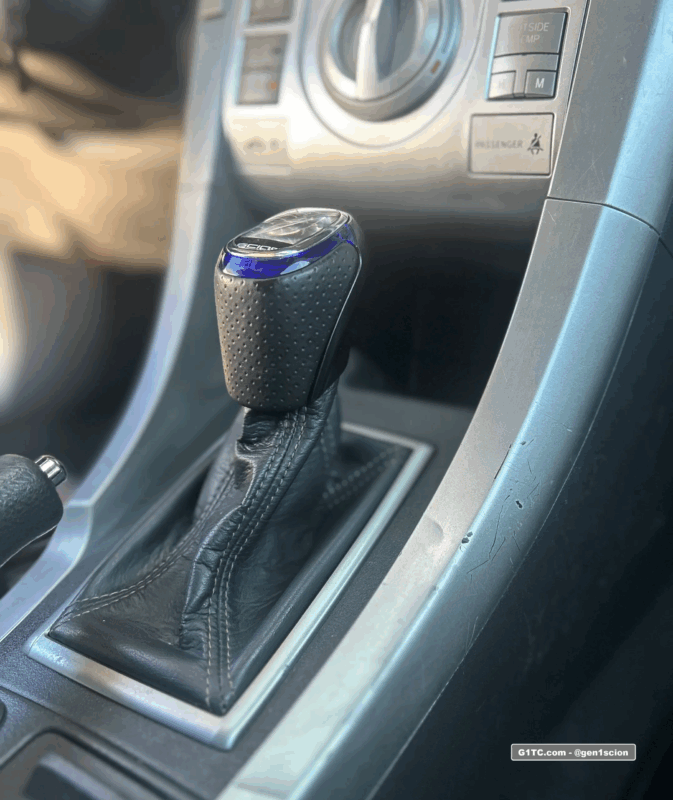
The final height
Prep for the OEM boot
You’ll have to remove these two pieces from the auto shift assembly to make room for the boot
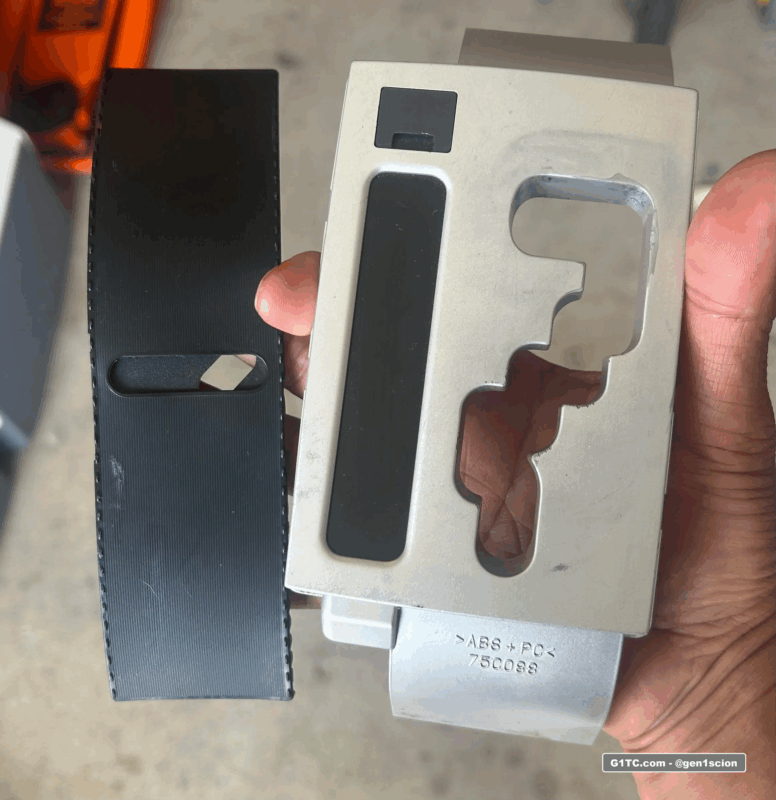

You’ll have to remove the boot collar, it’s retained with a metal clip
Disassembling the OEM Illuminated knob
I’ll show you how I modified the knob to affix the leather boot. There’s no turning back here
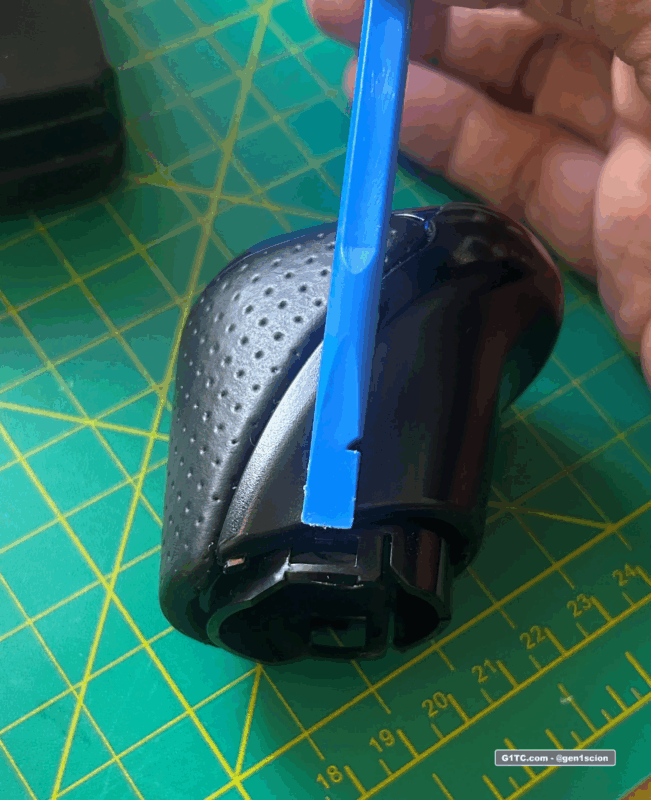
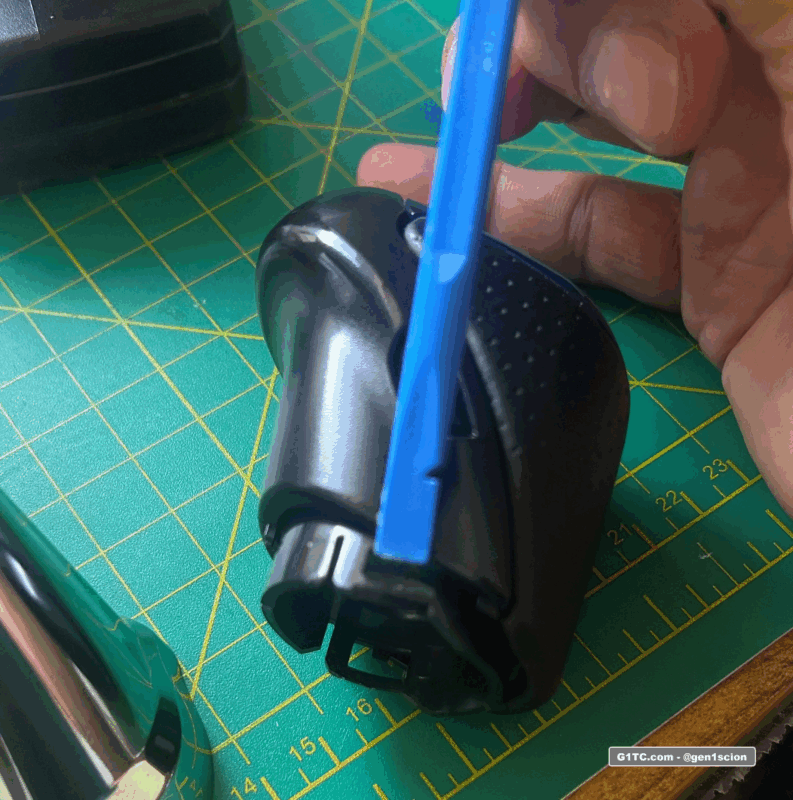
First take the chrome lower off, Here are the two clip points on the left/right sides of the knob assembly. All you have to do is shove a thin pry tool there, and it will release. These photos should help:
Now the chrome base is removed.
Now start trimming and fitting little by little
STOP. If you want to try to figure out a different way to secure the leather to the knob, now is the time.
This is how I did
-
I removed the side panels of the knob.
-
I shaved down the base of the knob, flush to the hole/threaded insert
-
I shaved the walls of the knob thinner to make clearance the leather
-
I sandwiched the leather between the side and glued the sides back on
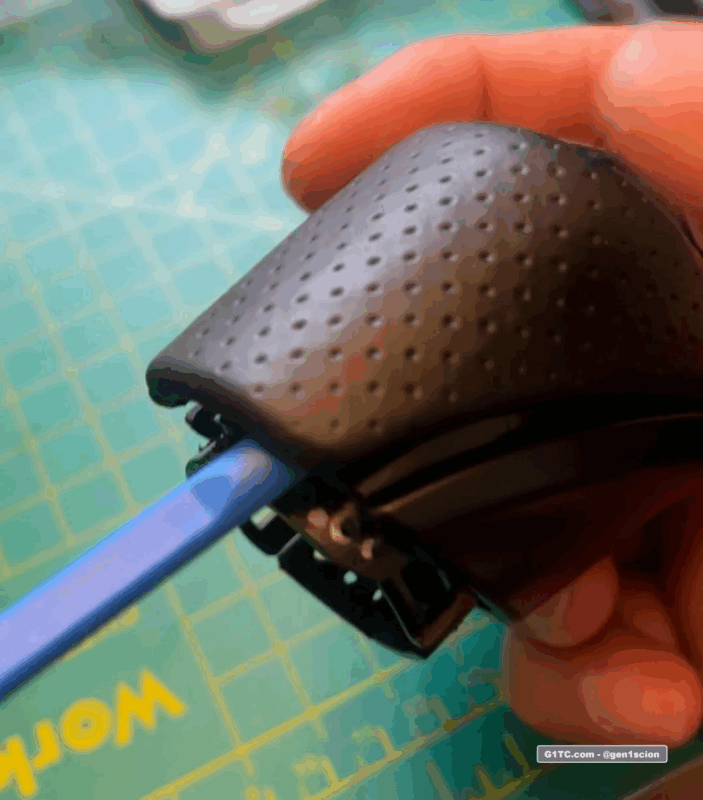
Removing the side panels
They are held in with rubber glue. Best thing to do is just shove a thin panel tool in there and SLOWLY separate it. You’ll hear the glue start to separate and eventually it will just release.
OEM illumination knob held in with glue just rip it off
Here’s the perforated leather panel (front) pried off:
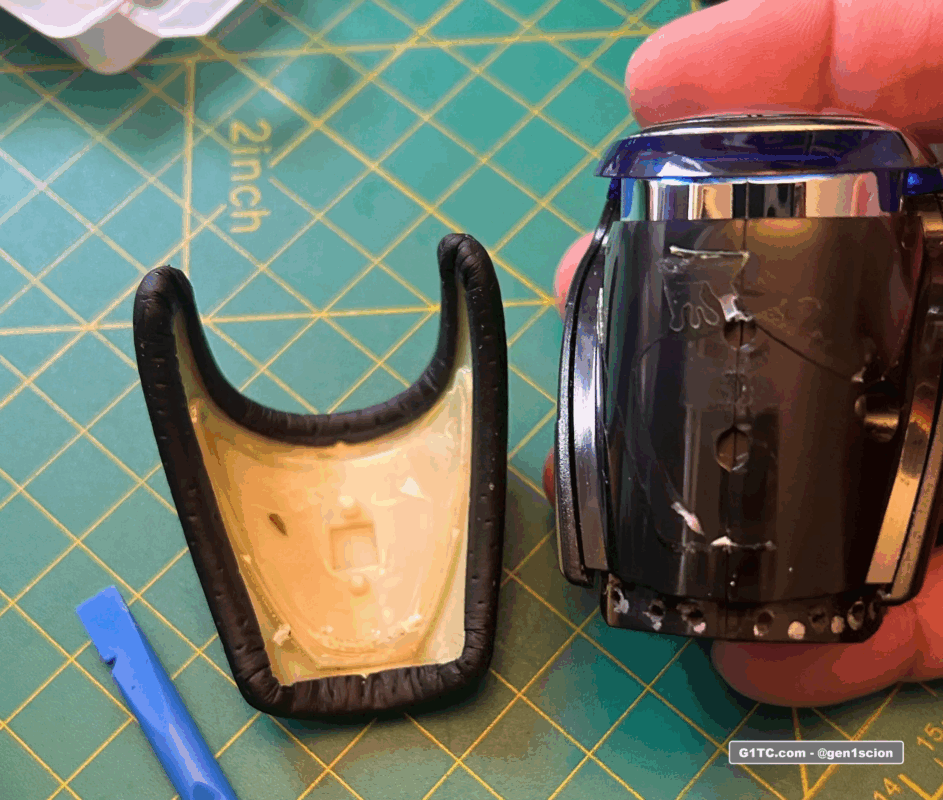
Here’s the smooth panel (rear) pried off, the panel that has the button
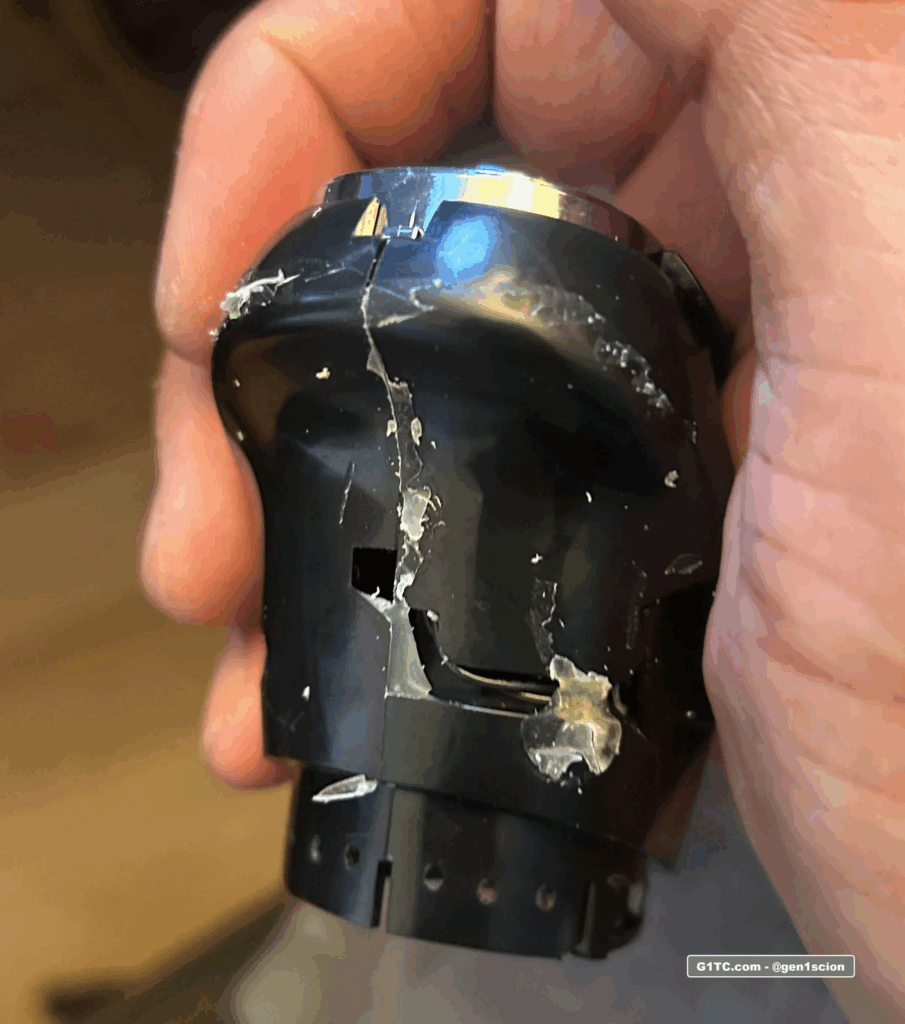
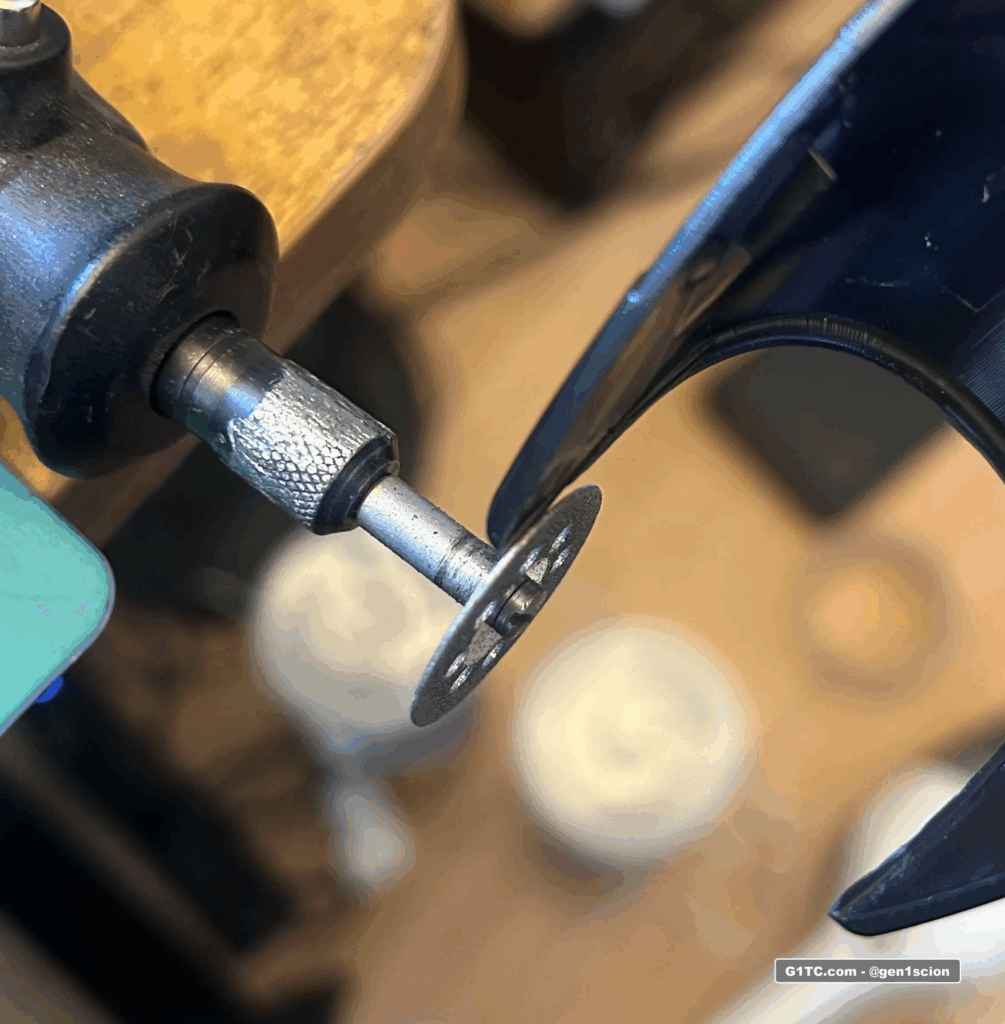
Shave the entire bottom of the knob off flush w/ the threaded hole. I used a combination of a Dremel with a cutting disc, and a coarse hand file
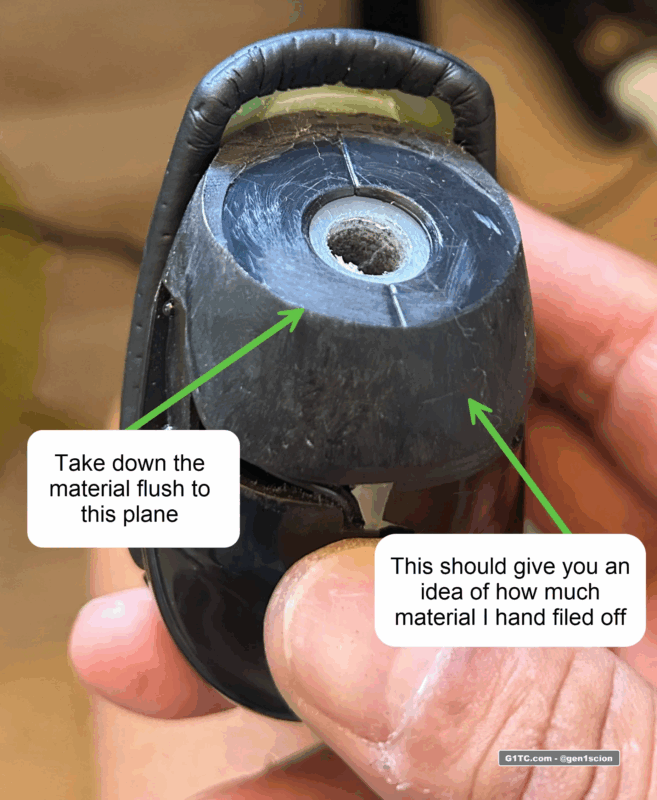
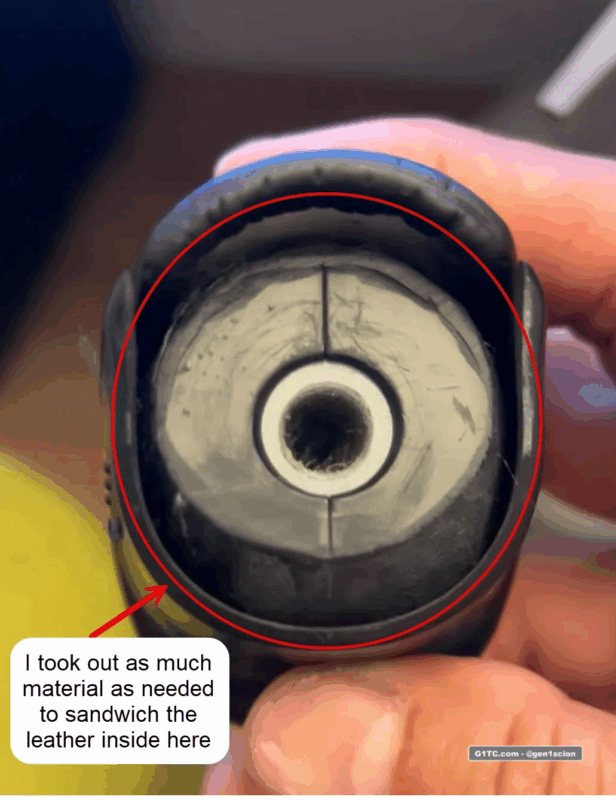
Around the circumference of the knob, I took off enough material to sandwich leather in between them.
I sanded down material off the back plate to make more clearance for the leather boot
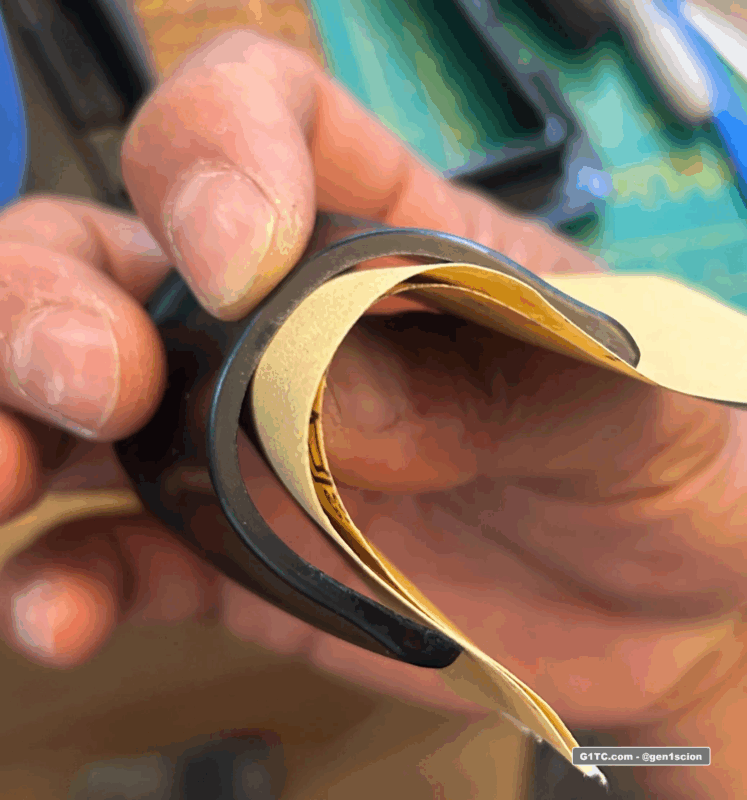
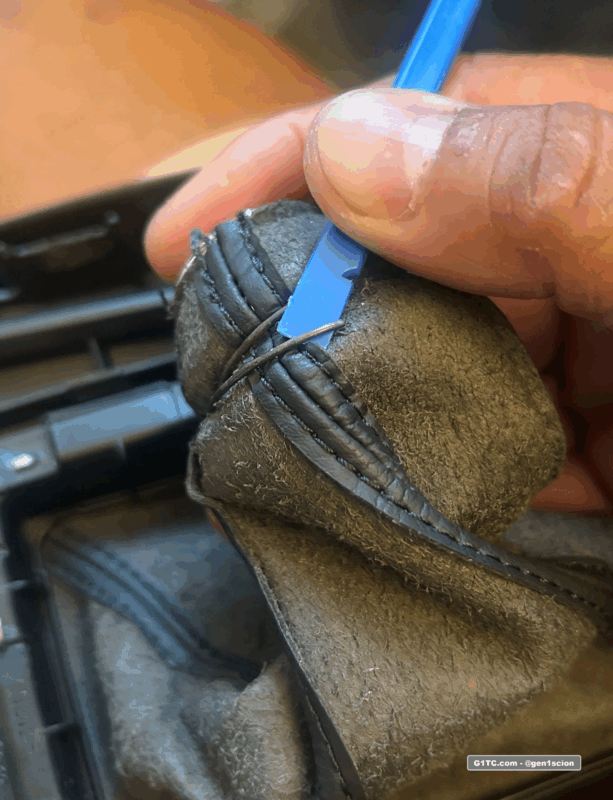
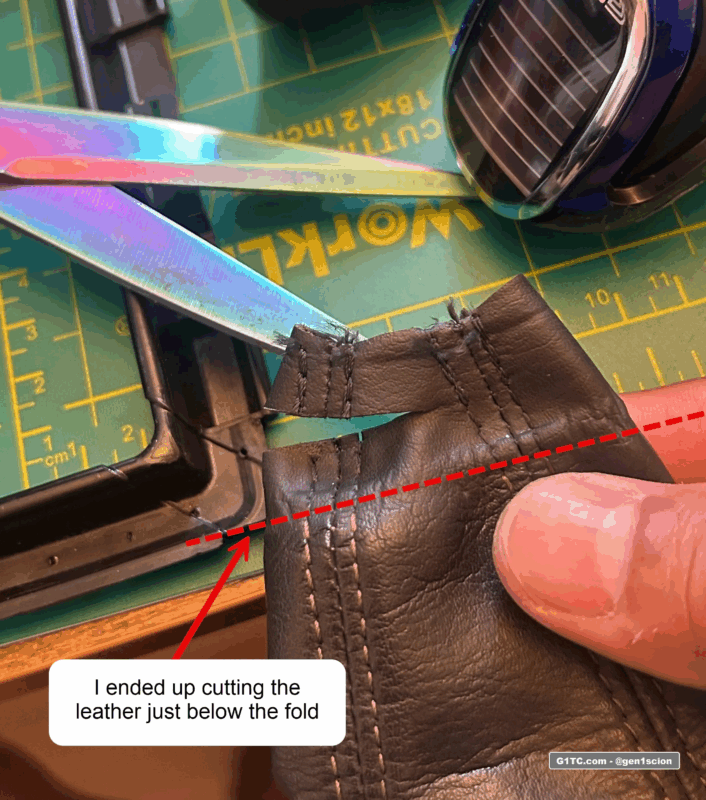
I had to trim off some of the leather boot, it will be too long since I cut down the height of the rod. In my install, I cut off about 1″ of leather, just below where it normally folds.
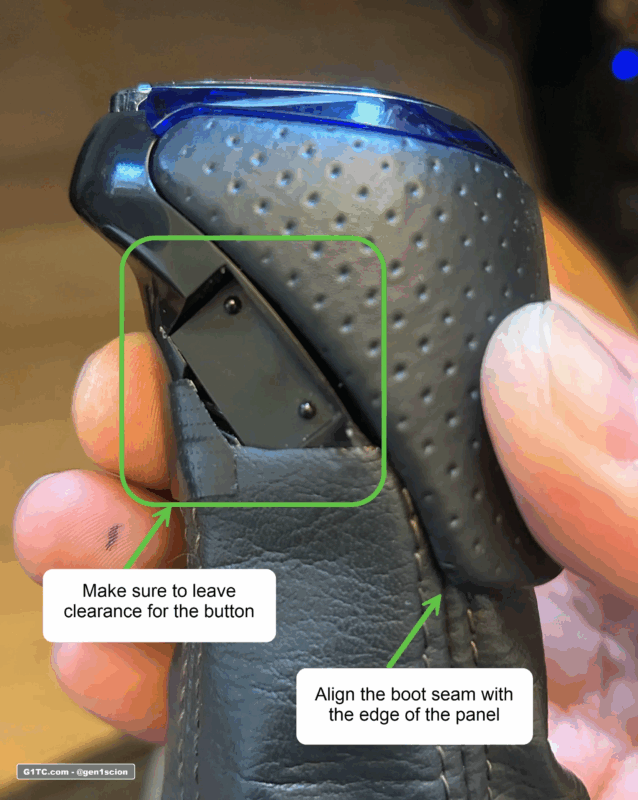
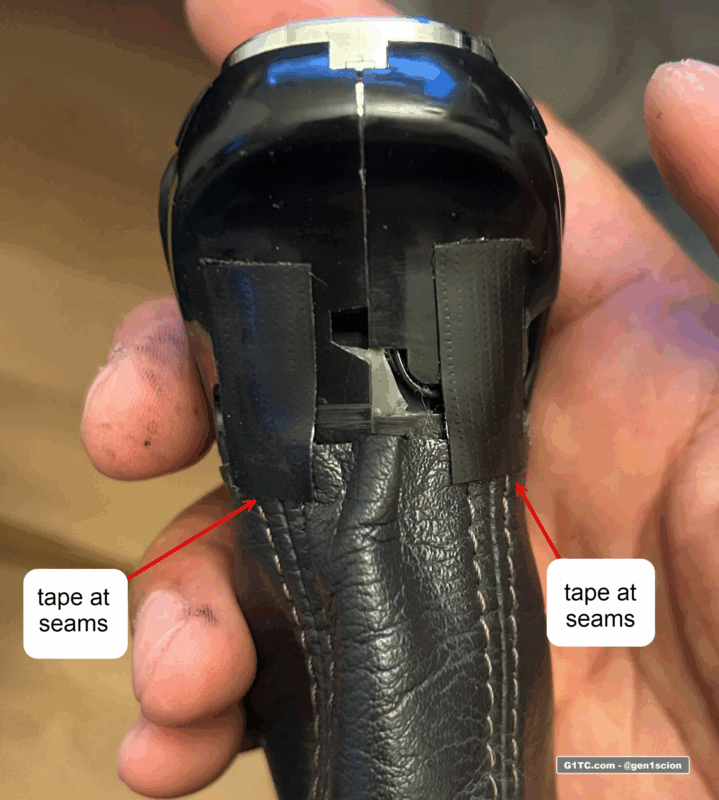
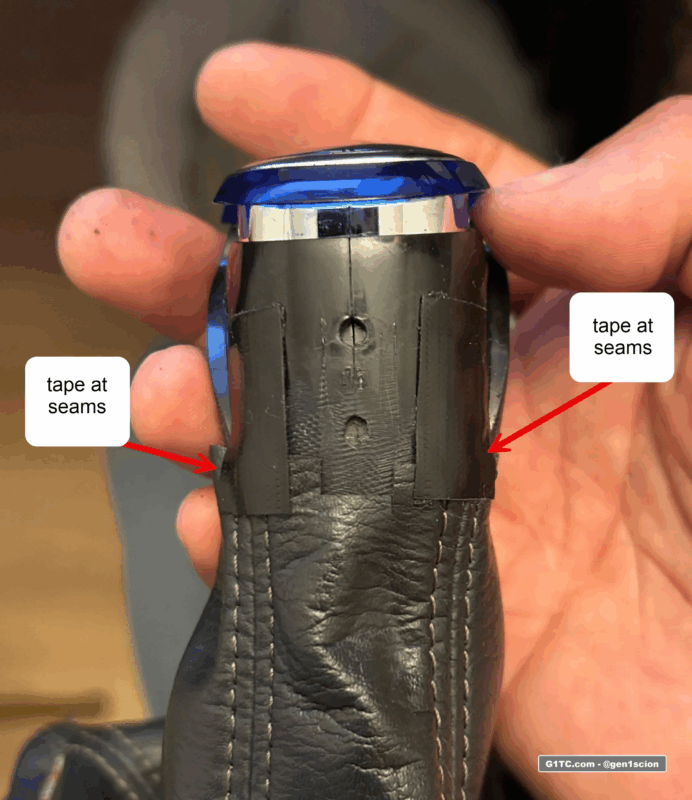
No I use Gaffing tape (really sticky) to secure the leather boot to the base of the knob. Trial and error here. Just make it fit. Remember to cut a notch for the button. Use the gaffing tape at the sewn seams so the thread doesn’t pop out.
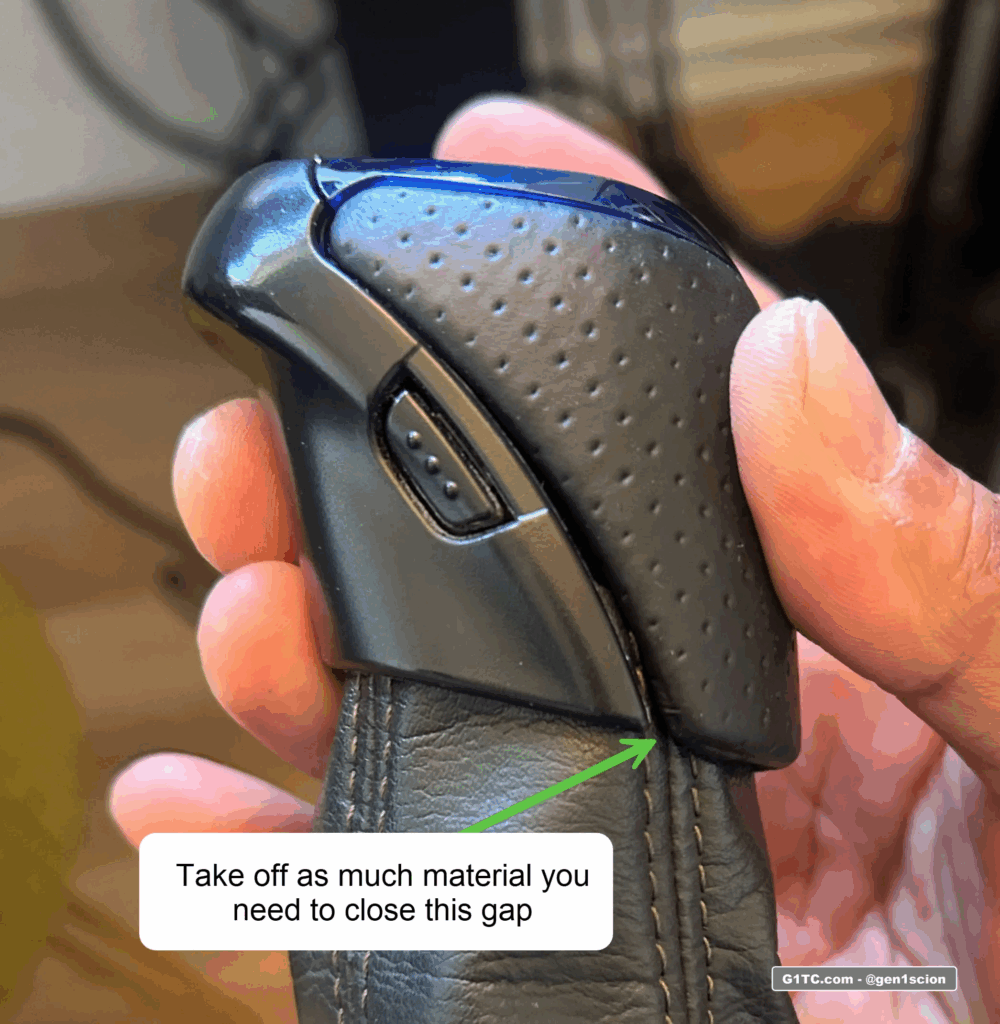
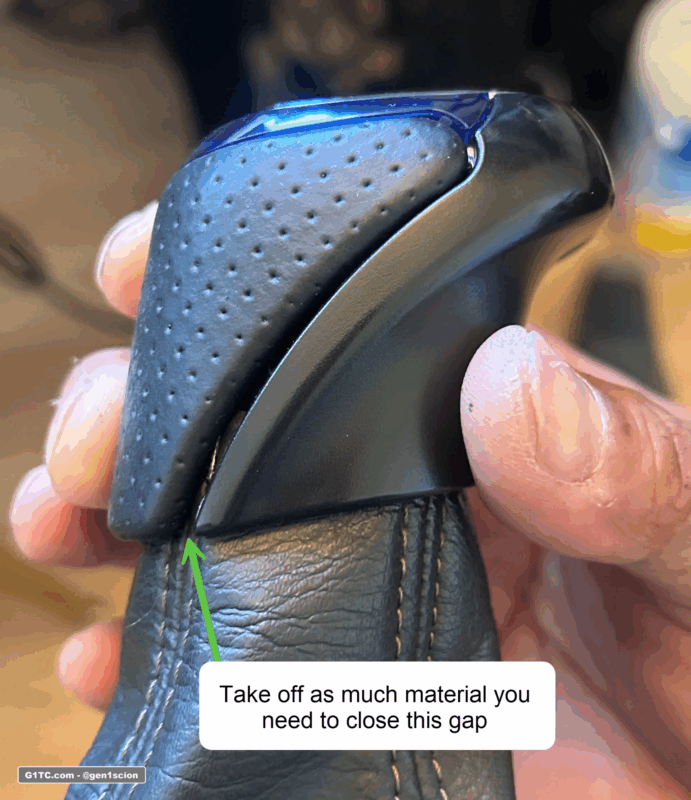
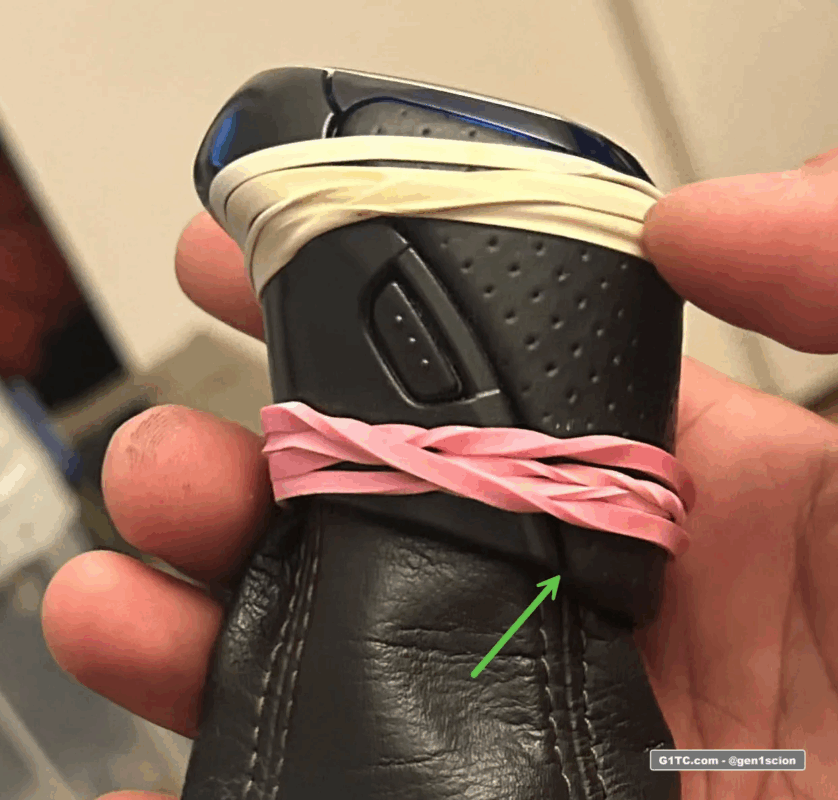
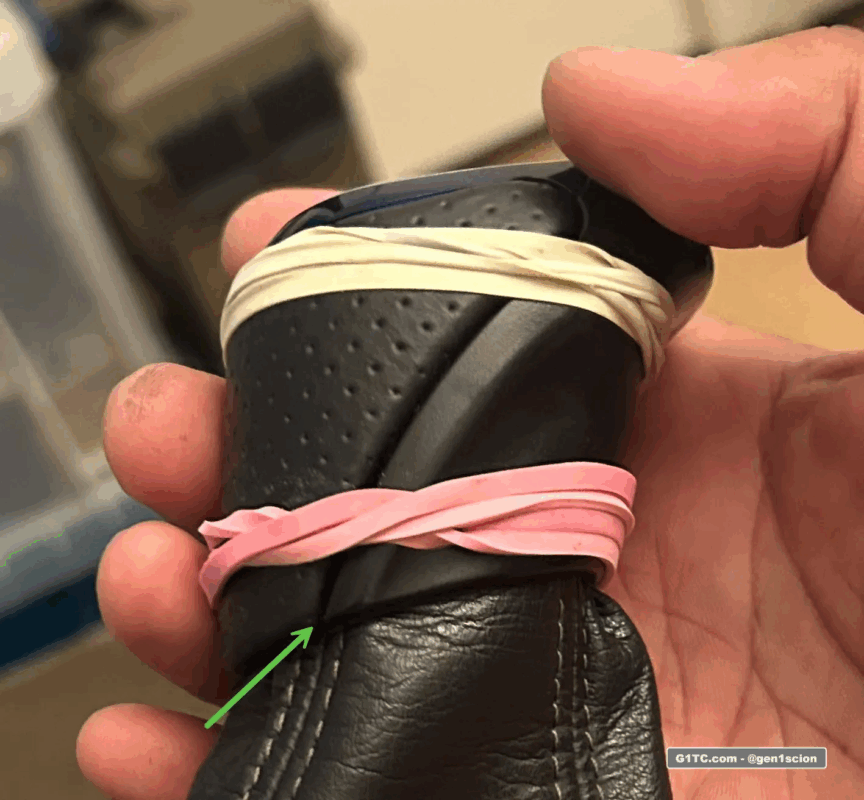
Keep shaving plastic and test fitting until you are able to close this gap between the panels:
Use glue or adhesive to put the panels back together. I used some leftover AISIN Gasket sealant. For the final glue up, use rubber bands to hold the panels in place while the glue dries:
Installation procedure and removal procedure
1. With the CAR OFF, set your parking brake
2. Put the car into DRIVE (You’ll need your key in the car and foot on brake)
Basically you’re putting your car into DRIVE without the car started.
3. Remove the large bezel and pull it up, remember everything is still attached at the knob at this point.
4. Reach under the bezel, and work the leather boot frame retainers off. They are secured on the left and right side.
5. With the leather boot frame detached, you’ll have to angle it out of the rectangle. The silver trim will remain in place.
6. Now, you can spin off the knob, the boot will spin along with it.
7. Once the knob (and boot) are removed you can take the remainder of the large bezel off
8. To install, reverse process.
Future Plan
I’m going to 3D print a collar for the leather boot so I can use a different method of attaching the boot to the rod, and the install would be normal (spin off the knob first). I’d also like the circumference of the boot collar to match up flush with the base of the knob, instead of being sandwiched between the panels