How to Restore Faded Headlights with Wet Sanding and 2K Clear
Cloudy, yellow, and faded headlights can make even a clean car look tired. Worse, oxidized headlights reduce light output at night, which is not just ugly, it is unsafe. The good news is you do not need to replace them right away. With a little patience, some sandpaper, and the right clear coat, you can bring old headlights back to life.
This step-by-step guide walks you through how to restore faded headlights using the wet sand and clear coat method.
TLDR
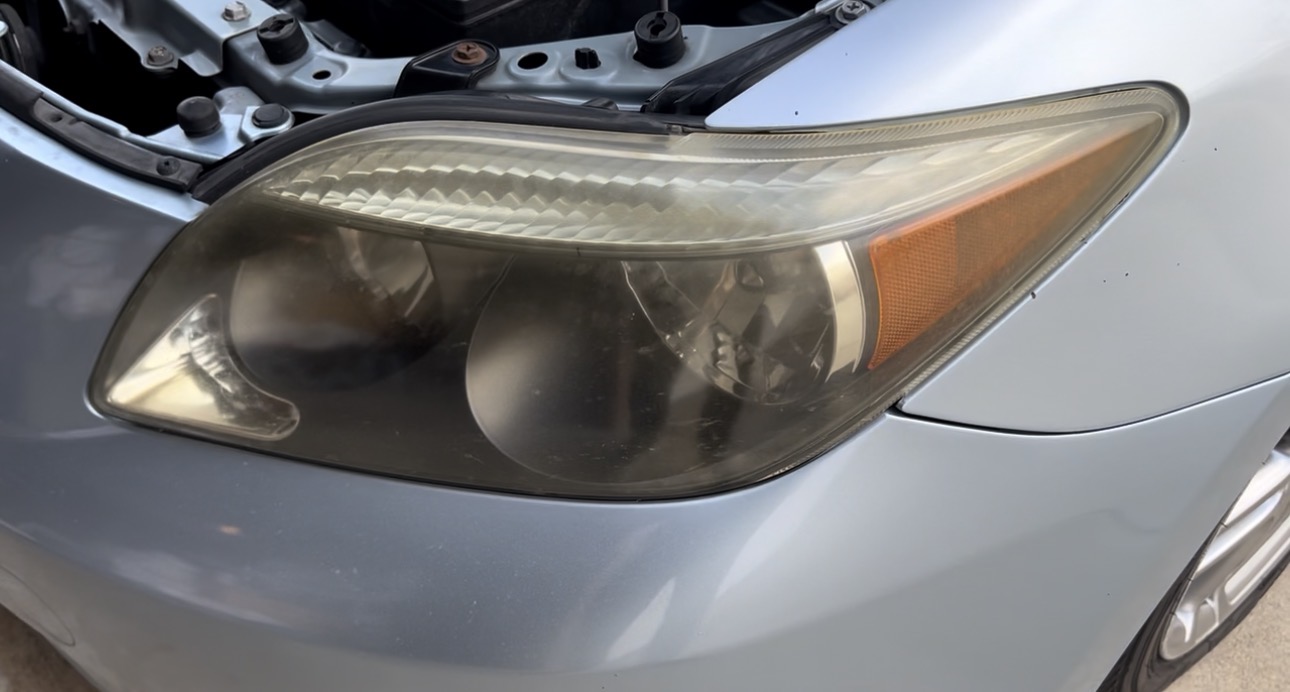
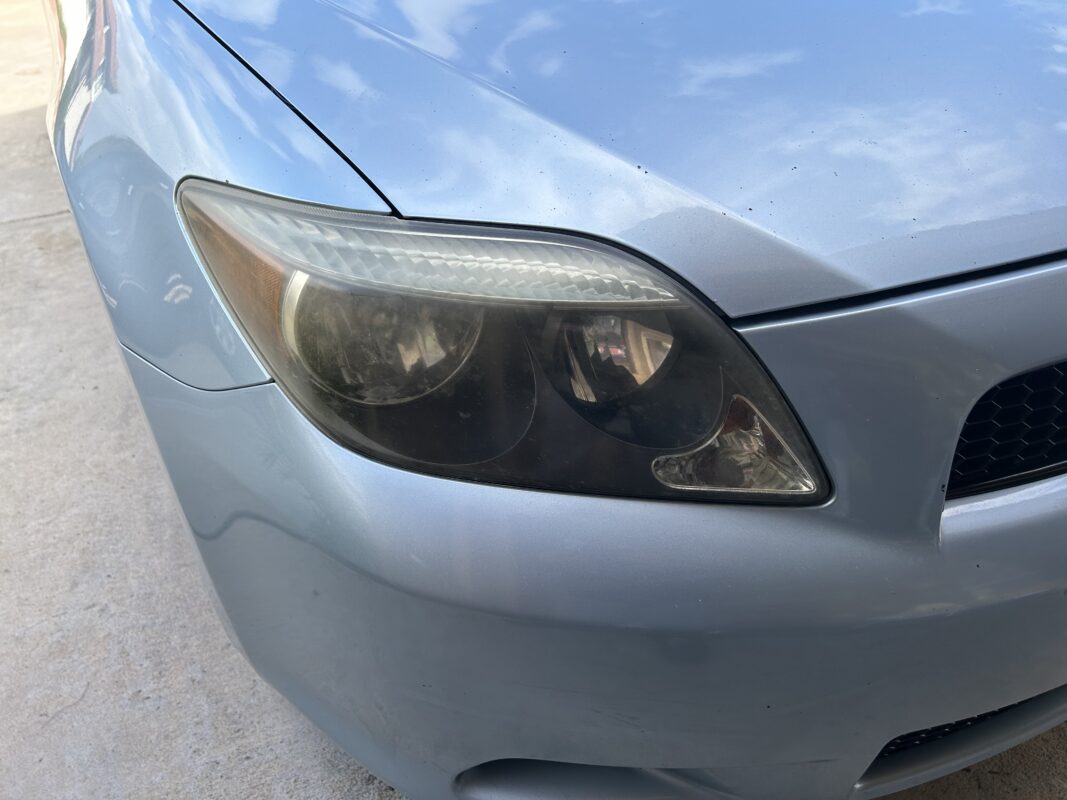
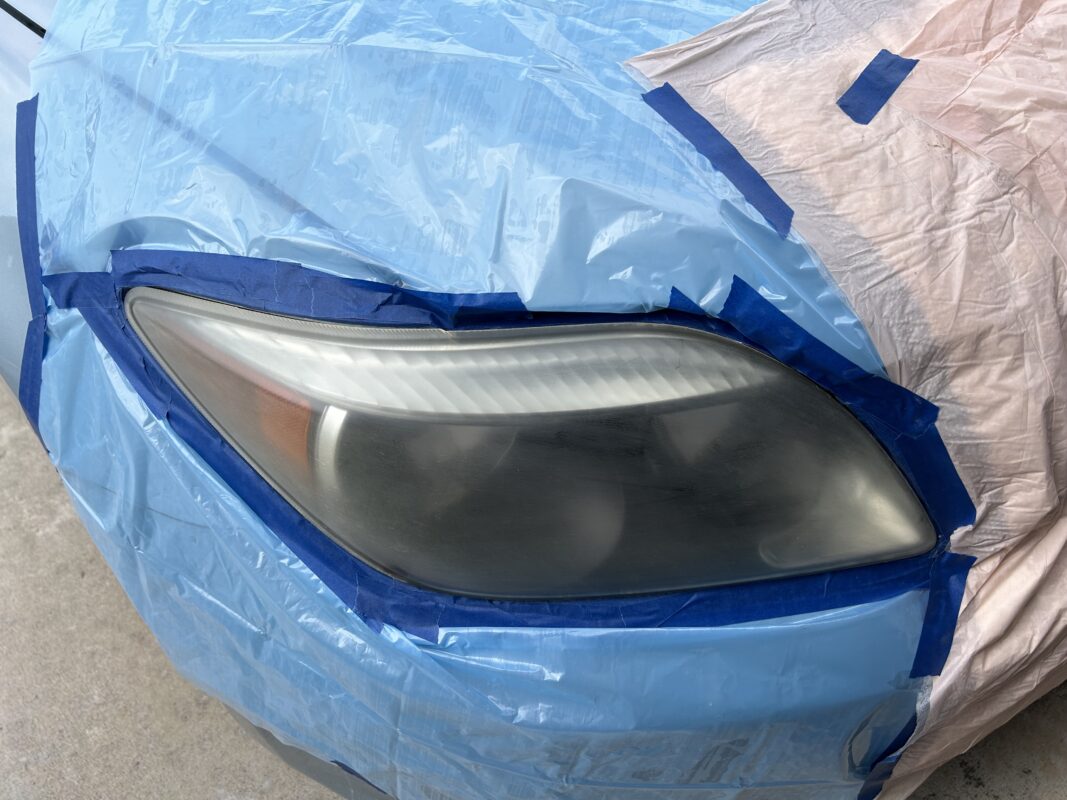
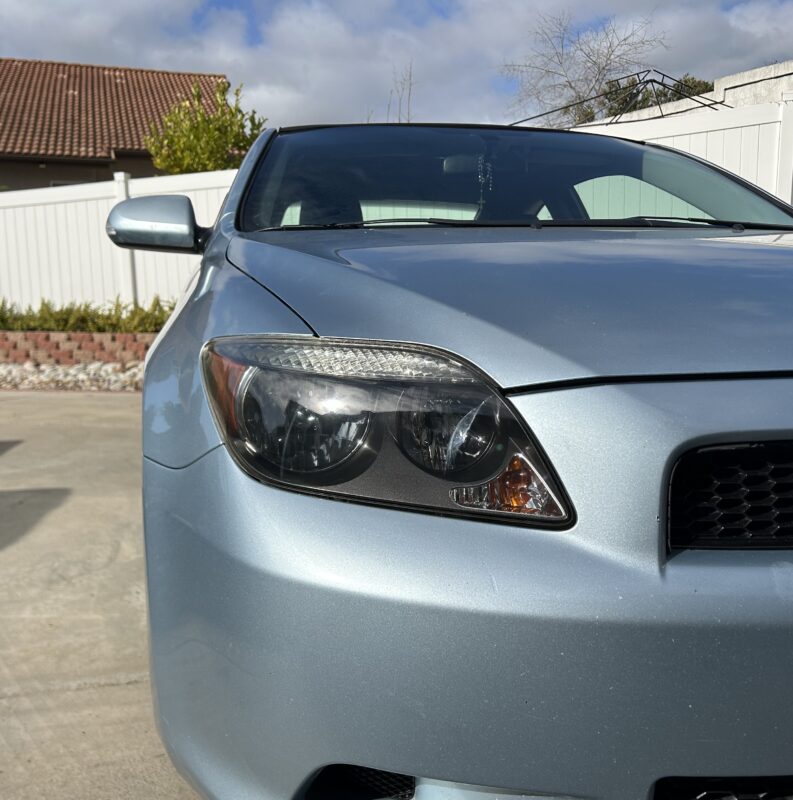
BEFORE
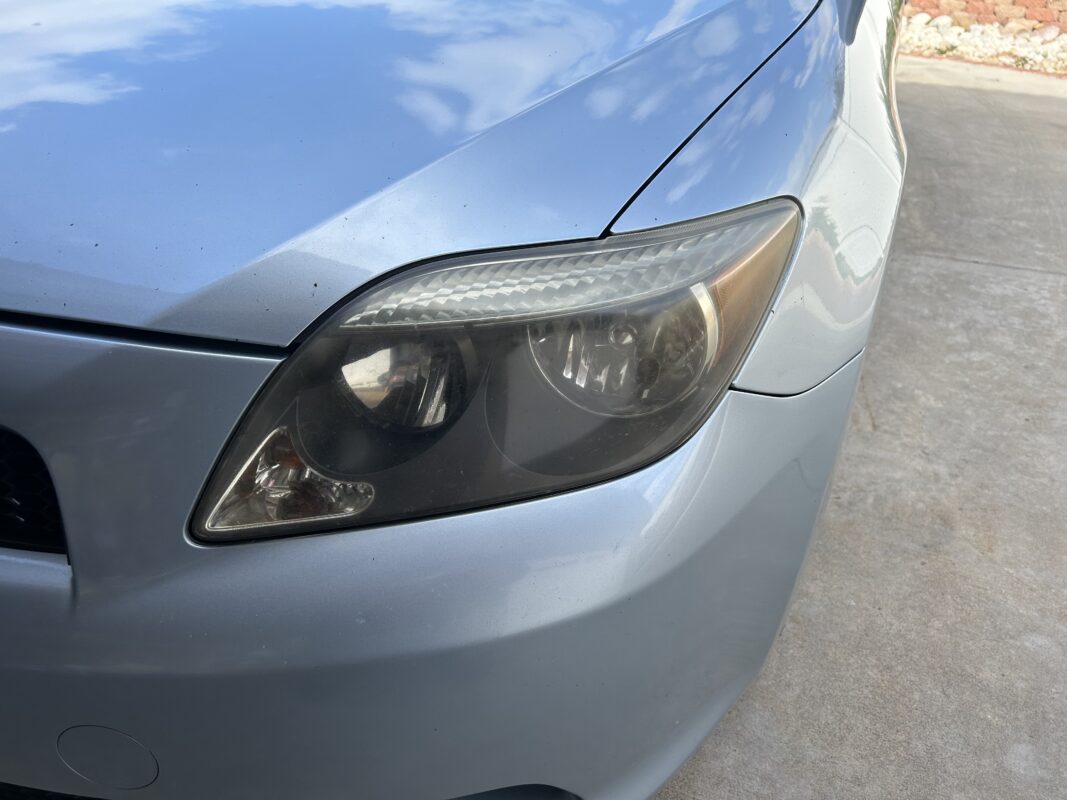
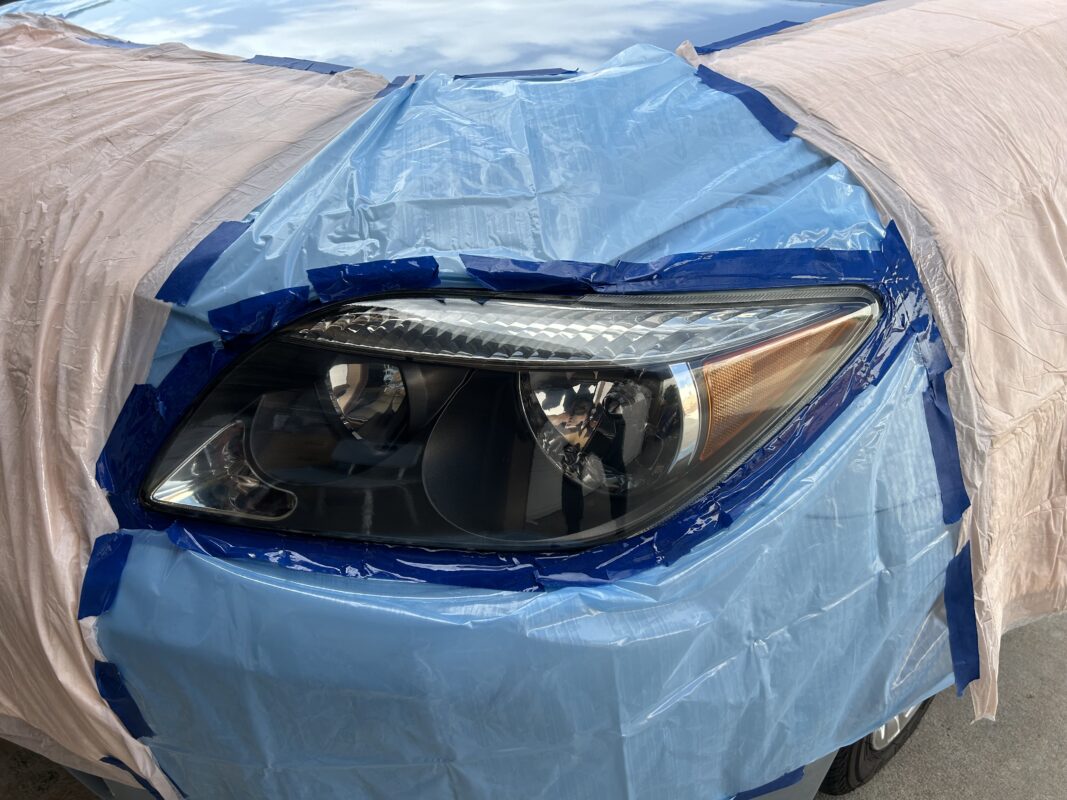
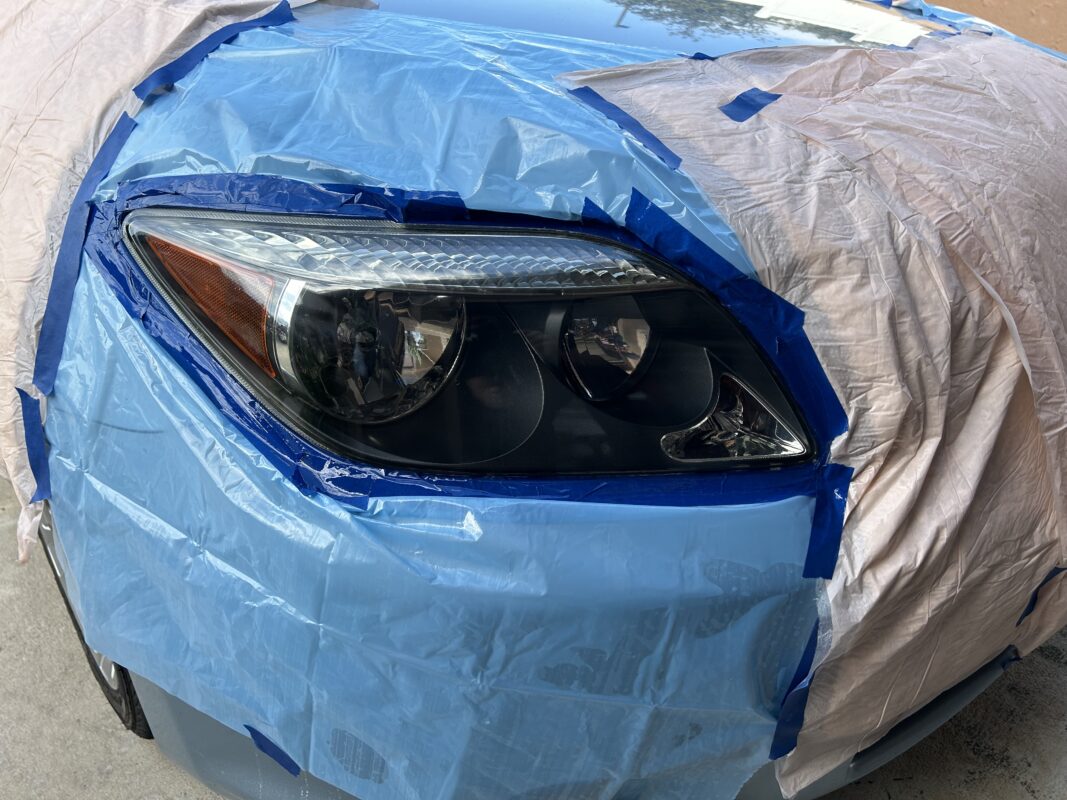
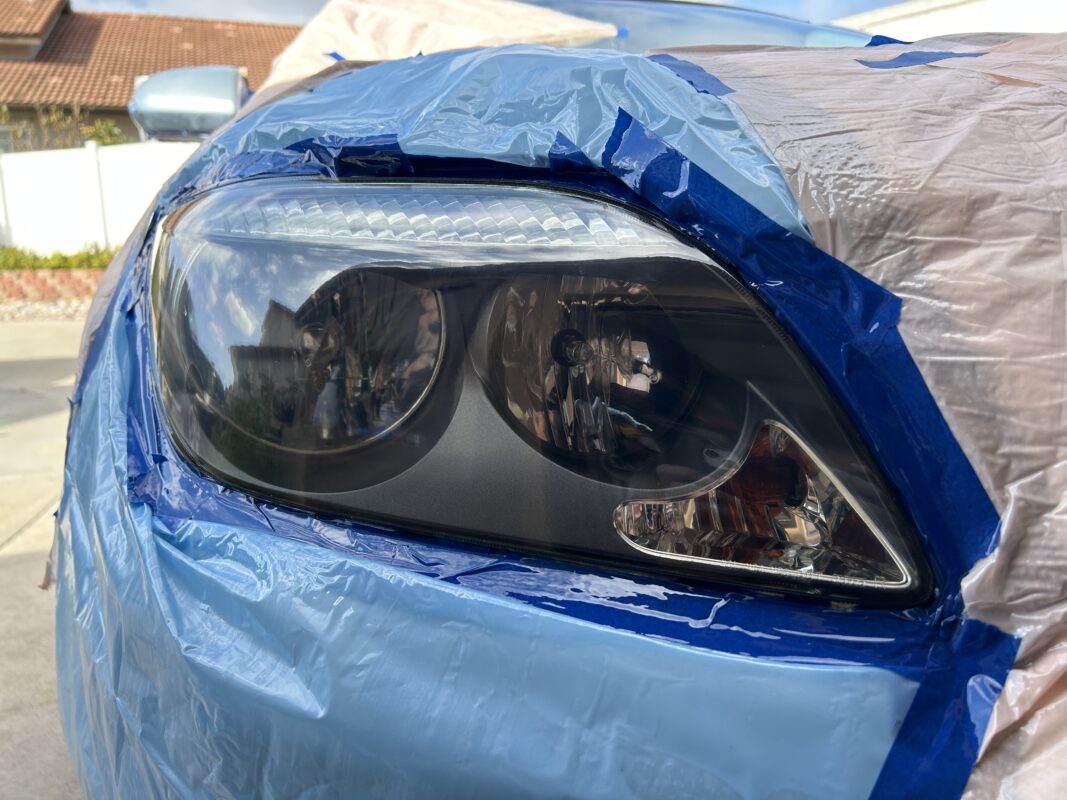
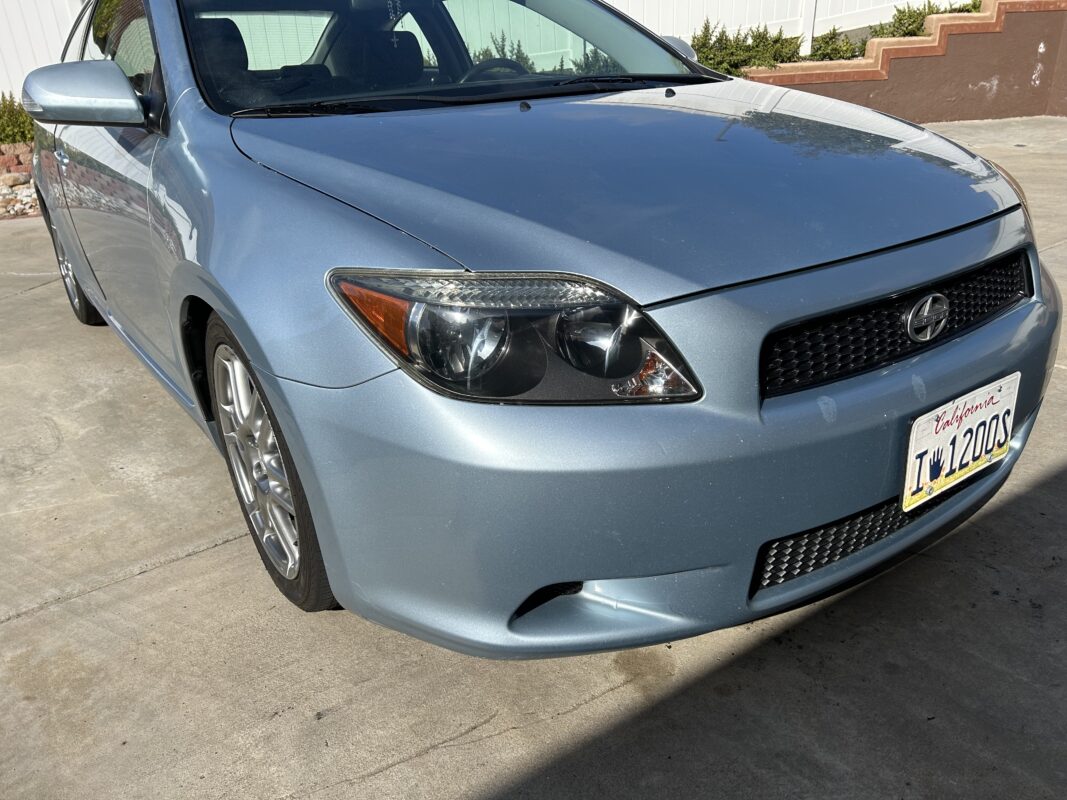
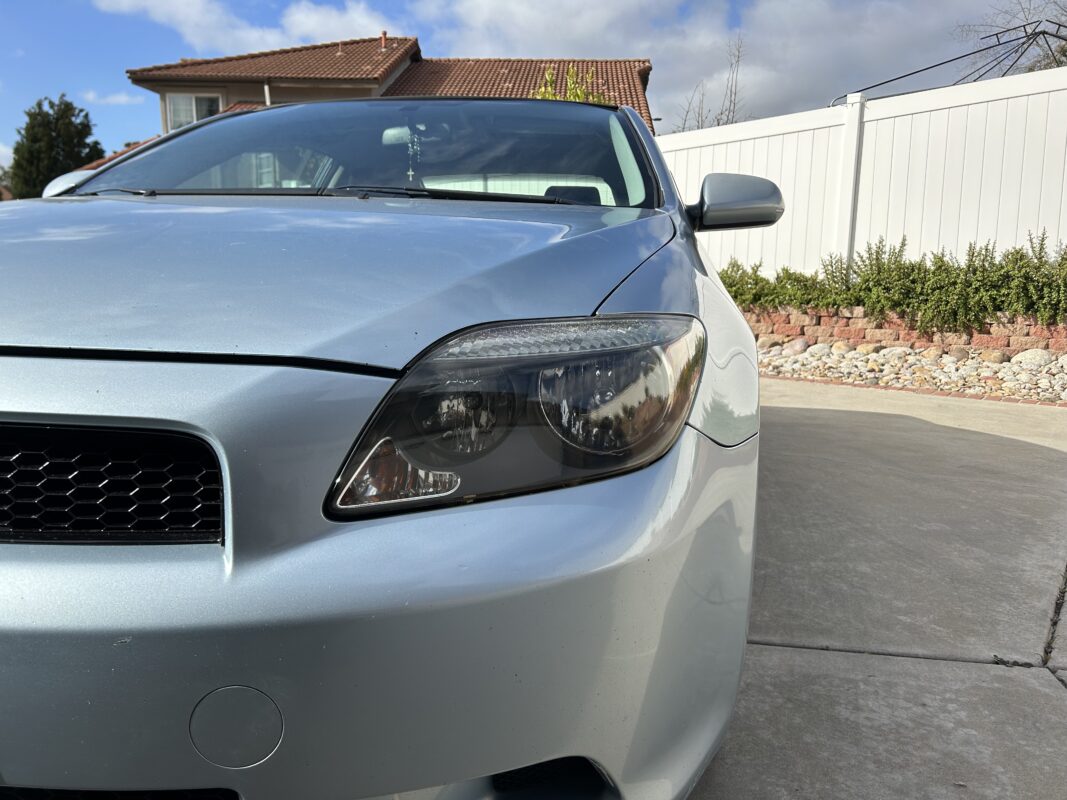
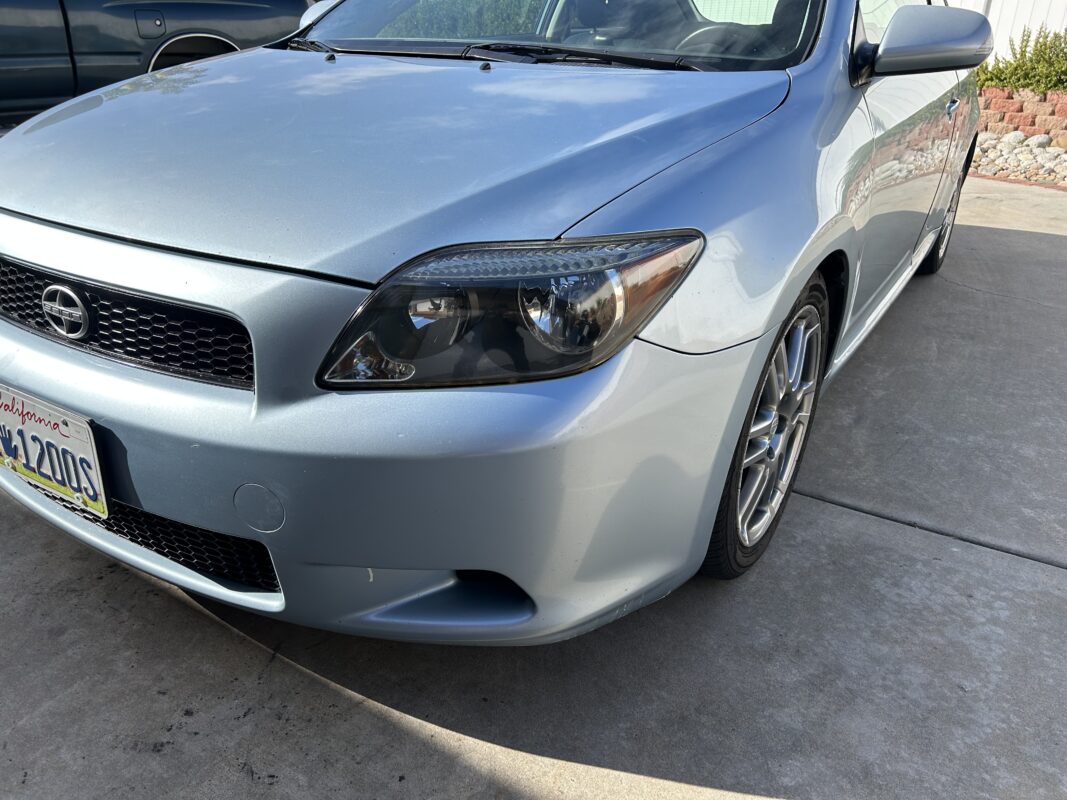
AFTER

Why Headlights Fade in the First Place
Most modern headlights are made from polycarbonate plastic, not glass. They come from the factory with a UV-protective coating, but over time that coating breaks down from sun exposure, road grime, weather, and car washes. Once that happens, the plastic begins to oxidize, turning hazy, yellow, and rough. Wet sanding removes the damaged outer layer, and clear coat adds protection back to the surface.
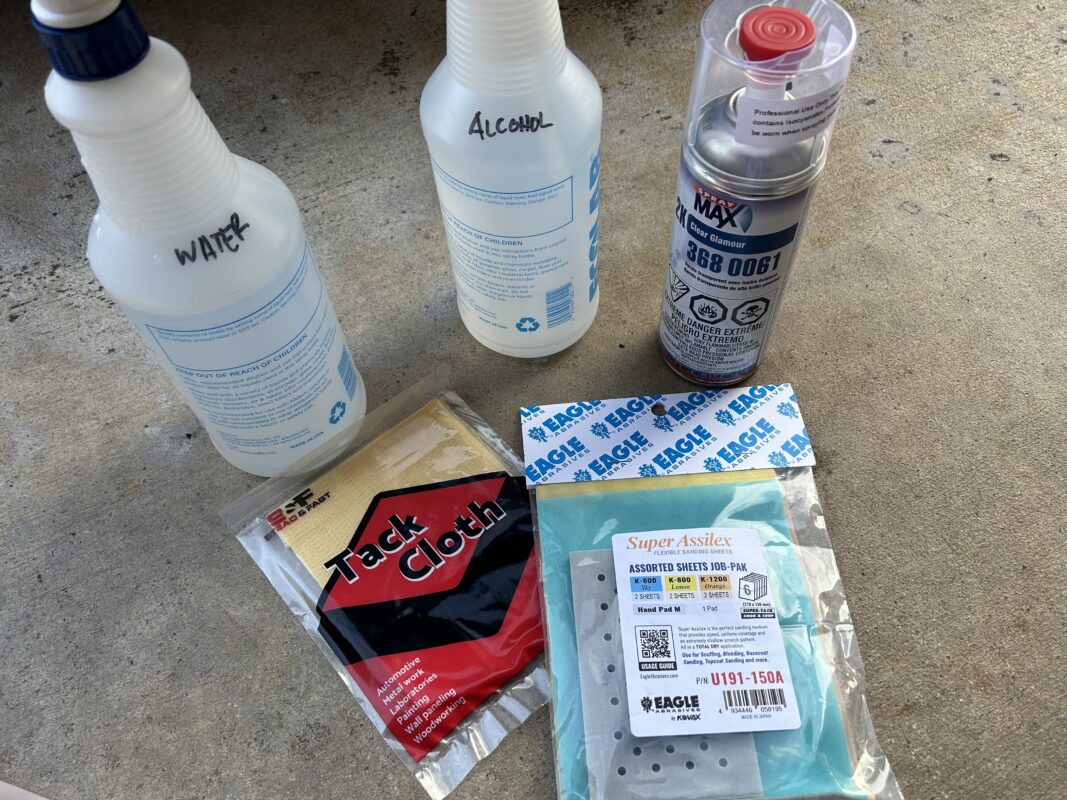
What You’ll Need
Before you get started, gather your supplies:
- Microfiber towels
- Masking tape
- 600 grit wet/dry sandpaper
- 800 grit wet/dry sandpaper
- 1200 grit wet/dry sandpaper
- 2000 grit wet/dry sandpaper
- Spray bottle with water
- Isopropyl alcohol or wax and grease remover
- Tack cloth
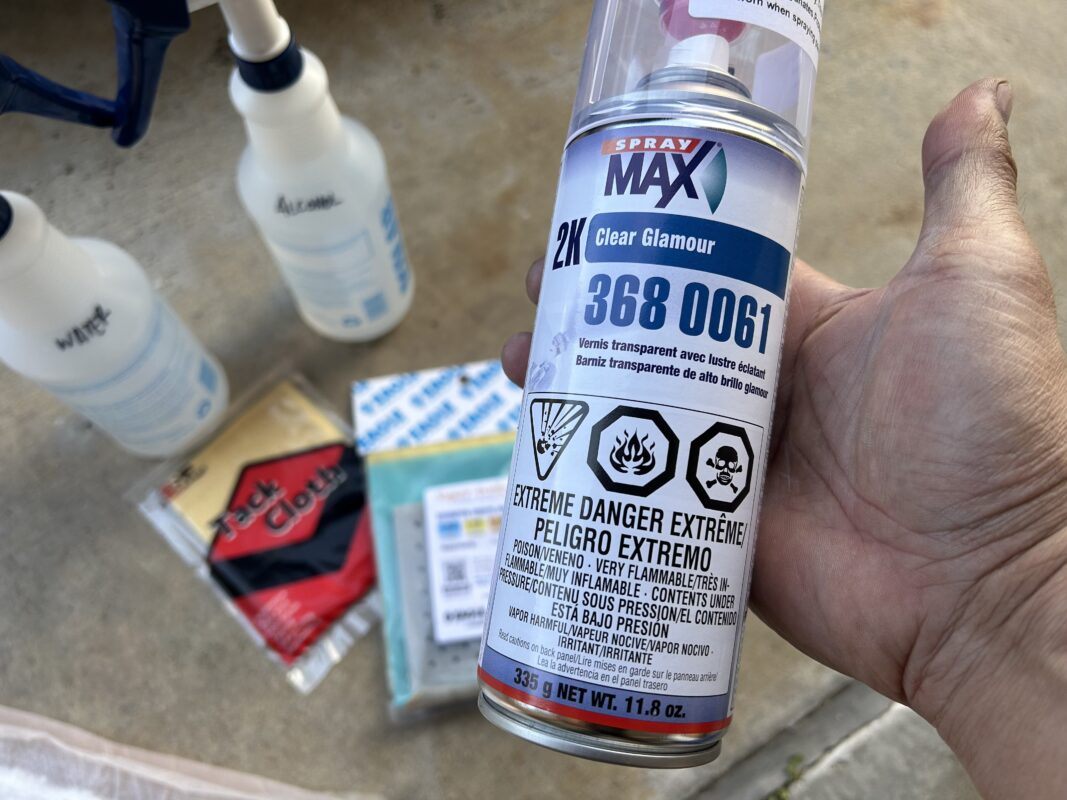
- Spray Max 2k Clear 368-0061
- Safety glasses
Some people skip straight to polishing, but if the headlights are badly faded, polishing alone usually does not last. The wet sand and clear coat method takes more work, but the results are usually much better and longer-lasting.
Before Passenger side
Before Driver side
Step 1: Wash the Headlights Thoroughly
Start by cleaning the headlights and the surrounding area with soap and water. Remove any dirt, bug residue, road film, or wax. Dry everything completely with a microfiber towel. You do not want to drag dirt across the lens while sanding, because that can leave deeper scratches than necessary.
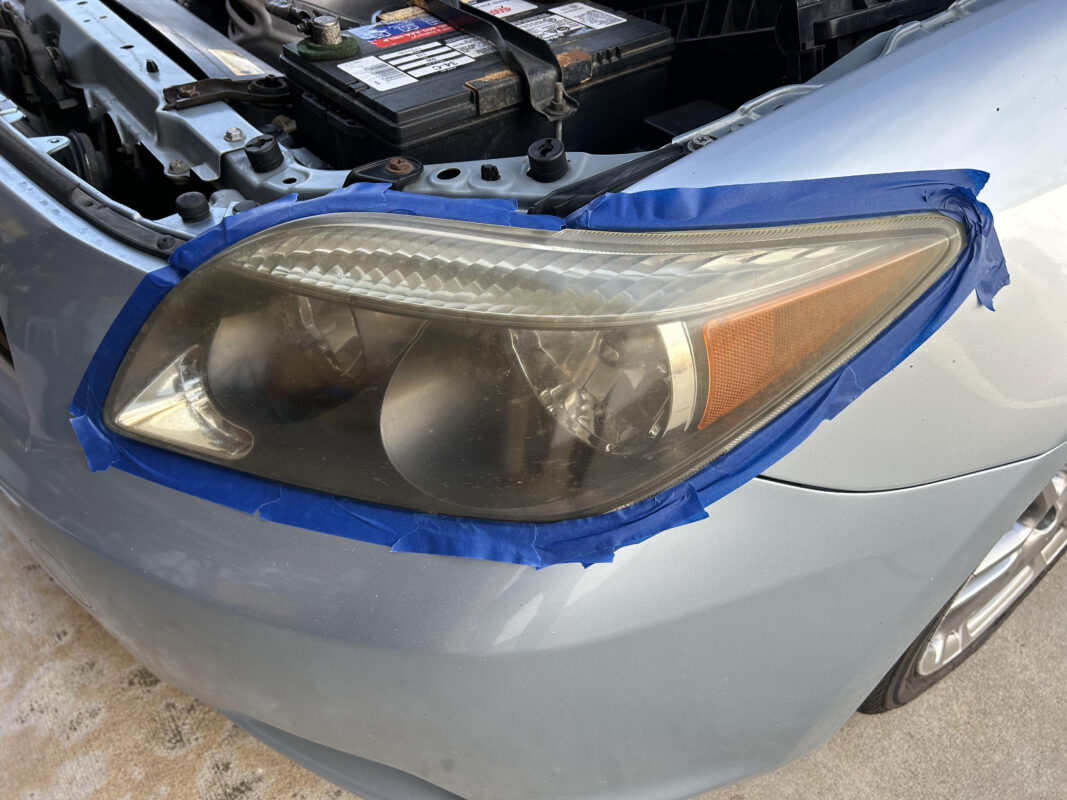
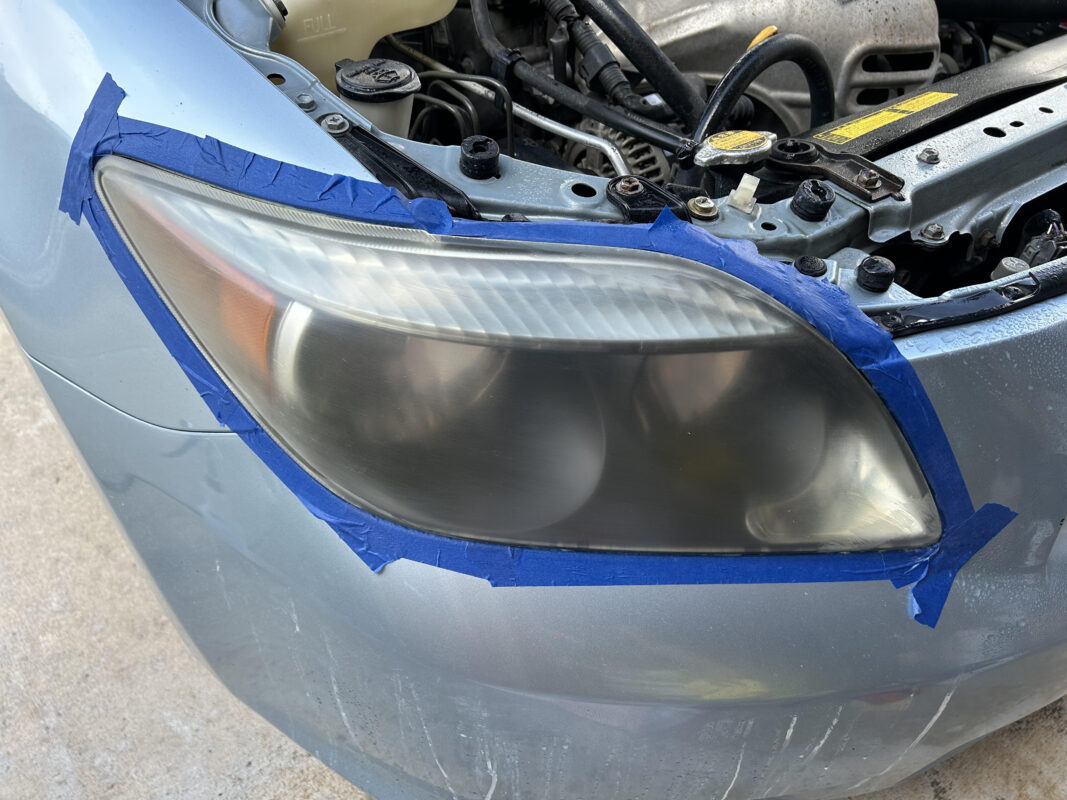
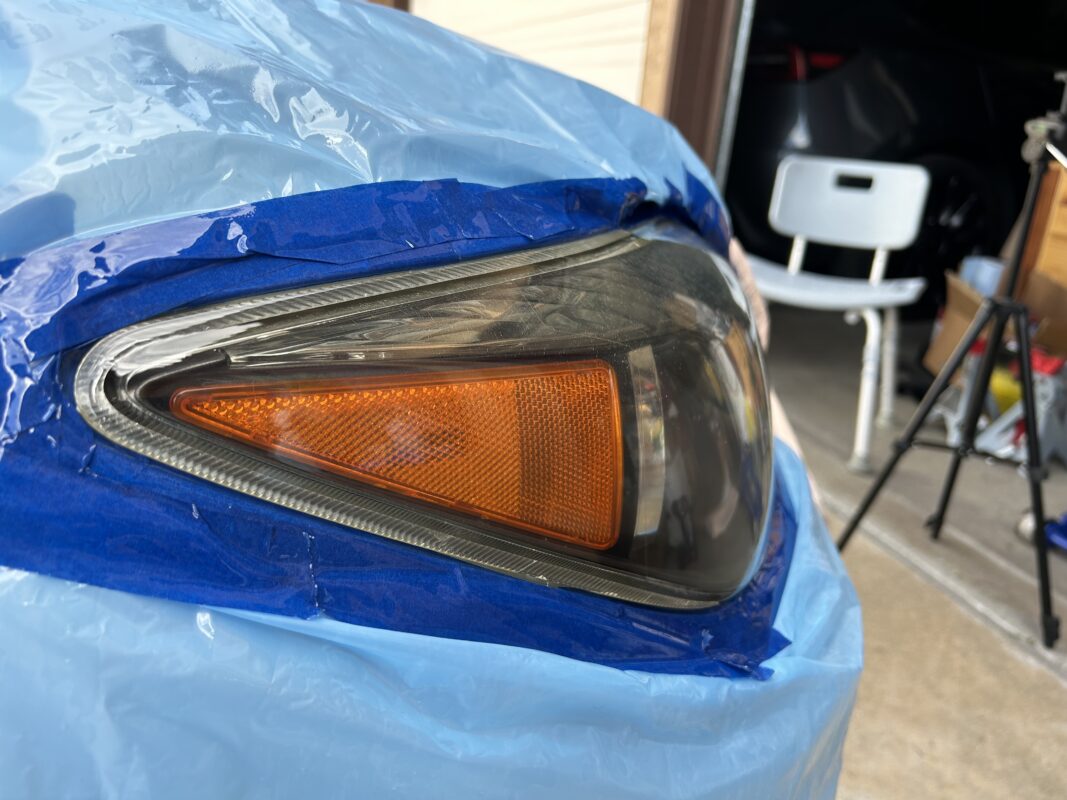
Step 2: Mask Off the Paint and Trim
Use masking tape around the headlight edges to protect the paint, bumper, and trim. Be generous here. Two or three layers of tape is a smart idea, especially around sharp corners and tight body lines. Wet sanding can quickly chew through paint if you slip, and overspray from the clear coat is something you definitely do not want landing on your fender.
Step 3: Start Wet Sanding with 600 Grit
I am using Assilex flexible sanding sheets. Fill a spray bottle with water and keep both the sandpaper and headlight lens wet while you work. Begin with 600 grit if the headlights are heavily oxidized, yellow, or rough. Sand in one direction only, such as side to side.
As you sand, you will see the water turn milky. That is the dead oxidized material being removed. Keep going until the surface looks evenly dull with no shiny spots left. Shiny spots usually mean the damaged coating is still there.
Step 4: Move to 1000 Grit
Now switch to 1000 grit wet sandpaper. Again, keep the lens wet at all times. This time, sand in the opposite direction from the previous step, such as up and down. Changing direction makes it easier to see when the scratches from the previous grit are gone. Once the lens has a uniform finish and you no longer see the 600 grit scratch pattern, you are ready for the next step.
Step 5: Repeat with 1500 Grit
Next, use 1500 grit wet sandpaper and switch sanding direction again. At this point, the headlight should begin to look smoother, although it will still appear hazy. That is normal. The goal here is not to make it crystal clear yet. The goal is to refine the scratch pattern so the clear coat can lay down smoothly over a properly prepped surface.

Step 6: Finish with 2000 Grit (optional)
Now do your final sanding pass with 2000 grit wet sandpaper. Keep the surface wet and use light, even pressure. By the end of this step, the lens should feel very smooth and have a soft, uniform haze.
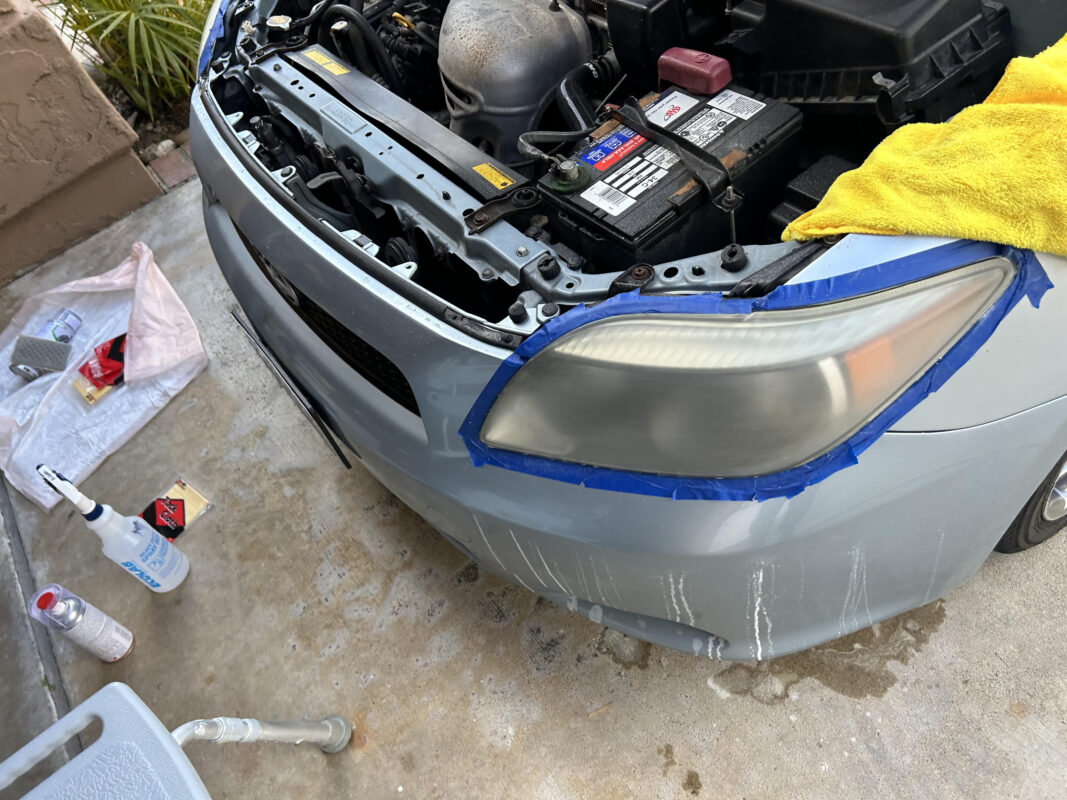
Step 7: Clean the Lens Completely
Once sanding is done, rinse the lens and dry it with a clean microfiber towel. Then wipe it down with isopropyl alcohol or wax and grease remover to eliminate sanding residue, oils, and contaminants.
Follow up with a tack cloth right before spraying clear coat. This helps pick up any lint or dust left on the surface.
This step matters more than people think. A perfectly sanded lens can still turn out poorly if dust or residue is trapped under the clear.
Step 8: Apply the 2K Clear Coat
Now it is time to protect the lens. I use SprayMax 2K clear coat. Follow the can instructions closely for spray distance, flash time, and number of coats.
A good general method is:
- Apply the first coat light
- Wait the recommended flash time
- Apply a second medium coat
- Apply a third coat if needed for full coverage
Keep your passes smooth and overlapping. Do not try to flood the surface all at once. Heavy coats can cause runs, and runs on a headlight are every bit as annoying as they are on paint. The lens should begin to look dramatically clearer as the clear coat levels out.
Step 9: Let It Cure
Once the clear coat is on, leave it alone. Avoid touching it, getting it wet, or driving the car if possible until the product has cured. Dry time and full cure time vary by product, so always read the label. Do not peel the masking tape too aggressively either. Remove it carefully once the clear has set enough to avoid lifting at the edges.
Step 10: Inspect the Final Result
After curing, inspect the headlights in both sunlight and shade. A successful restoration should leave them looking clear, glossy, and far better than before. Nighttime visibility should improve too, especially if oxidation was severe. If there is minor texture in the clear coat, some people choose to lightly polish after full cure, but only if the product instructions allow it.
Common Mistakes to Avoid
A few things can ruin an otherwise good restoration:
- Skipping grits – 600 / 800 / 1200 bare minimum
- Not sanding enough
- Spraying clear coat on a dirty surface
- Rushing cure time
Is This Better Than a Headlight Restoration Kit?
Sometimes yes. Many restoration kits work fine for a quick improvement, but the wet sand and clear coat technique is often the better choice for badly faded headlights because it removes the damaged layer and adds lasting protection back to the surface. The tradeoff is that it takes more time and more care.
Final Thoughts
If your headlights are faded, yellow, or cloudy, do not assume replacement is your only option. Wet sanding and clear coat can dramatically improve both appearance and nighttime safety when done correctly. The key is patience. Good prep work makes all the difference.
Take your time, keep the sanding consistent, and do not cheap out on the final clear coat. Done right, this method can make old headlights look surprisingly close to new again.