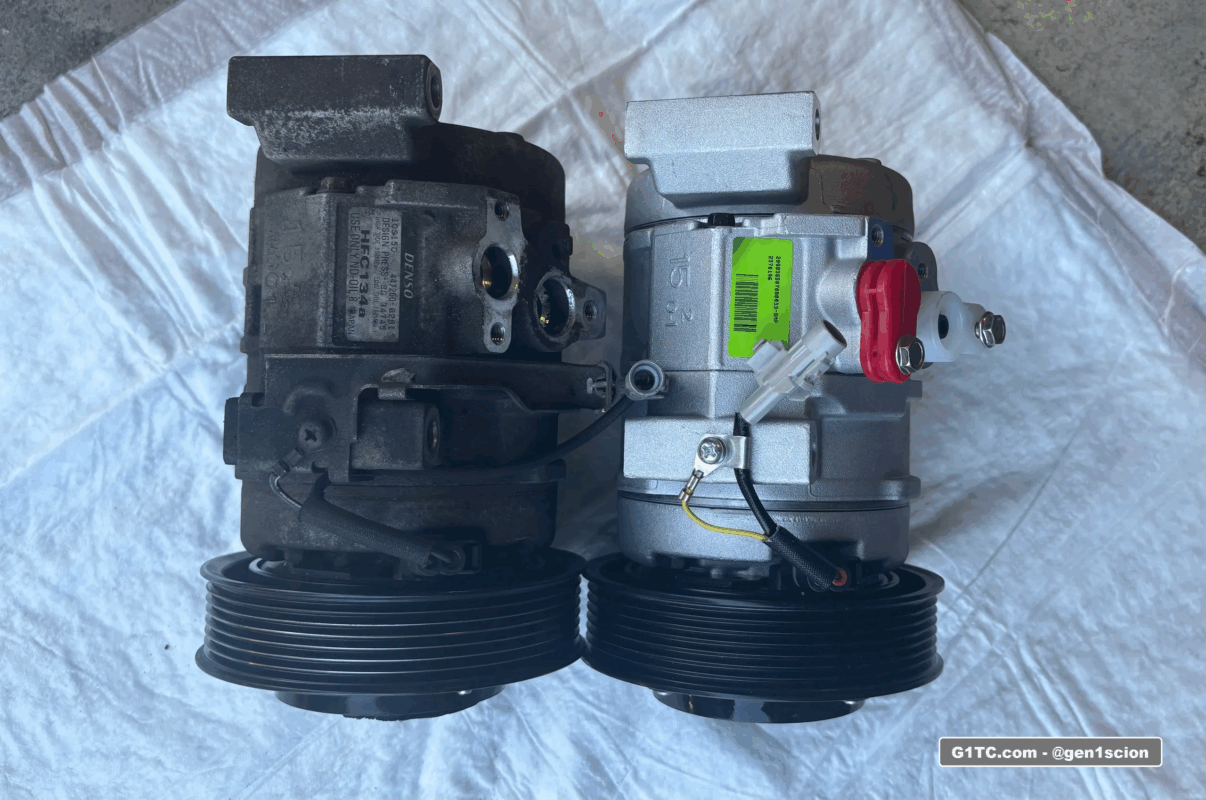
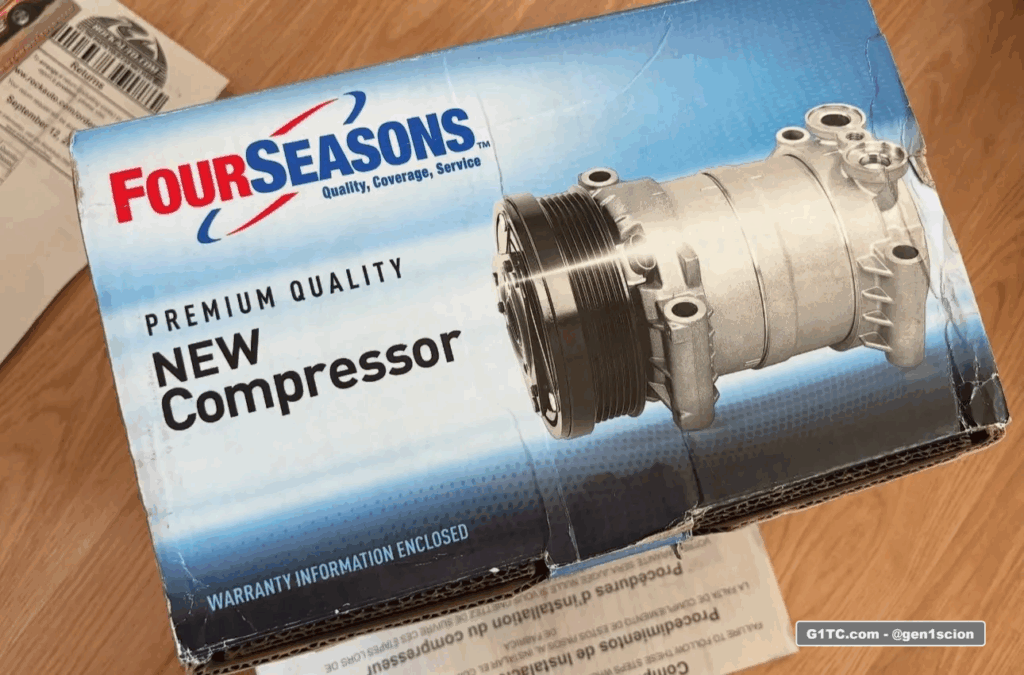
The Scion tC 2005-2006 AC Compressor (OEM Denso 10S15C) finally gave out after 244k miles. In this article I give you tips on replacing it with the Four Seasons 98365. I also replaced the condenser with a Denso 477-0576.
History
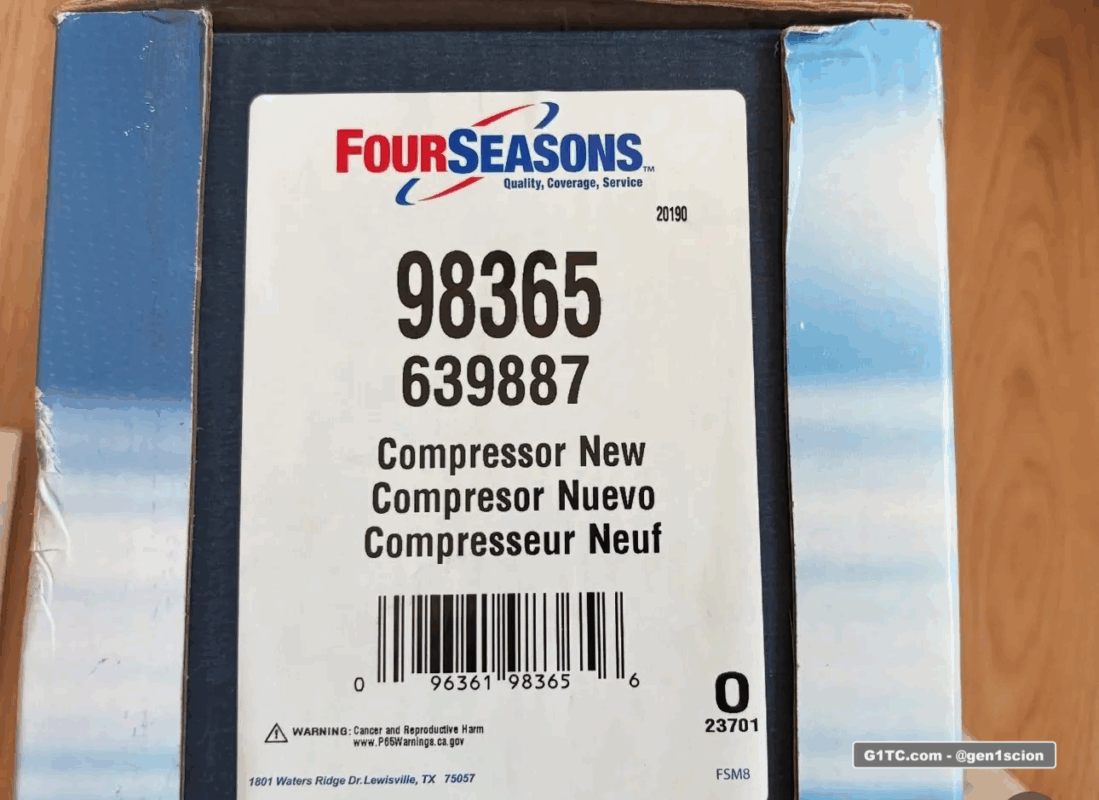
In a previous article I performed an AC Clutch only replacement. This part only lasted only 1 year. For this maintenance, I’m replacing the whole AC Compressor with a Four Seasons 98365
Important
Regardless of which replacement AC compressor brand you use, ensure it’s compatible with your exisiting compressor. Do your own research!
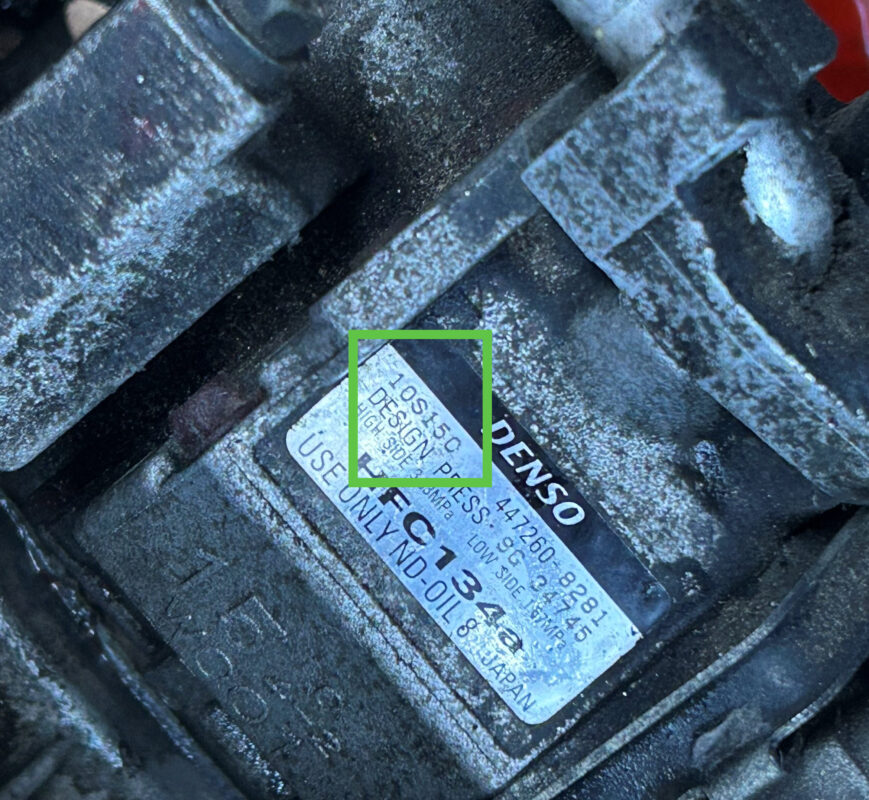
10S15C labelled on the OEM Denso. Make sure your replacement is designated for this.
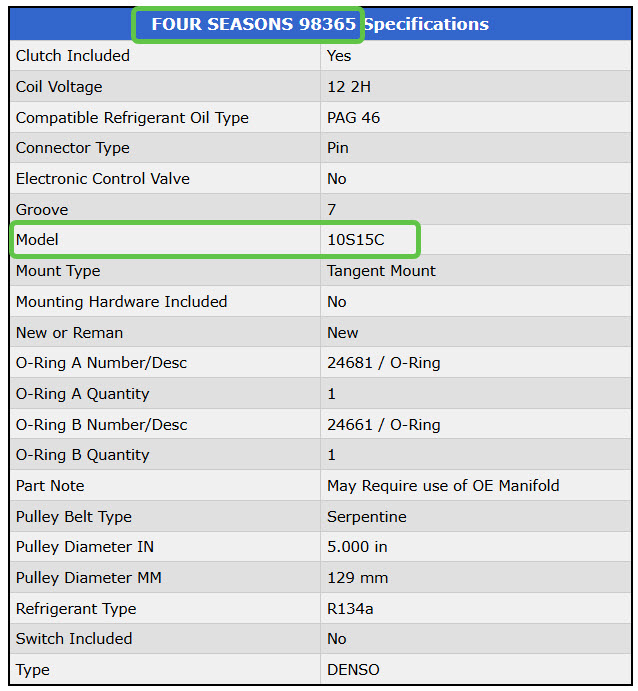
Four Seasons 98365 is a valid replacement for the OEM Denso 10S15C
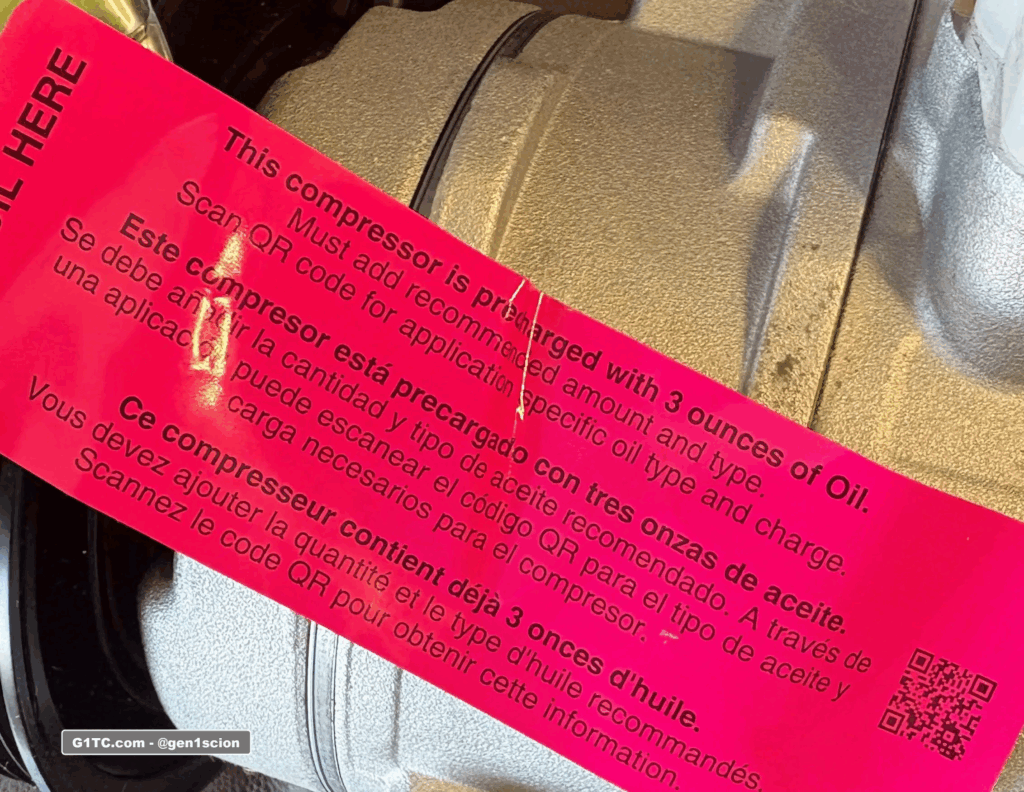
- The Four Seasons 98365 compressor is Prefilled with 3 oz. of OE-Specified Oil Refer to Four Seasons’ Capacity Guide, vehicle’s Underhood Decal or Service Manual for system oil requirements – add or drain oil accordingly, to ensure proper lubrication.
- 100% vacuum and leak tested for long life and proper performance
- Includes required o-rings / sealing washer for ease of installation
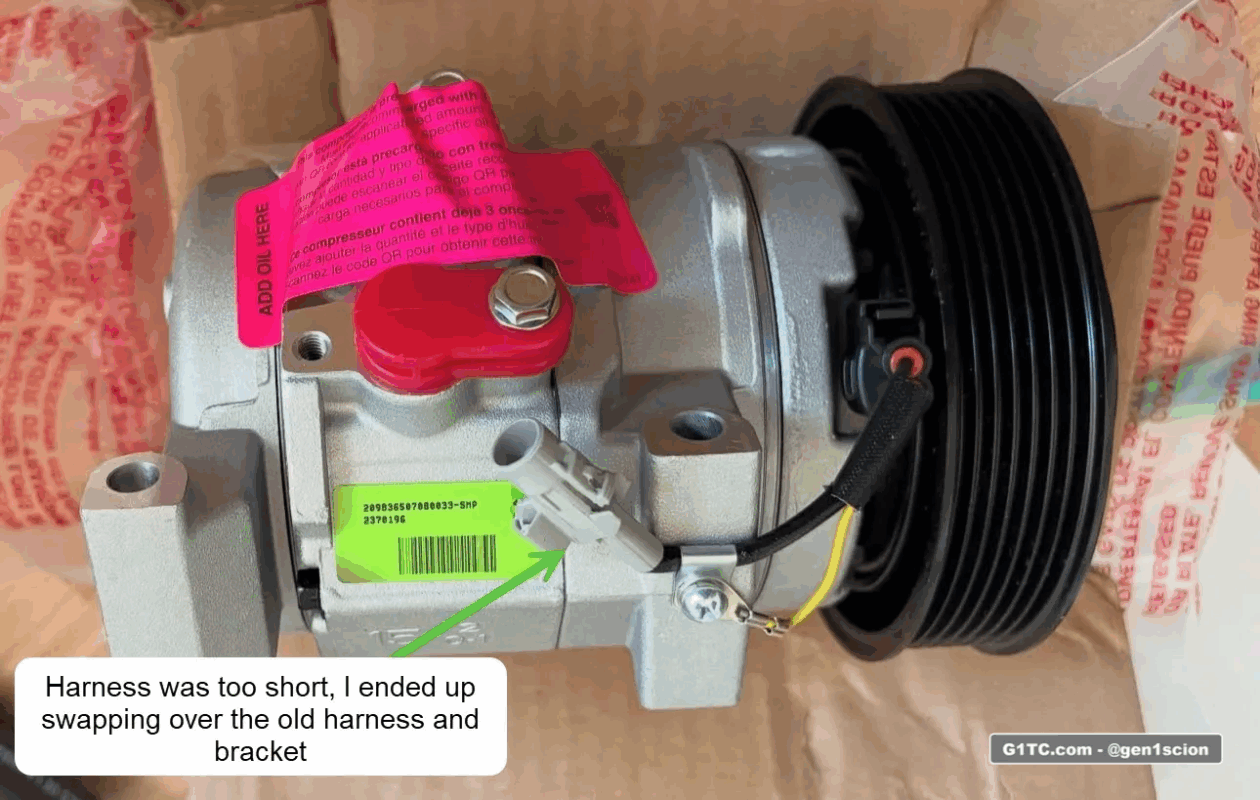
Note here, I ended up swapping over the stock bracket and harness
Tools Used
– 10mm and 14mm wrenchs and sockets
– R134a compressor oil with UV dye PAG46
Any R-134a compatible PAG46 oil refrigerant oil with UV Dye will do
Installation Tips
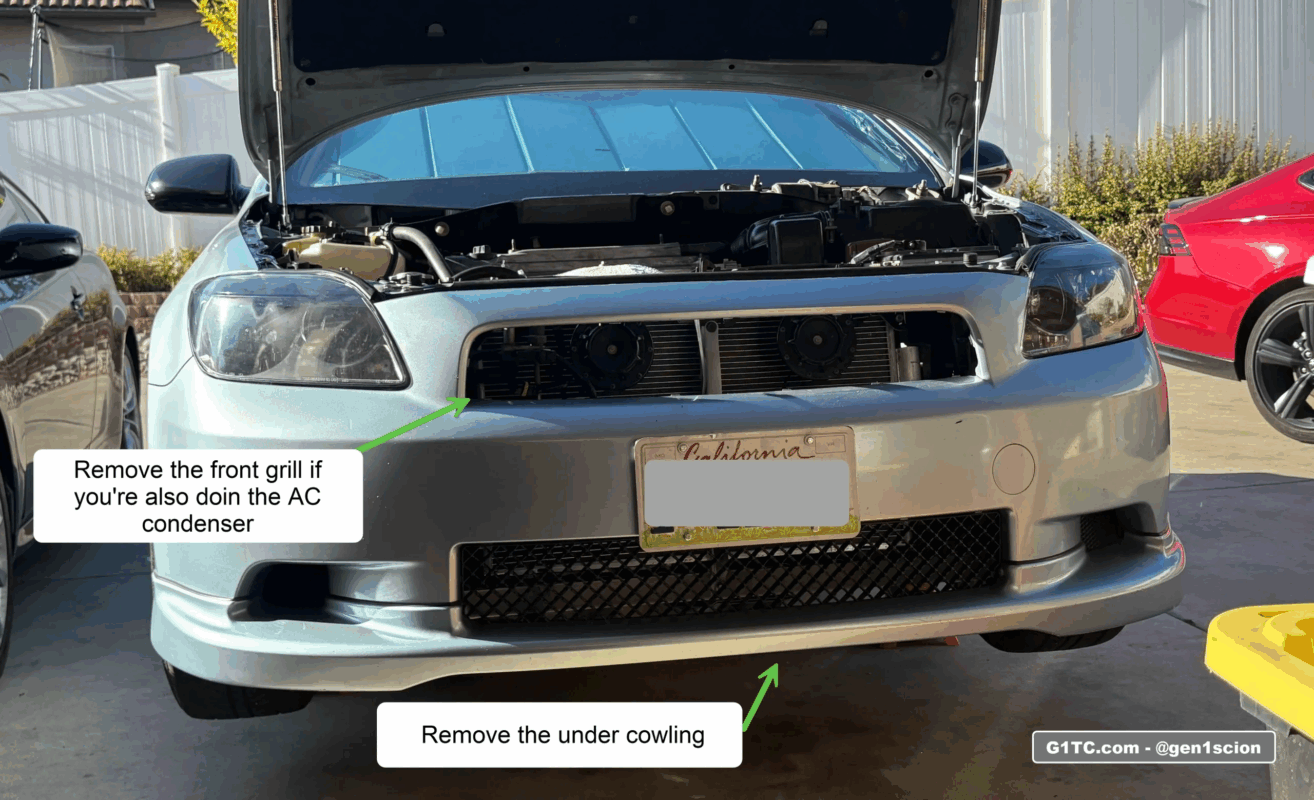
1. Jack your car up and remove all the underbelly cowling. If you’re doing the condenser too, remove the front grill. Jack up the car, get it on stands, chocks, and remove the under cowling.
1. Depressurize the system legally. It is illegal to intentionally depressurize and vent an air conditioner into the atmosphere. Under the Clean Air Act, it is prohibited to release refrigerants into the open air. Penalties can include fines and even jail time.
2. Remove the serpentine belt.
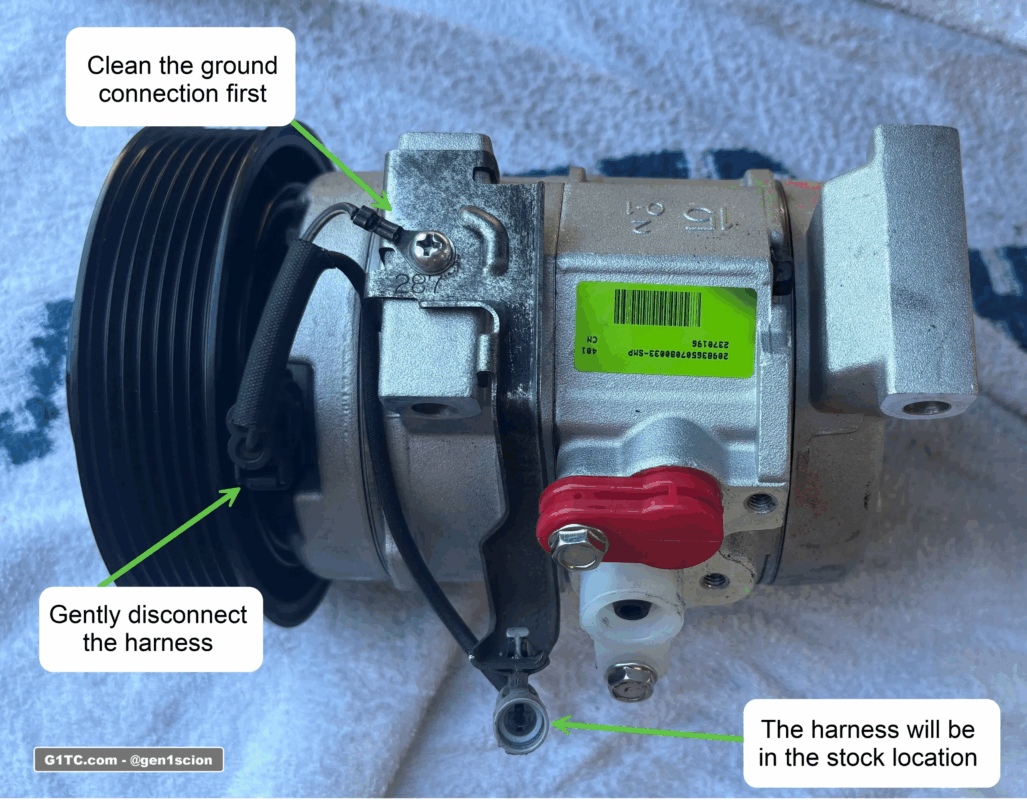
3. Unbolt the high and low pressure lines (10mm). Detach the power harness. Remove the OLD AC Compressor. Use 14mm socket to remove the entire unit (4 bolts).
4. My Four Seasons AC compressor came with a short harness. I need to swap over the bracket and harness from the old unit. Your mileage may vary here.
Here is the final swap of the bracket and harness onto the Four Seasons 98365
5. Top off the Compressor with PAG46 oil (I added 2 oz in my case). Rotate the pulley a few times to cycle the newly added oil.
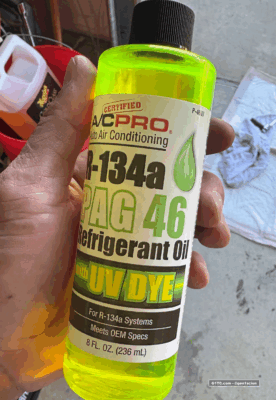
I added 2oz of PAG46 oil from the low port. Rotate the pulley a few times to cycle the oil
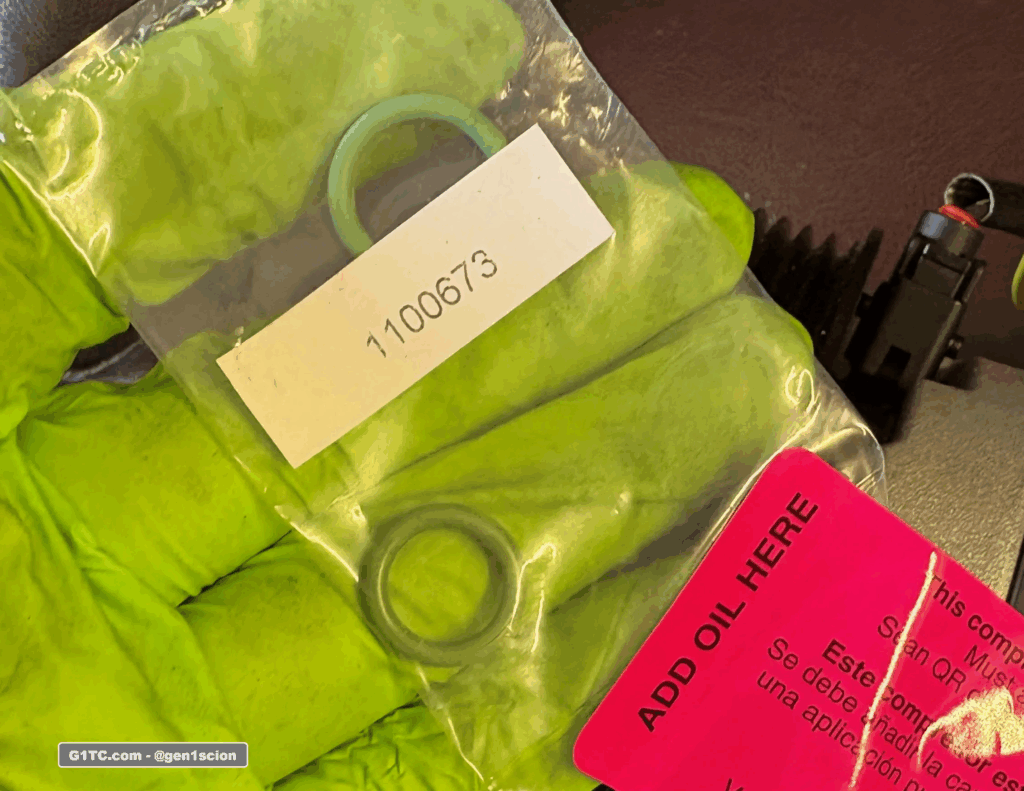
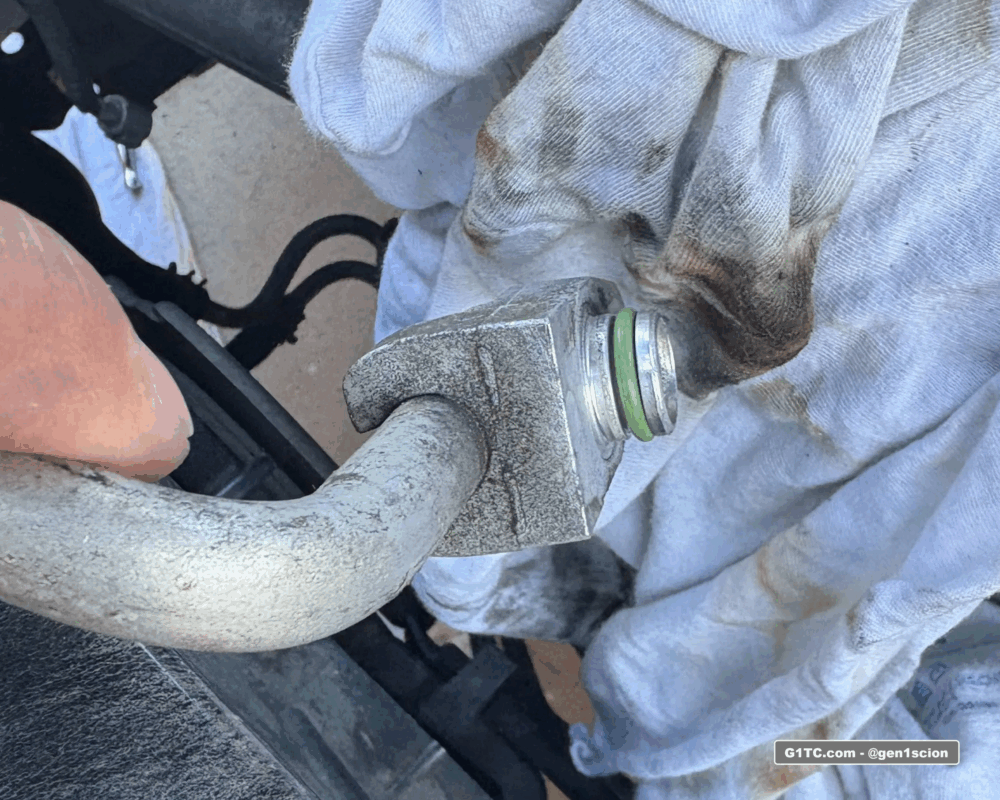
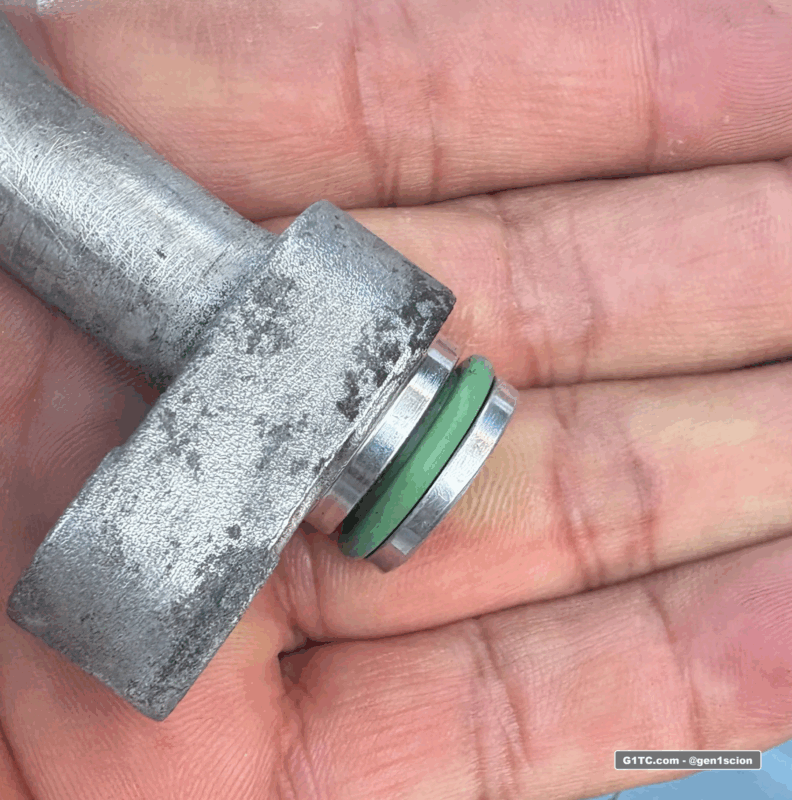
6. Replace the seals, the Four Seasons 98365 included 2 new seals for the high and low pressure hoses.
Two seals for the low and high port were included.
New seal, low pressure hose
New seal, high pressure hose
7. Install the new AC Compressor using the for 14mm bolts. Install the low and high pressure hoses (10mm), DO NOT OVER TIGHTEN.
Four 14mm bolts secure the newly installed AC Compressor
8. Reinstall the serpentine belt.
9. Double check all the bolts on the AC compressor. If you’re doing the AC Condenser, check those bolts too – my article on the AC Condenser installation.
10. Take your car to a shop for a full flush and recharge of the system, inspect for leaks using a UV light.