TLDR – my final choice on bushings:
-
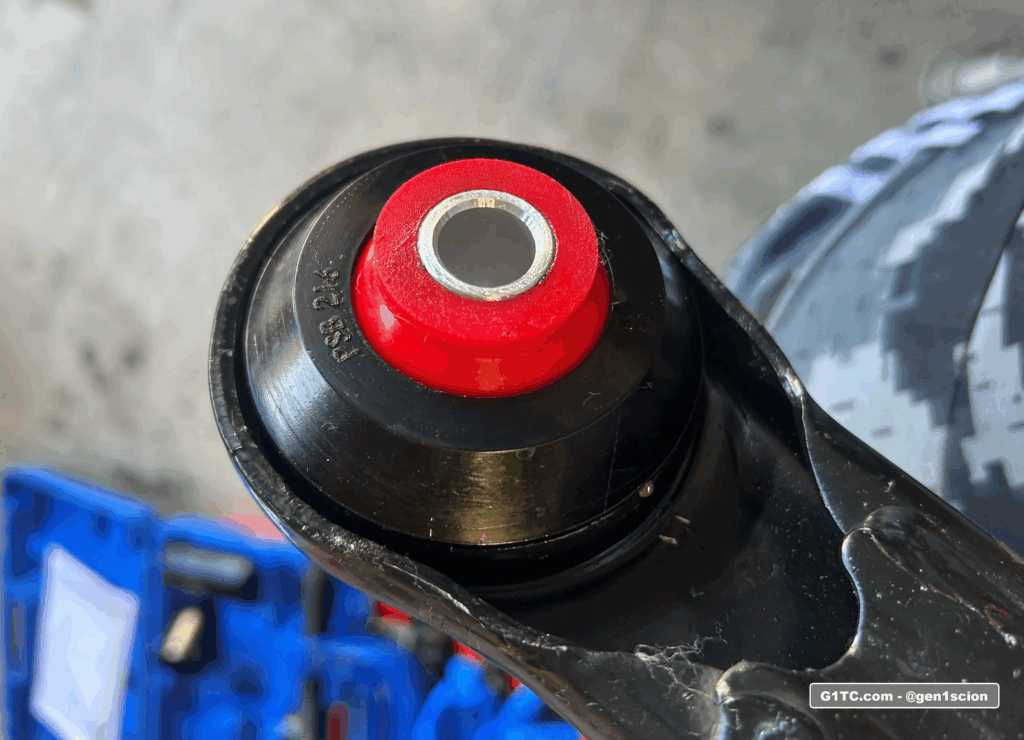
Inner Bushing – Problem Solving Bushings – PSB216
-
Outer Bushing – 211980B Strong Flex Red 80 durometer
Update Jan 29, 2025
I measured the PSB492 before install and it was too small. I reached out to PSB and they sent me the PSB216 bushing instead.
https://psbushings.com/product/2x-toyota-prius-04-09-front-lower-arm-bushing-rear-bushing/
Check with PSB before ordering for your car.
Rear Inner bushing
There are three primary makers of polyurethane rear inner bushings for the 1st Gen Scion tC control arm:
- Energy Suspension full set p/n 8.3120G (black) 8.2120R (red)
- Whiteline p/n W53275 front inner only
- Problem Solving Bushings (PSB) full kit – PSB216
Energy Suspension p/n 8.3120
Here’s a good writeup on MotoIQ for the Energy Suspension 8.3120 bushing kit and the installation process: https://motoiq.com/project-scion-tc-part-4-suspension-and-brakes/3/
I don’t like this design. You have to burn the rubber off and reuse the center sleeve. I’m no expert here, I’m just saying I don’t like this design.
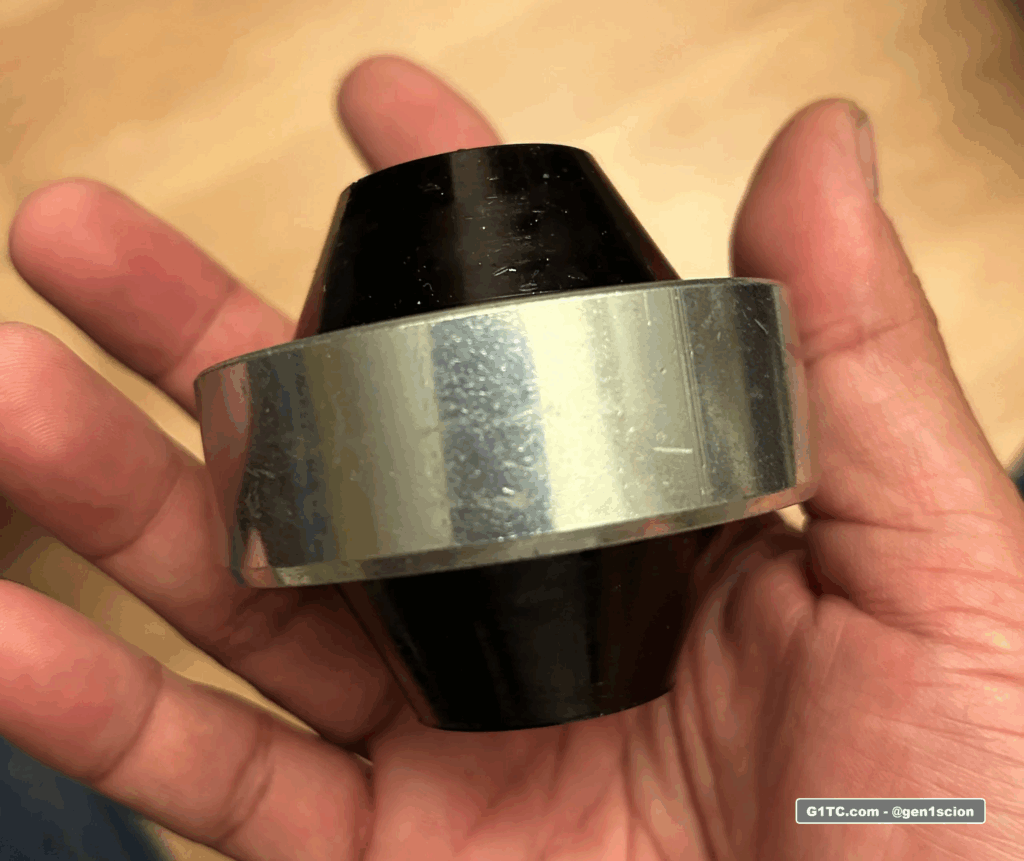
Whiteline W53275
This design is 1-piece and closely resembles the OEM bushing with cavities in the bushing to allow for articulation as well a captured sleeve. However, I could only find the inner (rear) bushing. Best I could tell Whiteline didn’t make a outer (front) bushing.
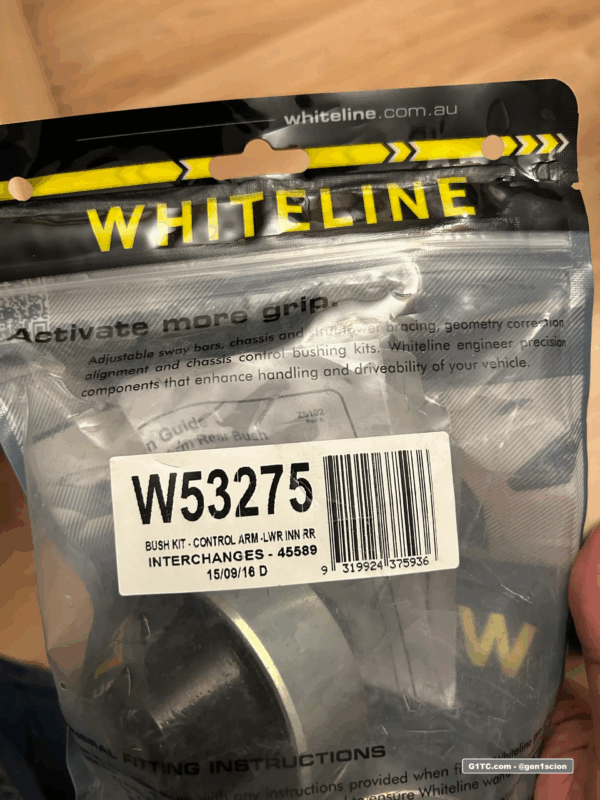
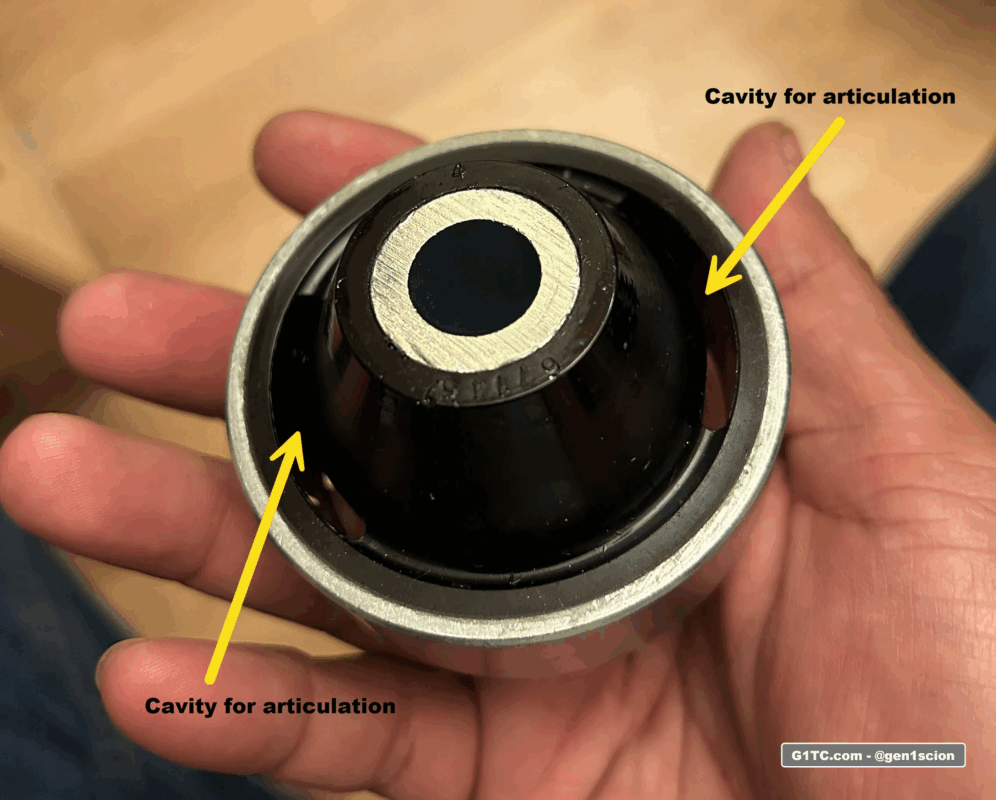
Whiteline W53275 press fit bushing
The Whiteline W53275 installation instructions call for a specific orientation (of the cavities) when installing the bushings. This makes sense.

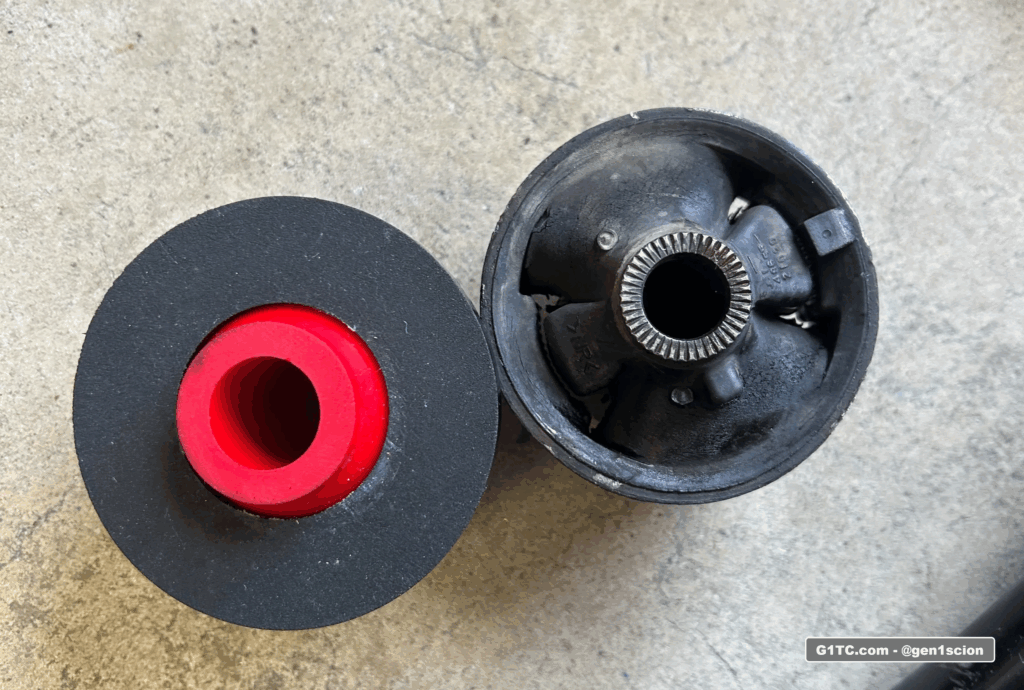
Problem Solving Bushings – PSB492
When I first bought the PSB Kit PSB492/492F I received the old style inner bushing, it was the current offering at the time. It’s a completely solid polyurethane bushing. This will be VERY stiff.
Several months had passed and I randomly checked the manufacturer website before preparing for this install. I noticed the design on the website changed. It was a 2-piece bushing. I contacted PSB and they confirmed the design was updated. Per PSB:
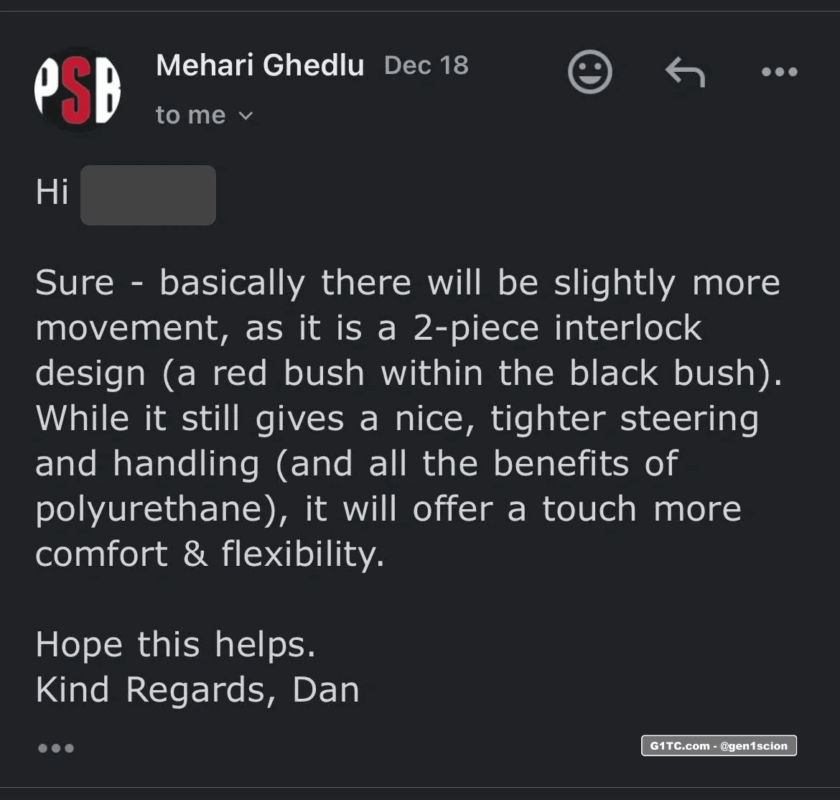
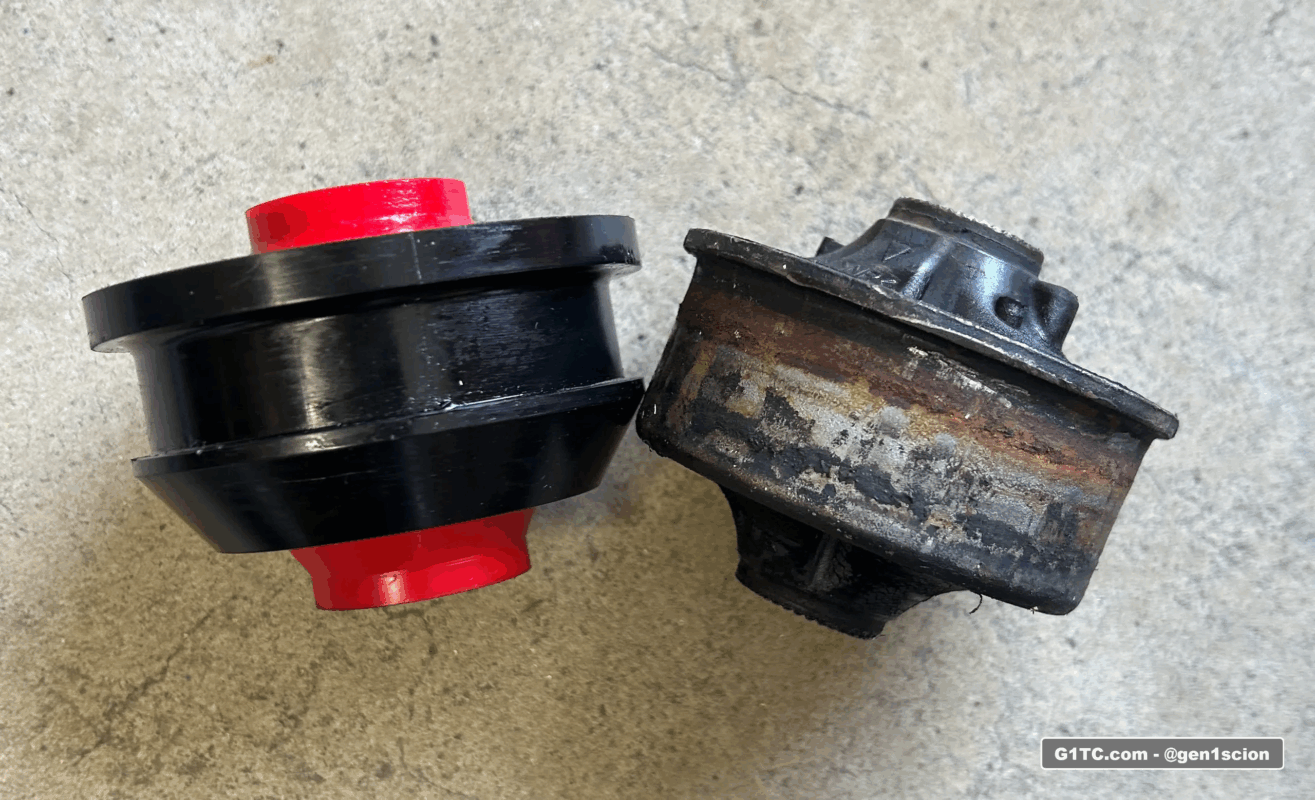
I ordered the new PSB revised bushing. There was no change to the front (outer) bushing, only the rear (inner) bushing. In a follow up email to PSB they gave me the durometer specs:
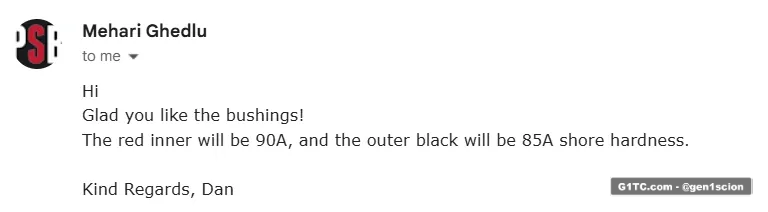
PSB 2-piece interlock bushings red inner 90a and black outer 85a
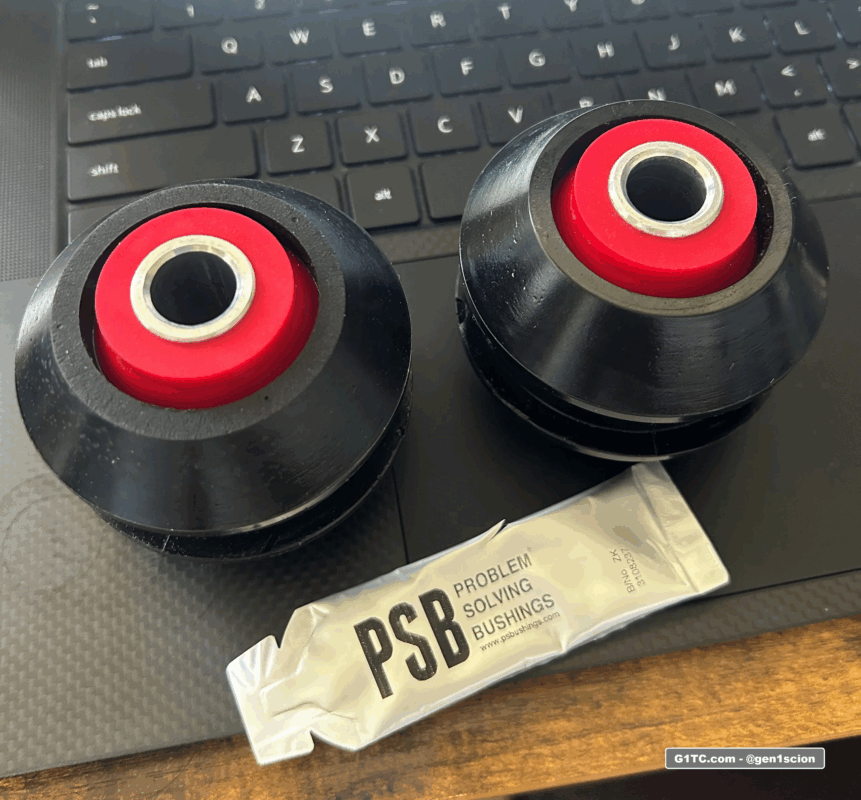
PSB 216 2-piece interlock lower control arm poly urethane bushings 2005-2010 Scion tc
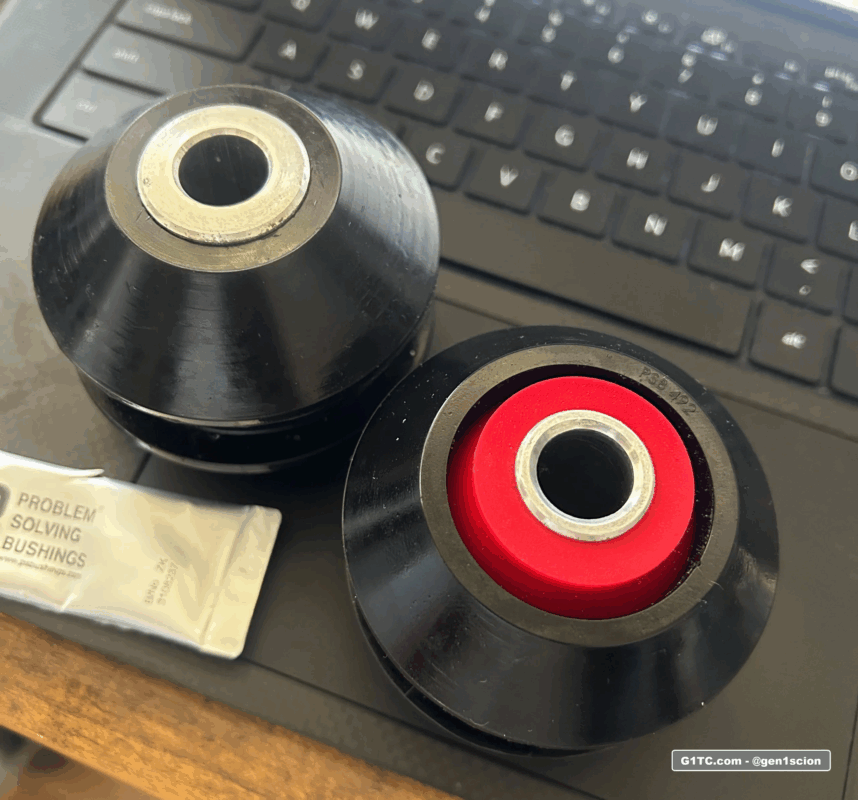
PSB Scion tC Bushings original solid and 492 2-piece design
After measuring the PSB492 (pictured above) I discovered it was too small. I emailed PSB support and provided them with my measurements. They sent me PSB216 instead.
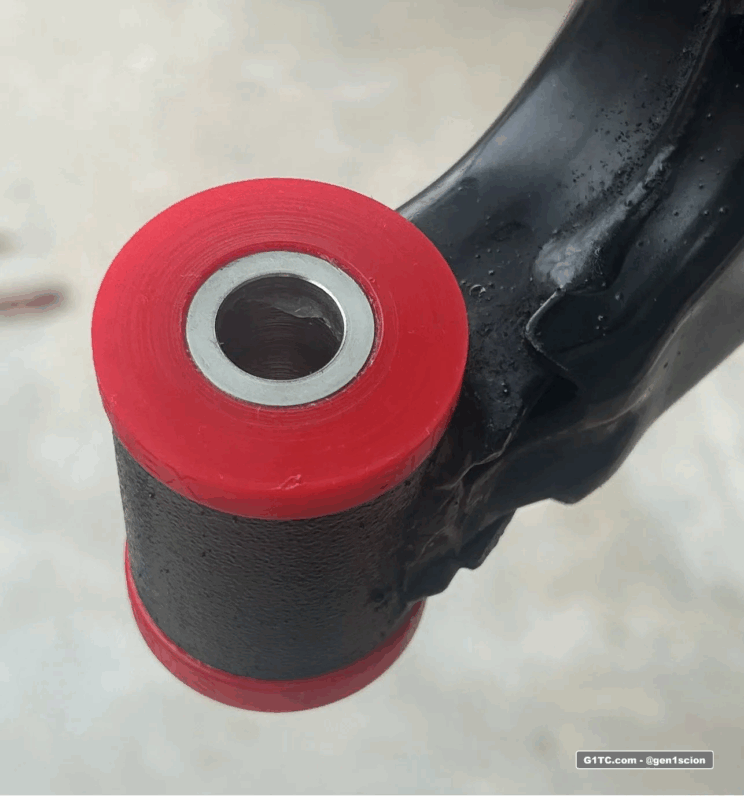
Front outer bushingI found this interesting company on eBay, Durable.parts. They brand StrongFlex polyurethane components and they have a part for just the front outer bushing.
-
StrongFlex p/n 211980B Red, 80 SHA
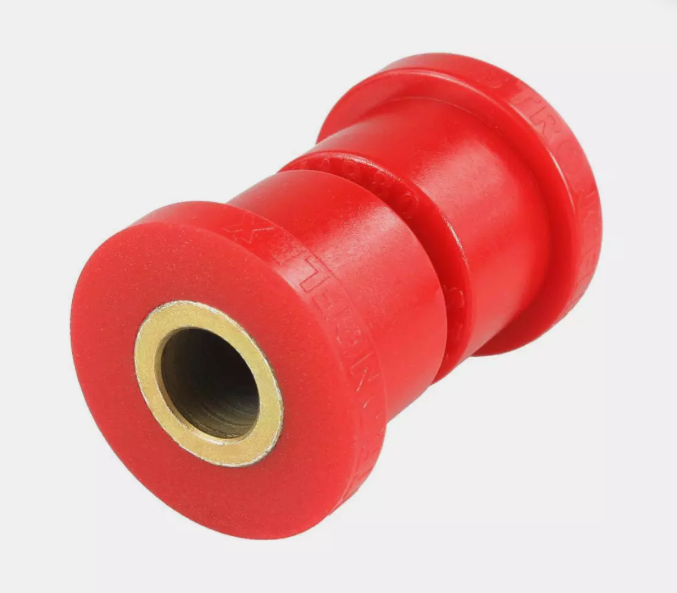
strongflex red outer lower control arm bushing
-
StrongFlex p/n 211980A Yellow, 90 SHA
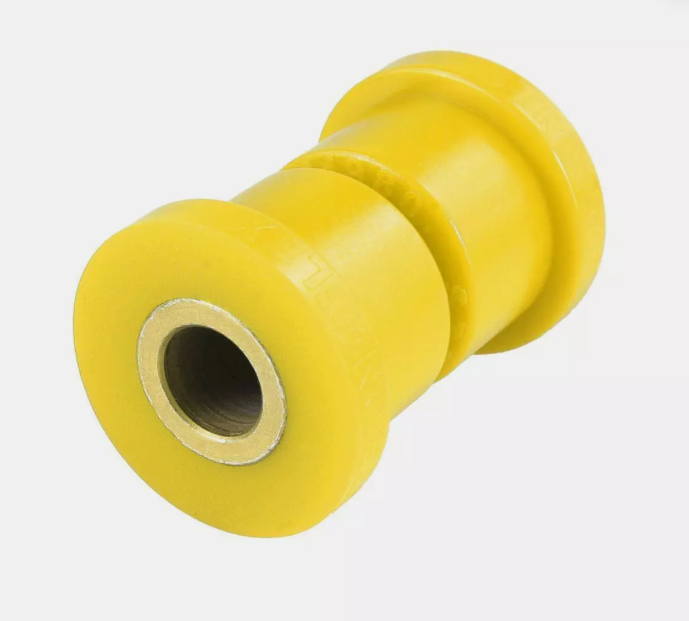
strongflex yellow outer lower control arm bushing
Info from the manufacturer’s website – “Choosing the Right Hardness: PU bushings come in different hardness levels, typically measured on the Shore A scale. Deciding between 80 SHA and 90 SHA hardness depends on individual preferences and driving requirements. For those prioritizing comfort and everyday driving, 80 SHA bushings offer a slightly softer ride. Conversely, 90 SHA bushings provide firmer support and tighter handling, making them ideal for enthusiasts seeking maximum performance. “
I looked up the “Shore A Scale” and the best info I can find is that means “durometer”. But just know there are different scales. For daily driving I decided to purchase the red 80 SHA bushings.
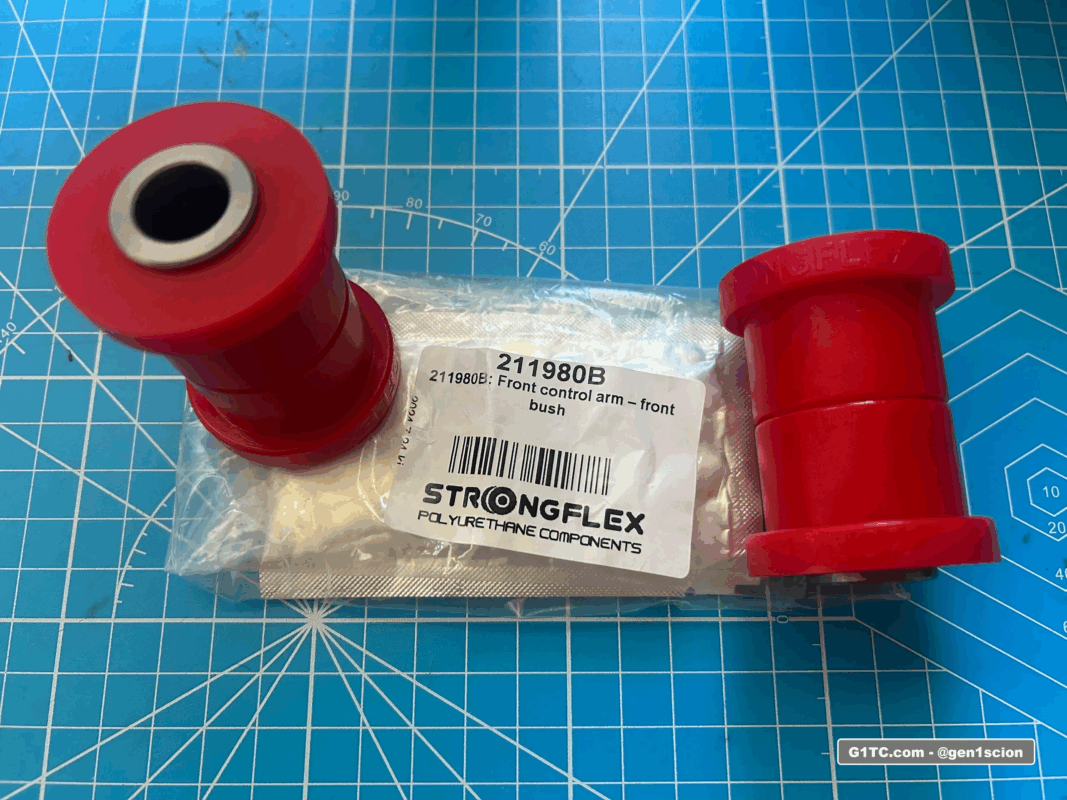
strongflex 211980B for ANT10 scion tc
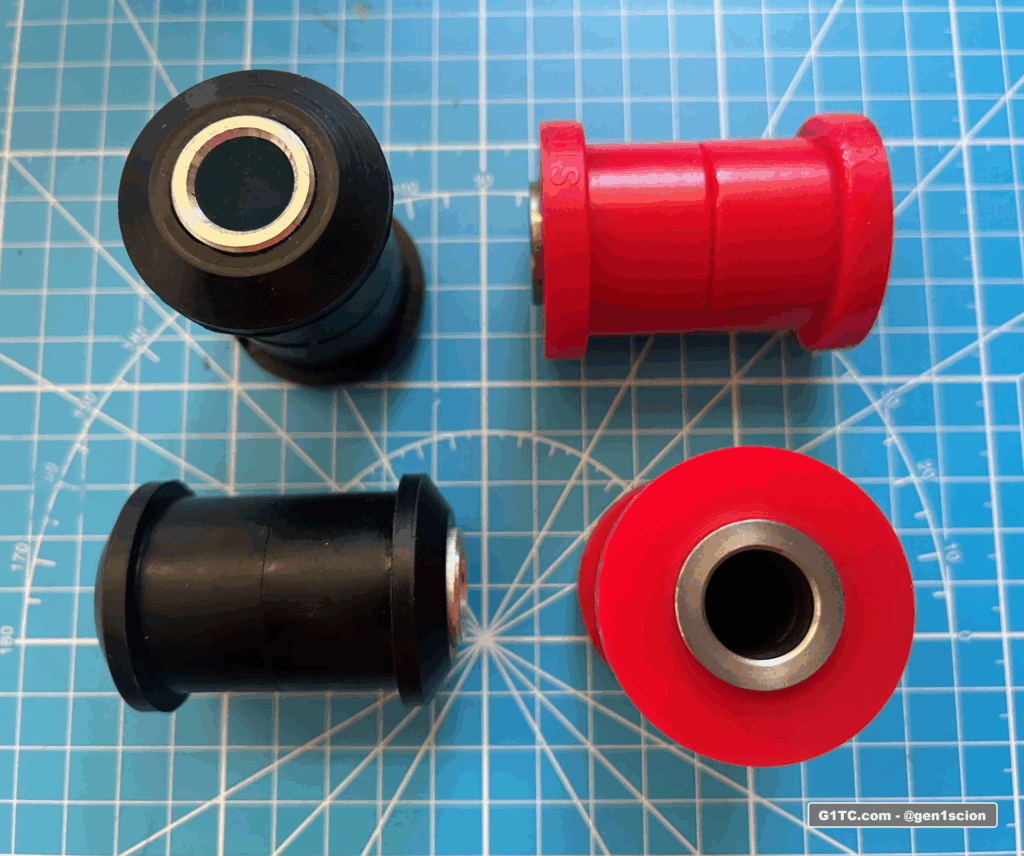
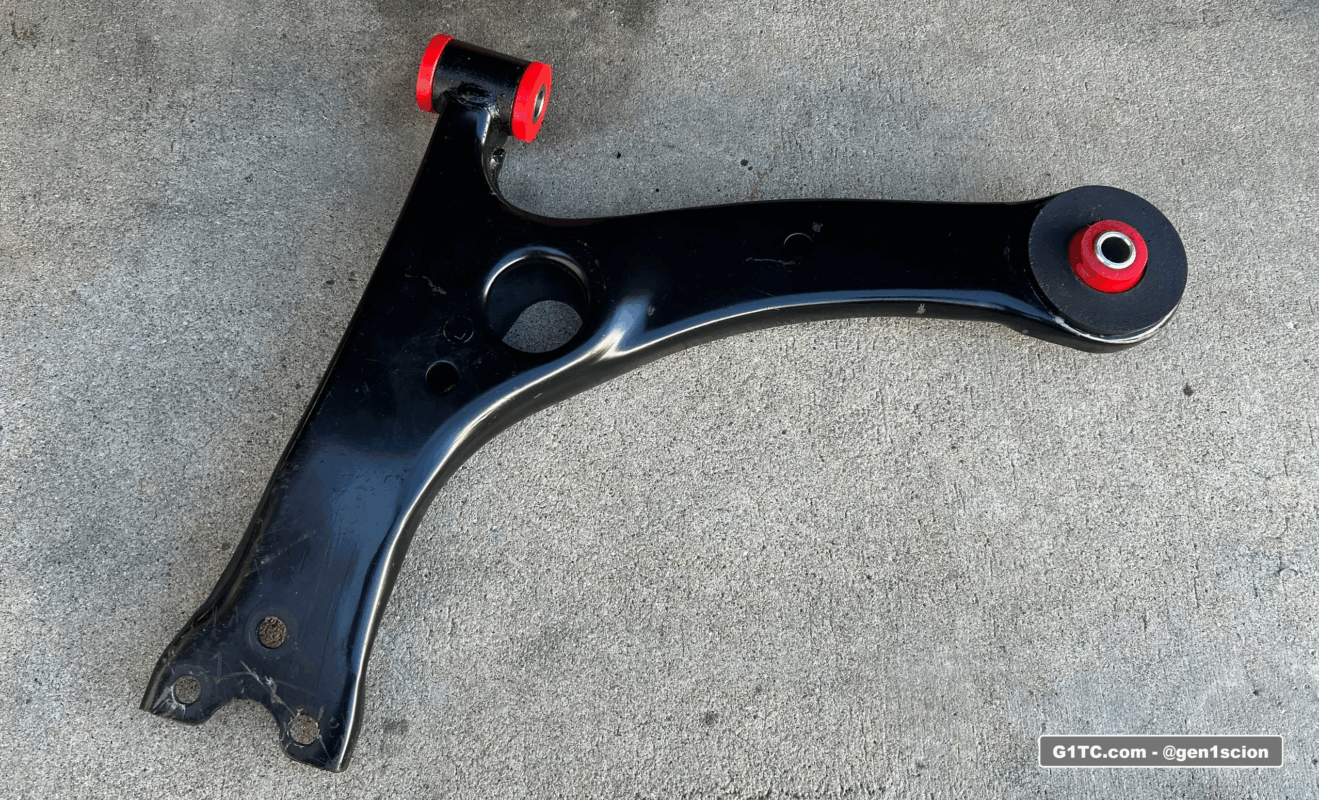
2005-2010 Scion tC lower control arm polyurethane bushings PSB and Strong Flex compared
Total cost
Total cost for the setup you’re looking at was about $100. That’s the PSB 2-piece interlock rear inner bushings and the StrongFlex (Durable.parts) red 80 SHA front outer bushings. This is pieced together but priced just below the Energy Suspension 8.3120 kit.
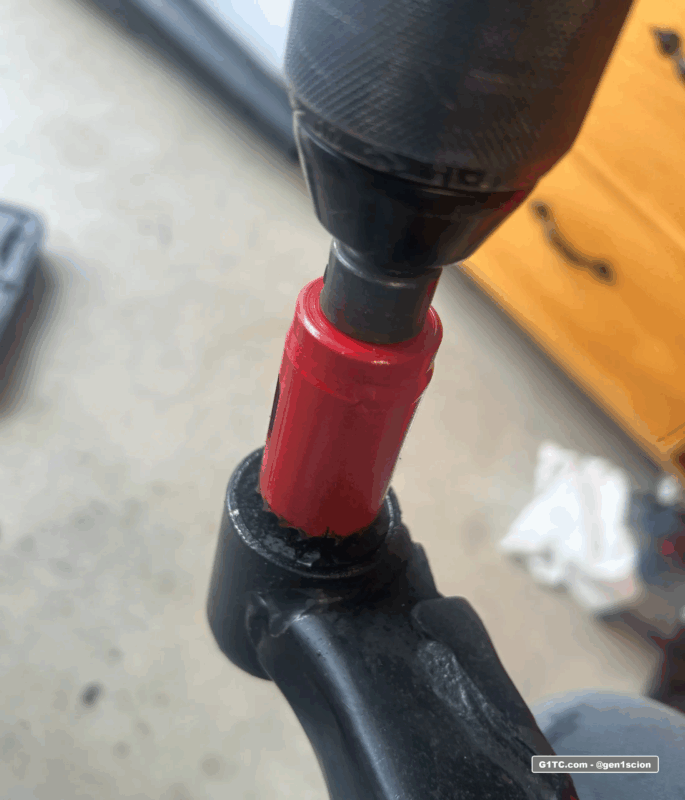
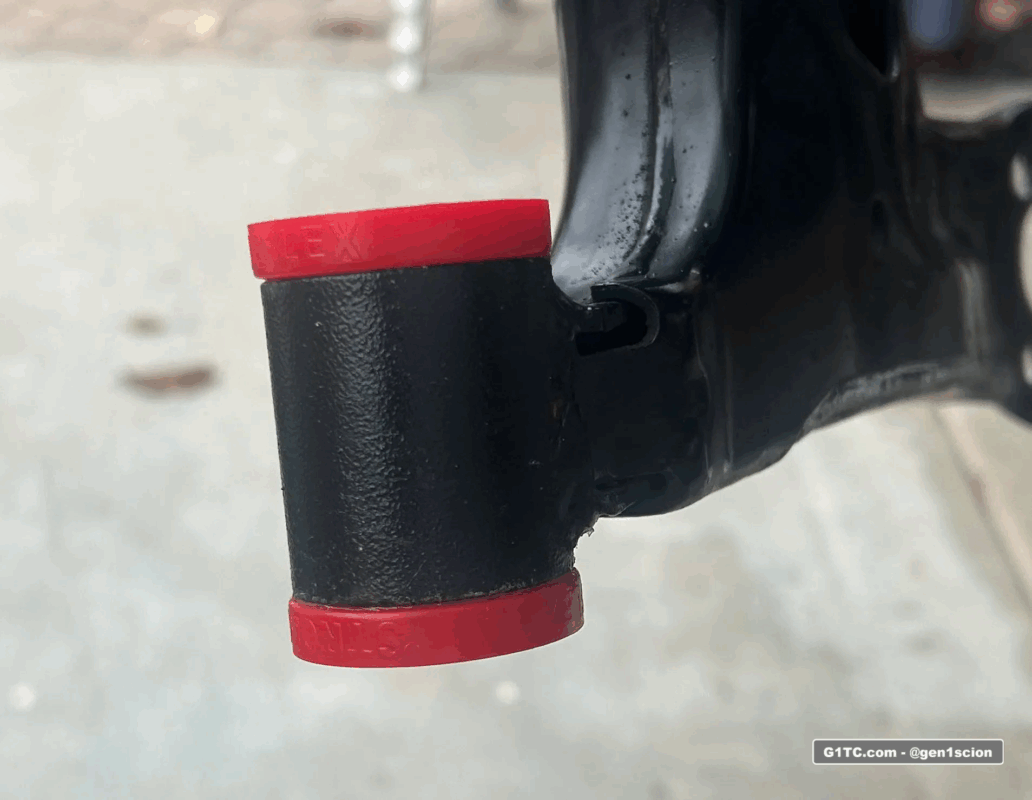
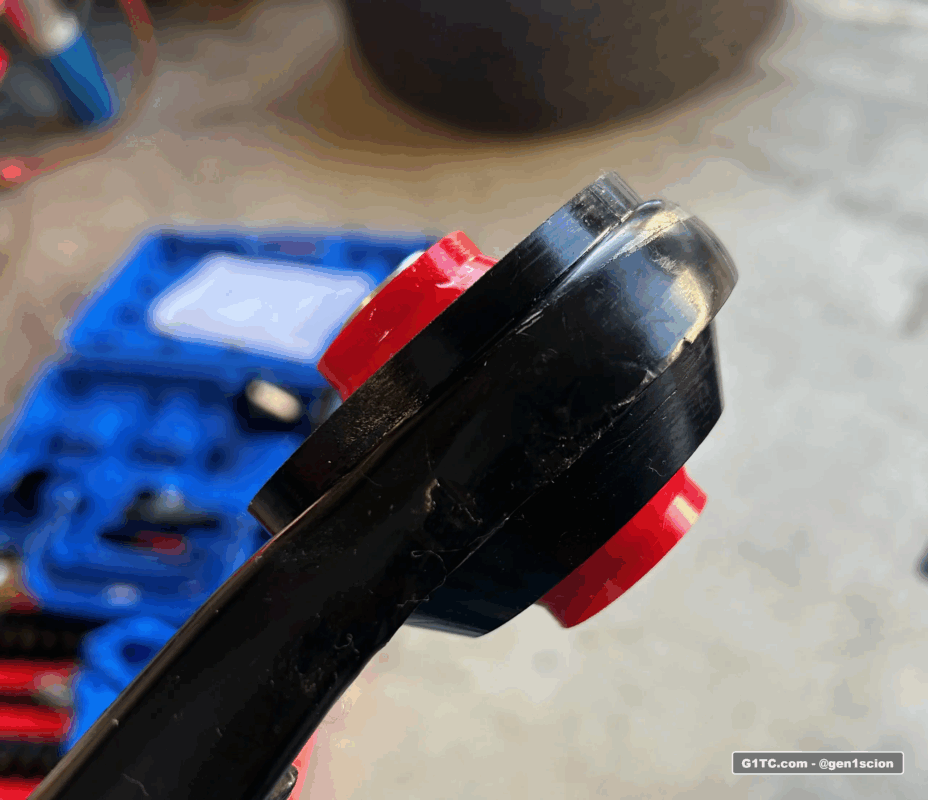
Removal photos
For the smaller bushing you can burn the rubber or you can cut off the flange with a hole saw and then just press the bushing out easier.
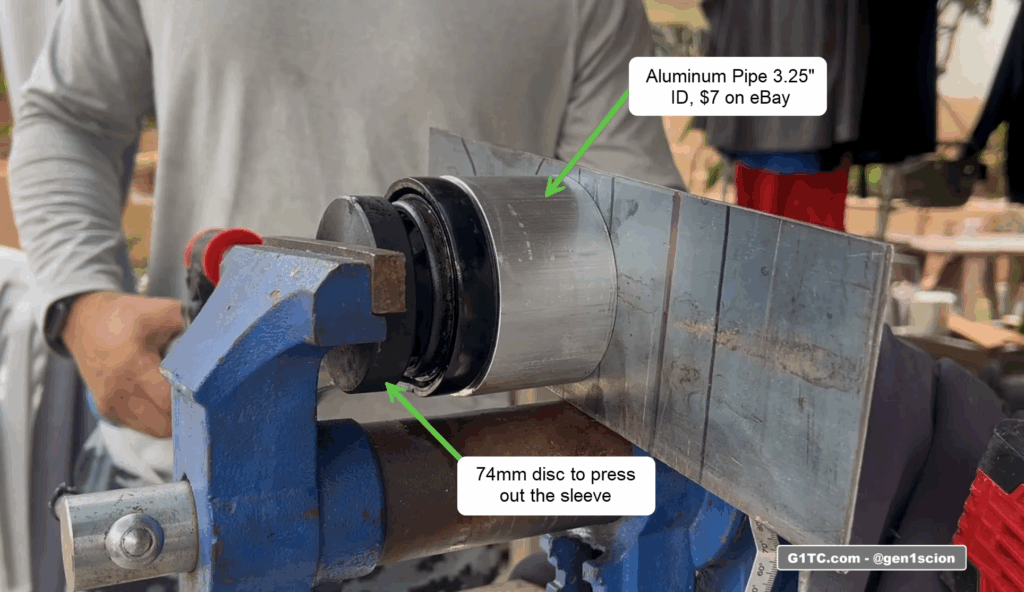
Removing the larger inside bushing
1. You can burn the rubber out, then cut the sleeve.
2. You can also tap out the sleeve by hammering around the exposed edges.
3. Or press it out. I choose to press it out, with a little heat from the Bernzomatic. Here’s the rig I used:
Installation Videos
Part 1
Part 2
Part 3
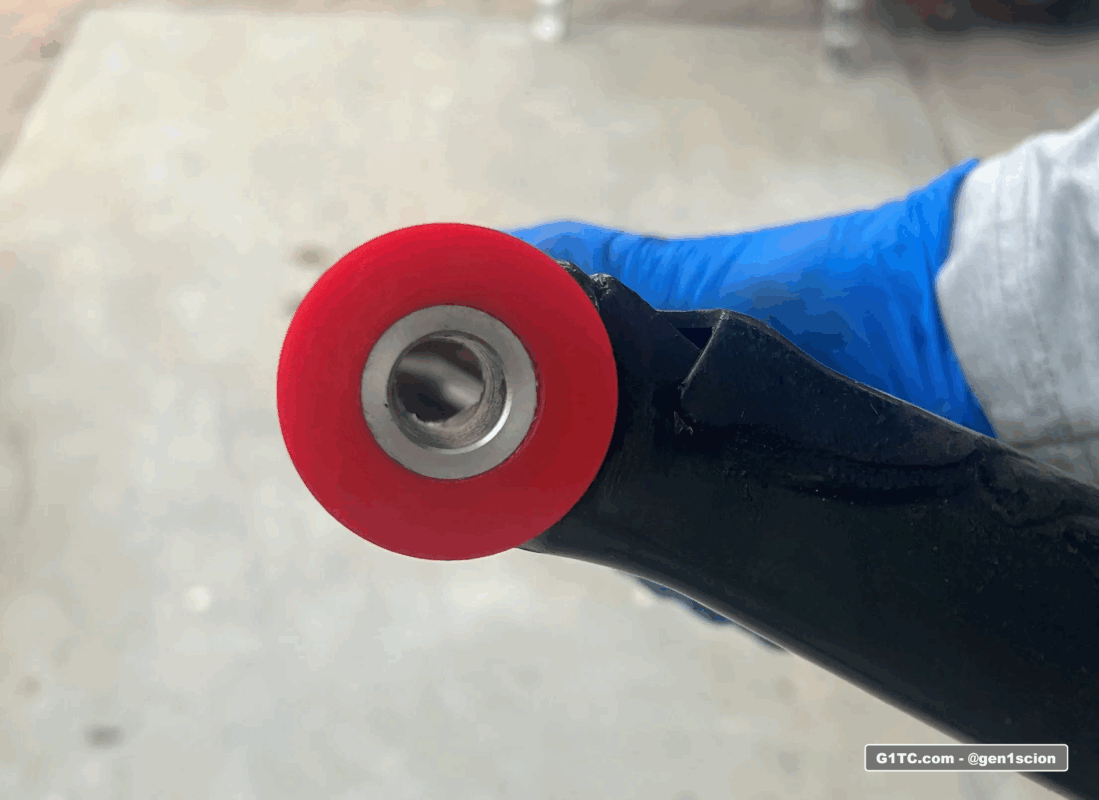
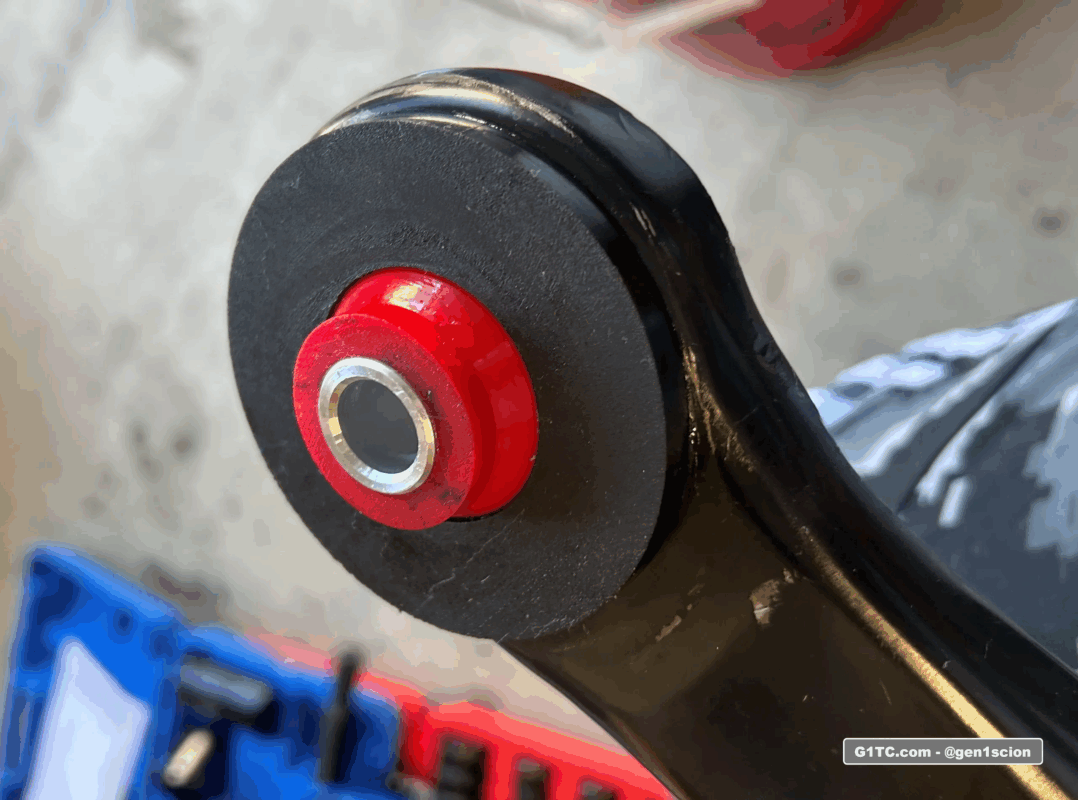
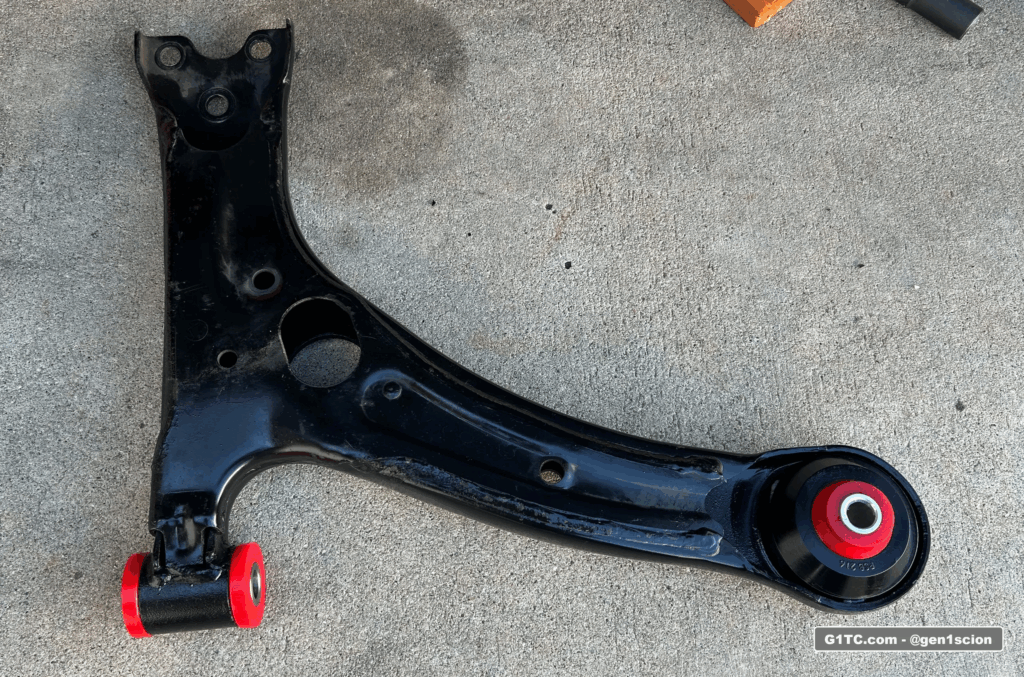
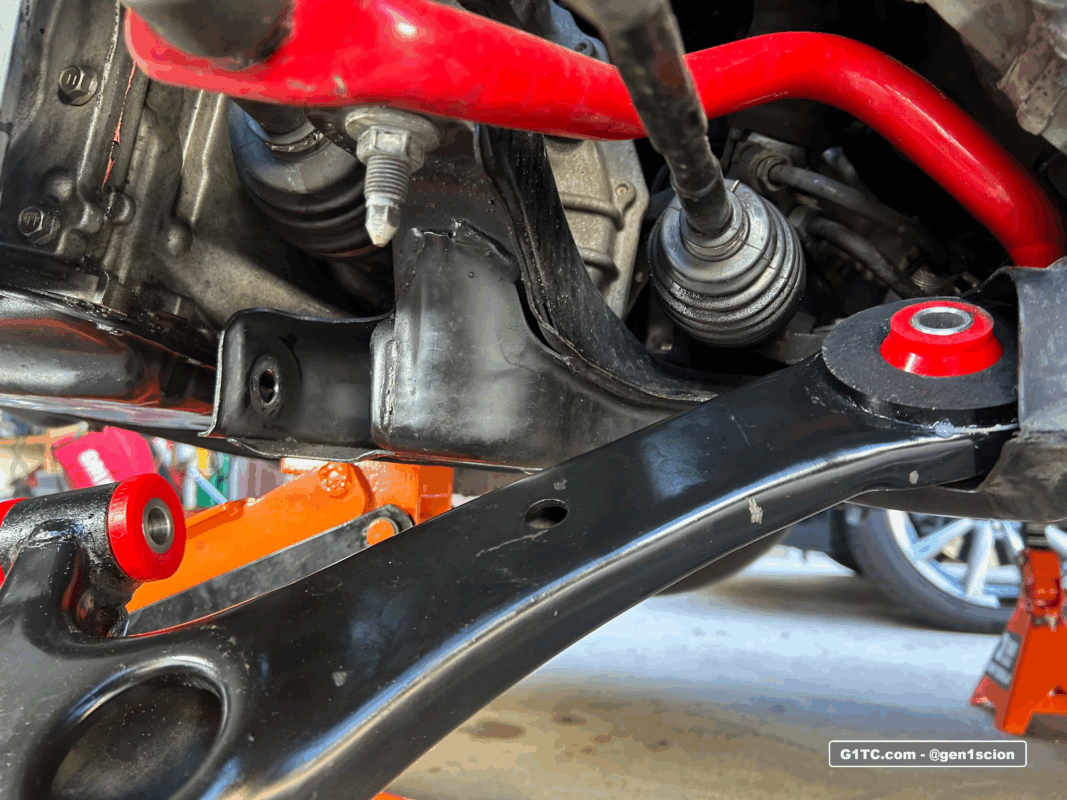
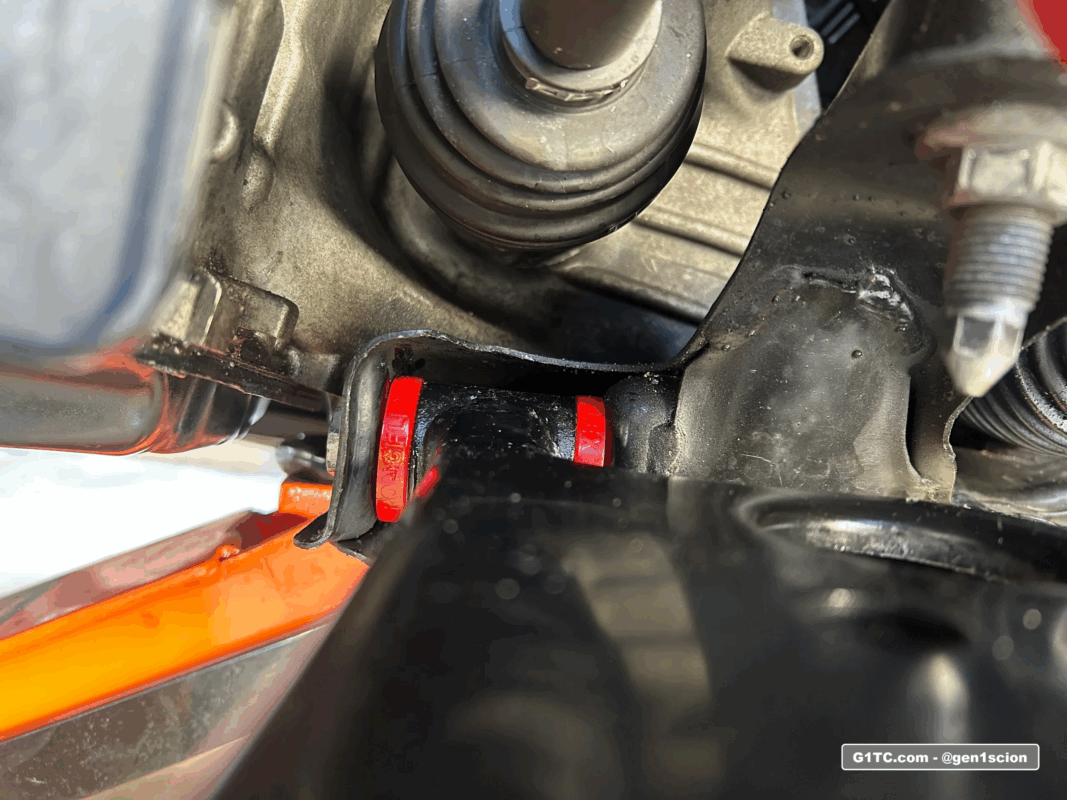
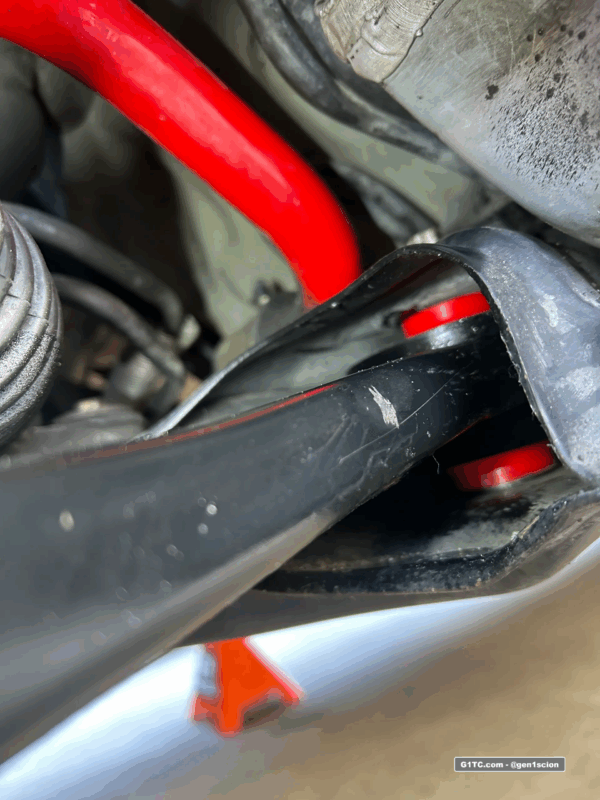
Final Install Photos

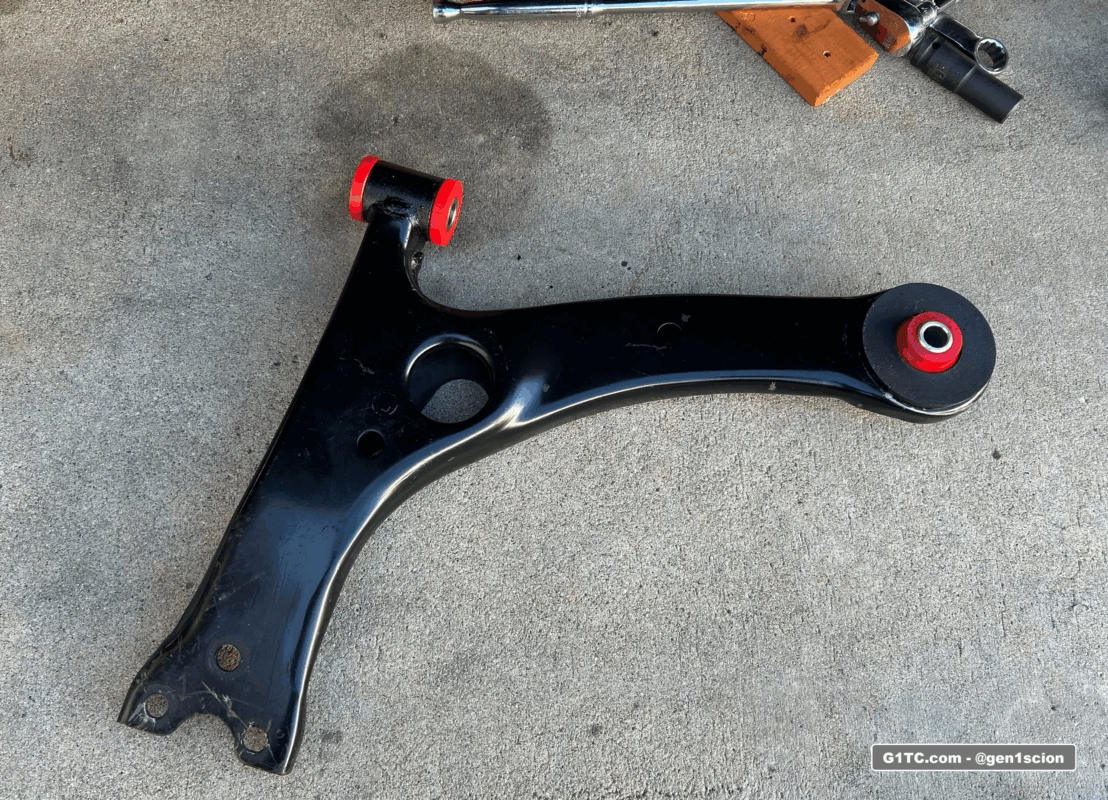
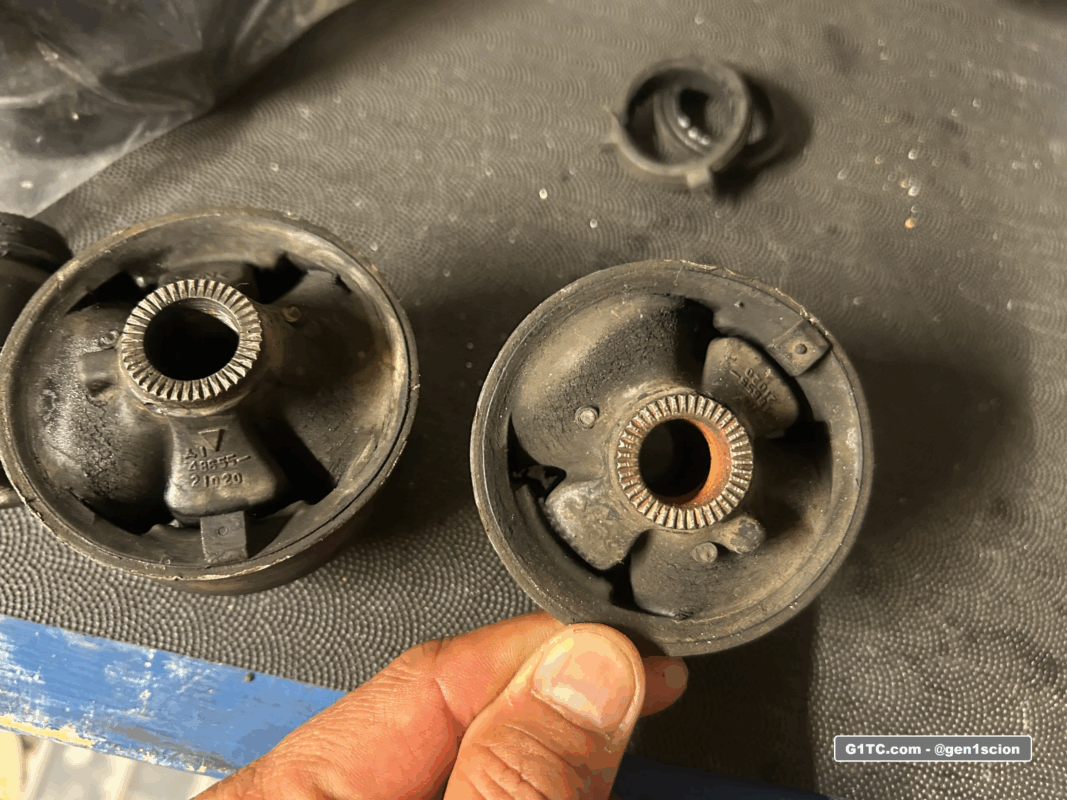
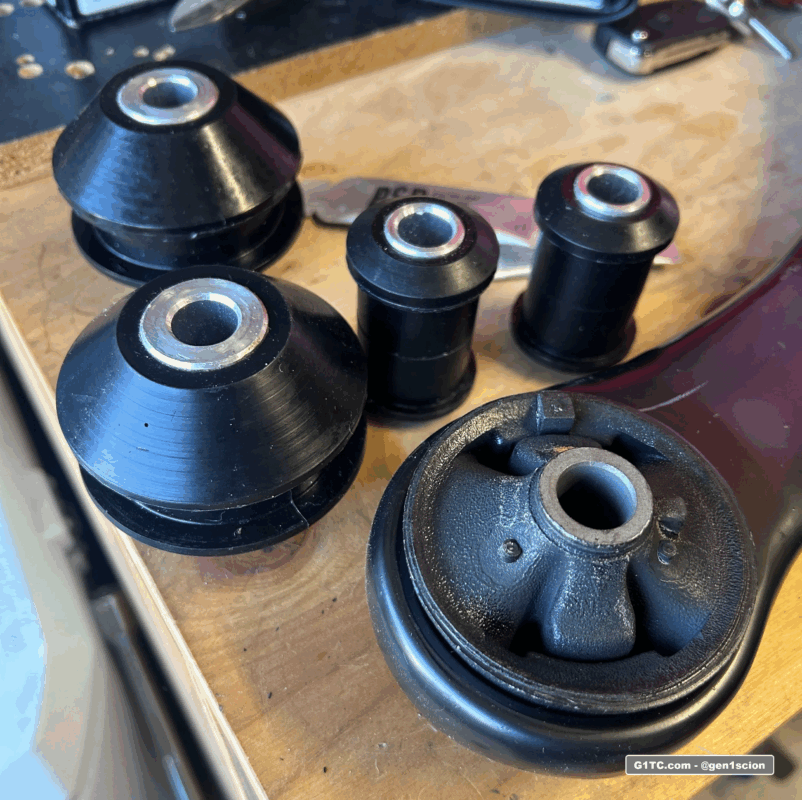
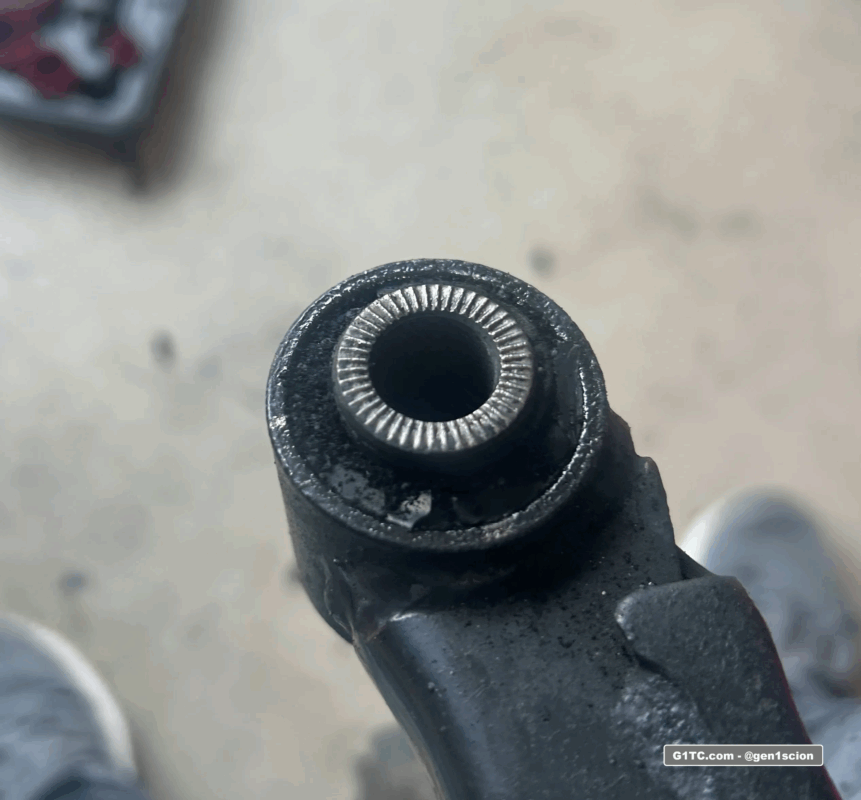
Here are my old bushings for reference, pulled at 239k miles.