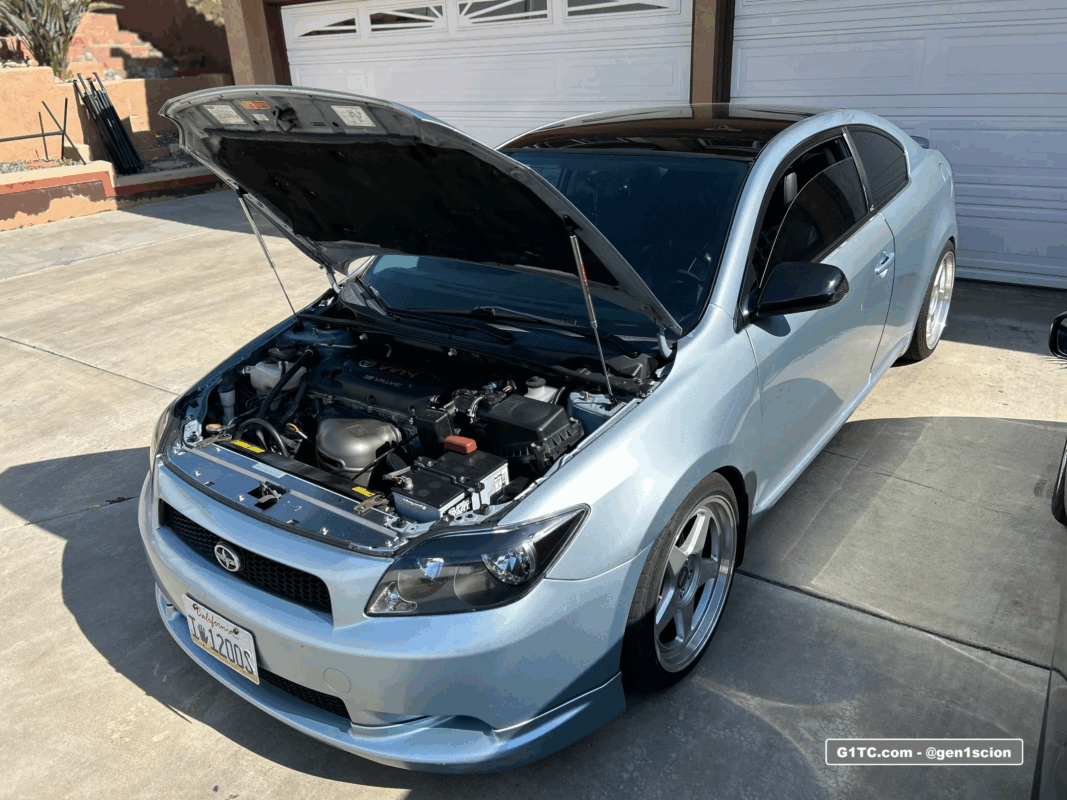
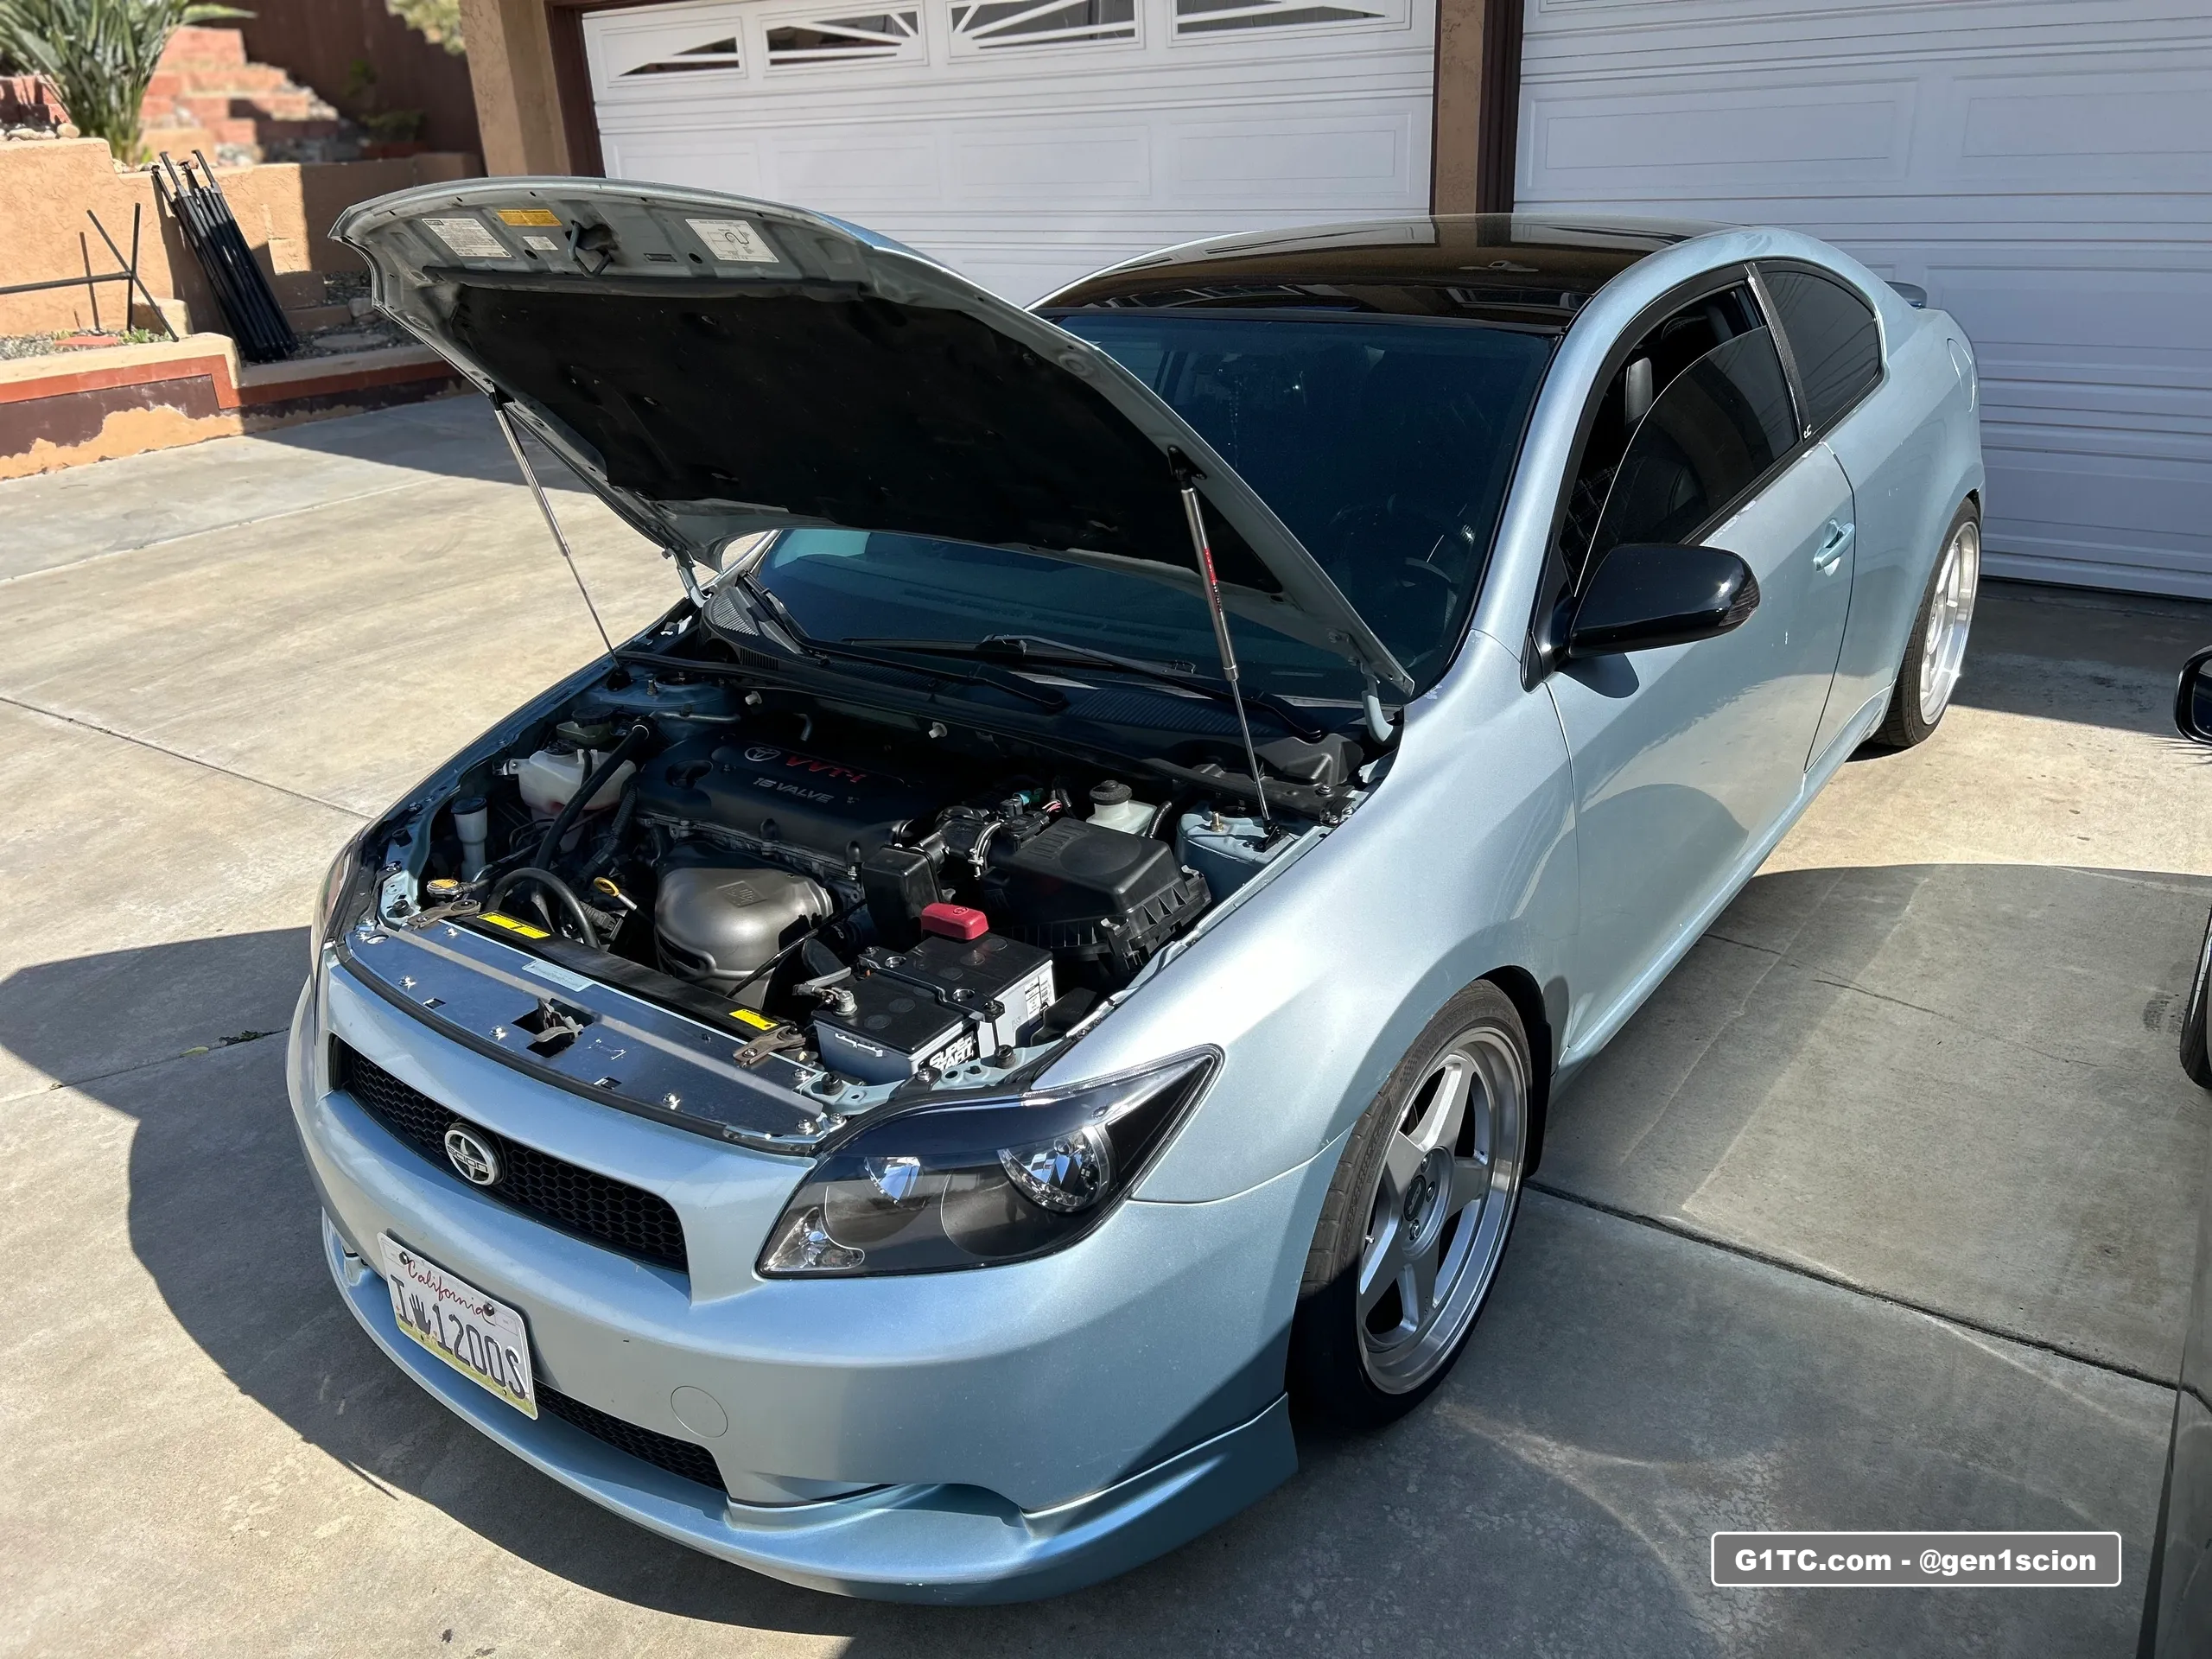
In this article I show you how to install the Redline Tuning 2005-2010 Scion tC Hood QuickLIFT ELITE (Mono-Strut System) – 21-33004-03 and show you how I use 2 of them for a symmetrical setup on my 1st Gen Scion tC.
Redline Tuning installation instructions (driver side only)
NO NEED TO MODIFY THE PASSENGER SIDE LIKE I’VE DONE BELOW.
Custom installation for passenger side
I had to modify the power steering reservoir bracket and coolant overflow bracket on the passenger side. I also had to trim the bracket nub at the fender where the coolant overflow tank bolts to.
I’ve seen other hood strut kits, here are my observations.
-
The bolt/mounting points result in a lower angle hood opening
-
The hardware attachment points look flimsy
-
The strut pinches the windshield wiper cowl
-
Those kits probably don’t have lift assist or soft open
The Redline tuning kit, although more expensive, comes in a stainless or plain black finish, props the hood up higher than the other kits, and also functions as a lift assist. It’s mounted at different points on the frame and hood so in my opinion a much better design.
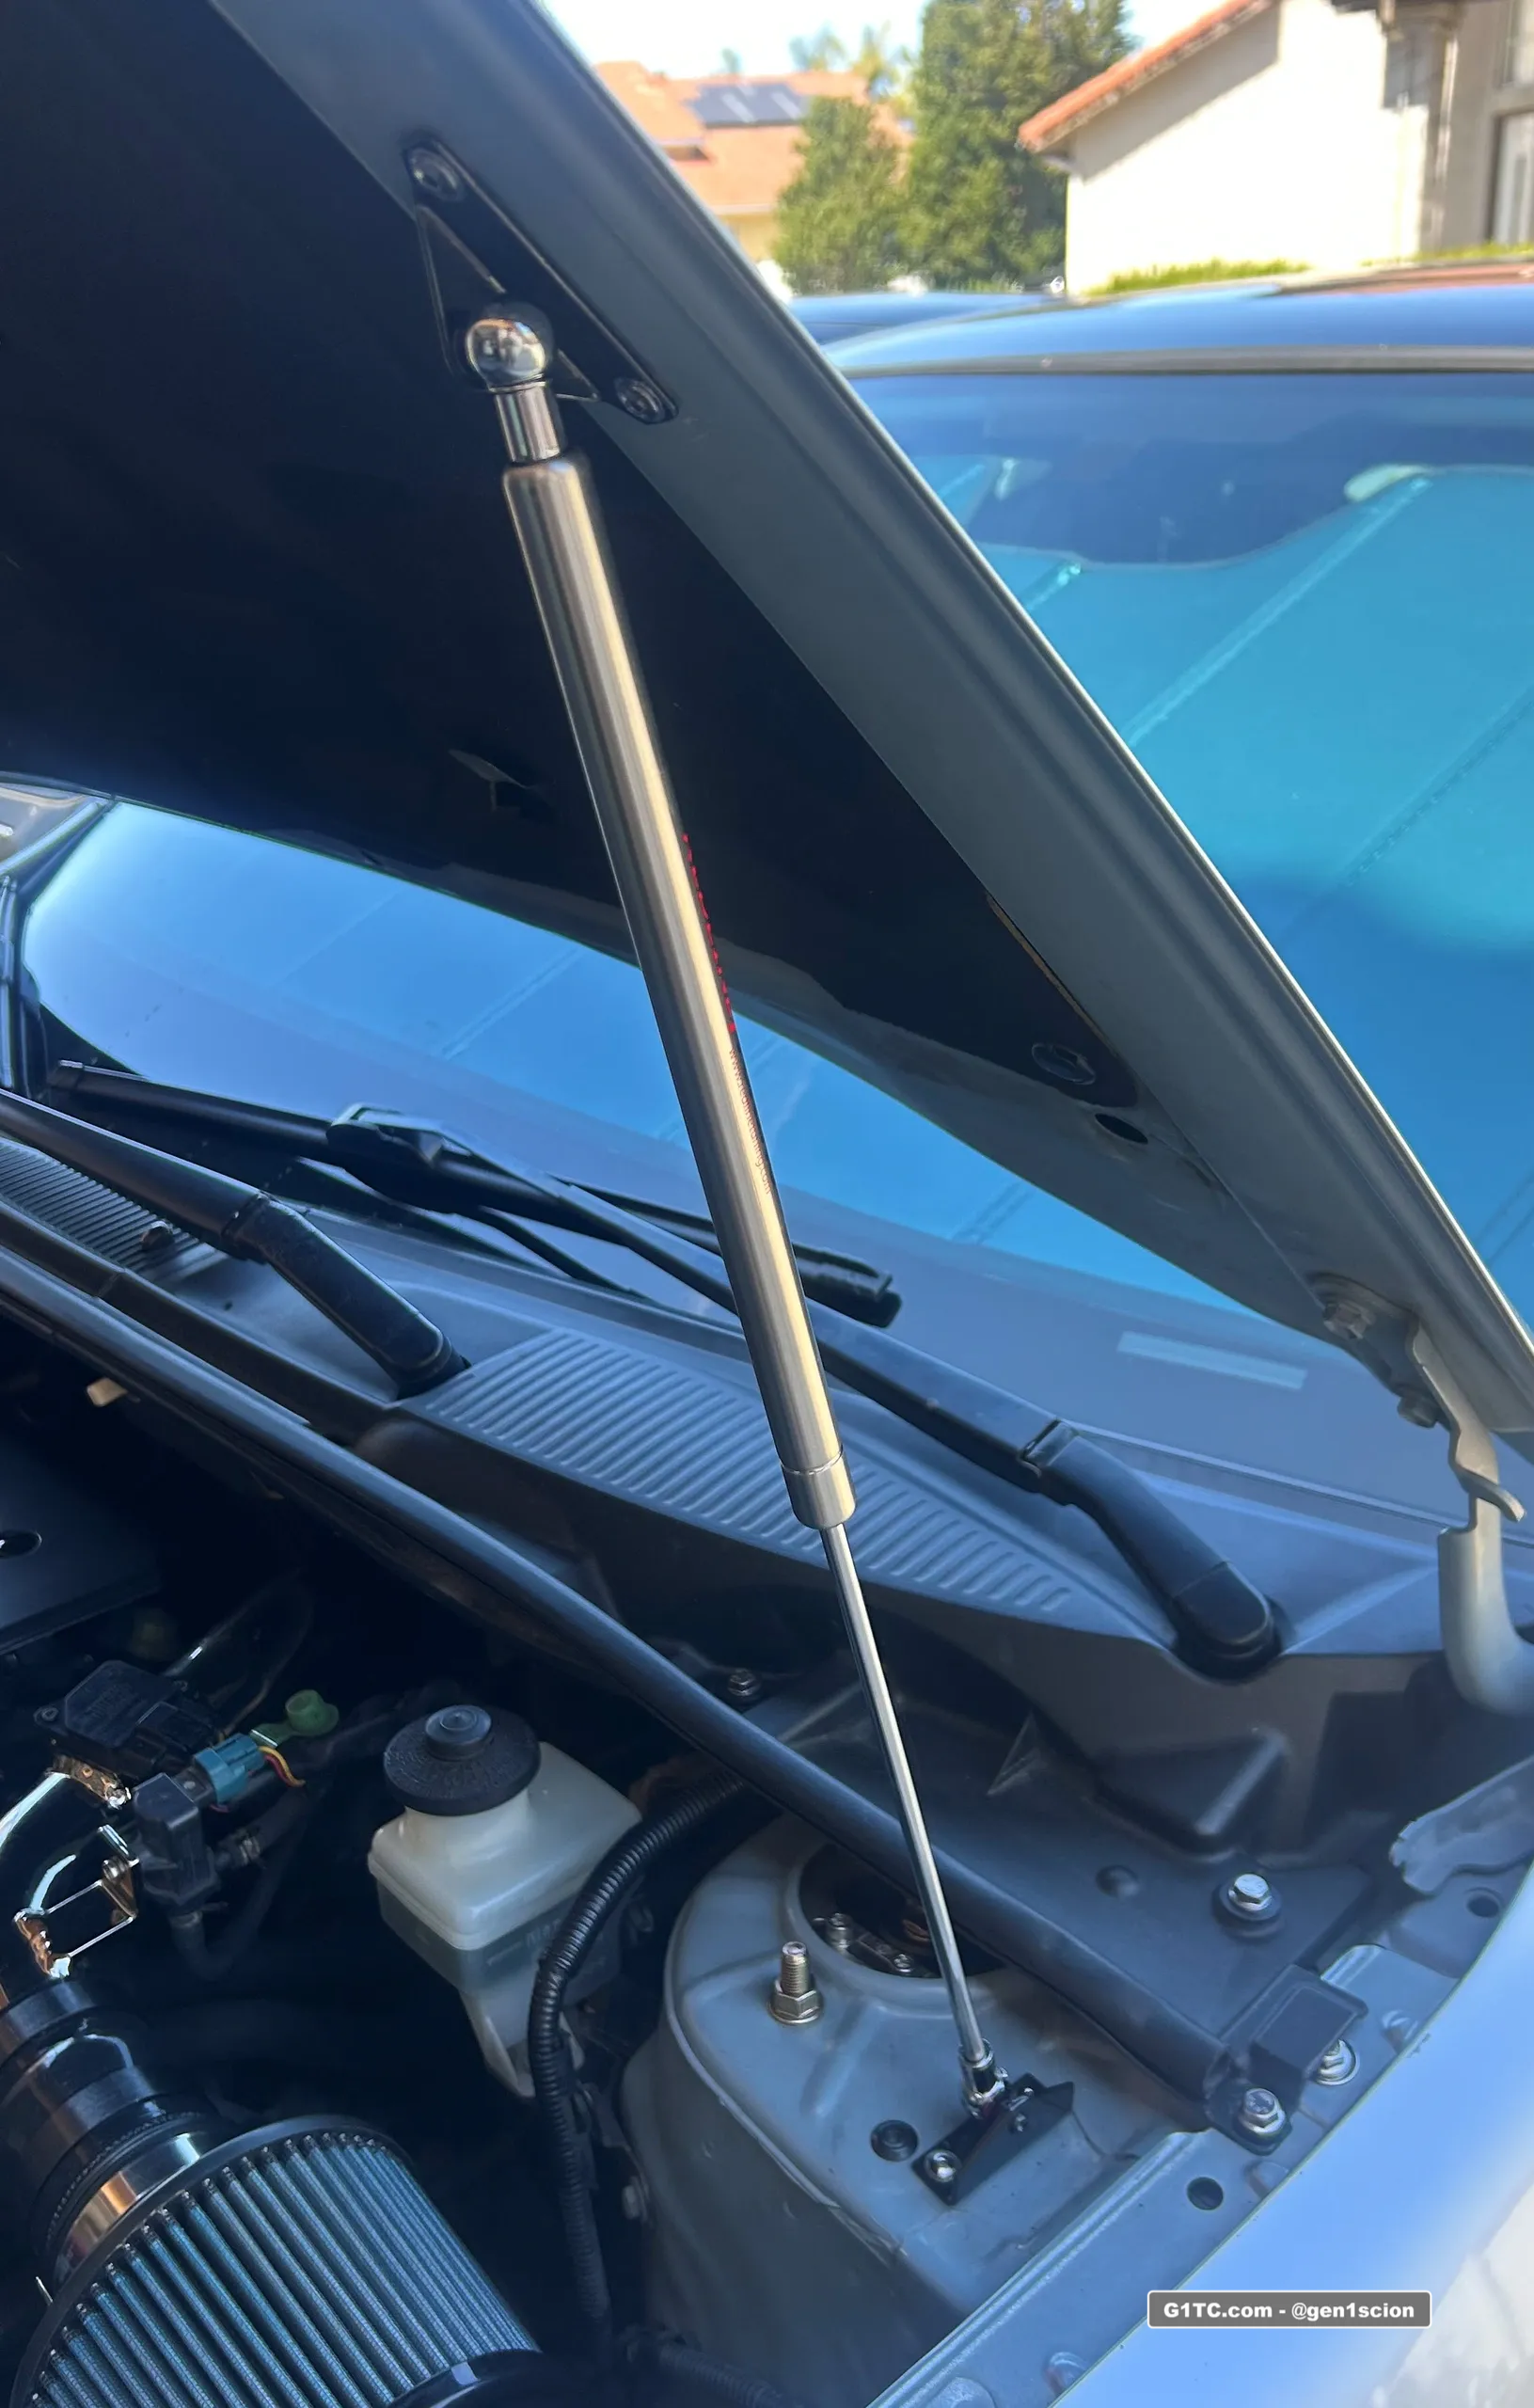
Here it is in action, one-handed lift assist and soft open and custom LED light kit installed
Installation Materials
-
Rivet tool (rivets are provided in the kit), drill
-
Power Drill
-
5/16″ socket and socket wrench
-
Fine permanent marker or felt tip pen
-
Tape Measure or ruler
-
Masking Tape
-
Hammer & center punch
Installation Tools
-
M5 flanged bolts, or you can use any M5 bolt + washer
-
Dremmel with metal cutting bits
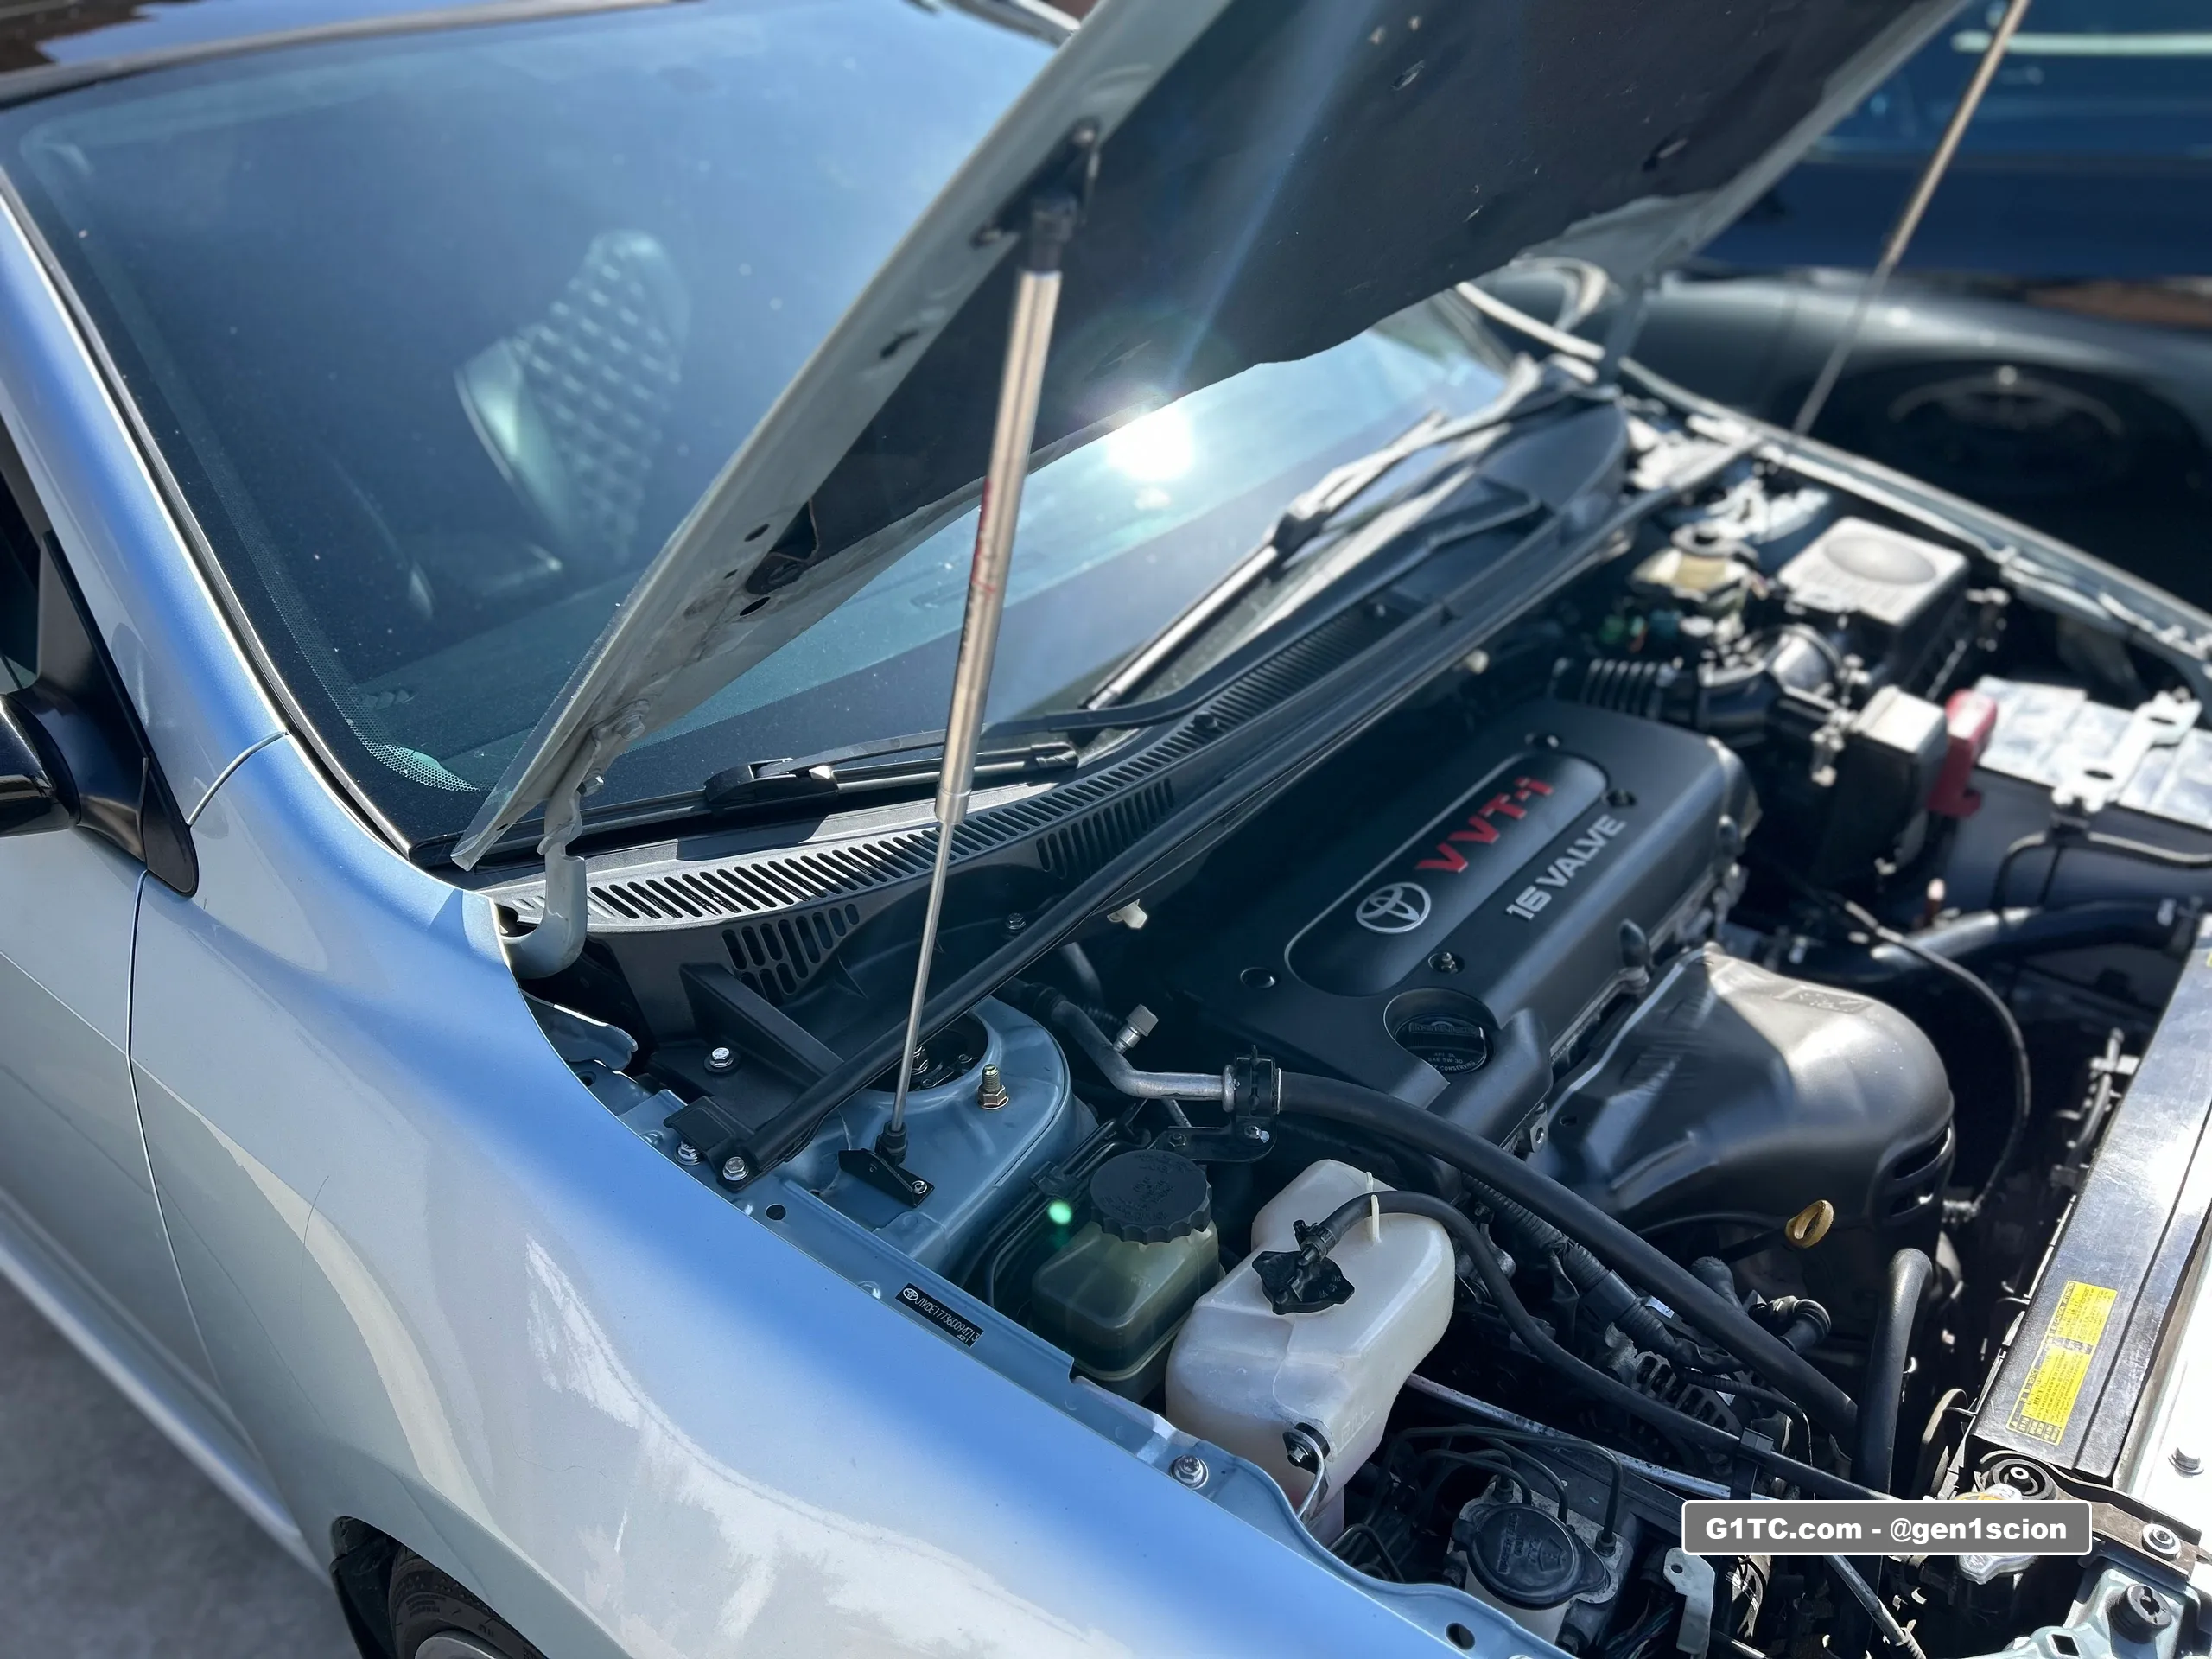
Installing the hood strut on the passenger side
-
Follow the default installation instructions provided by Redline Tuning for the driver’s side.
-
Below are photos and videos for the custom passenger side install.
-
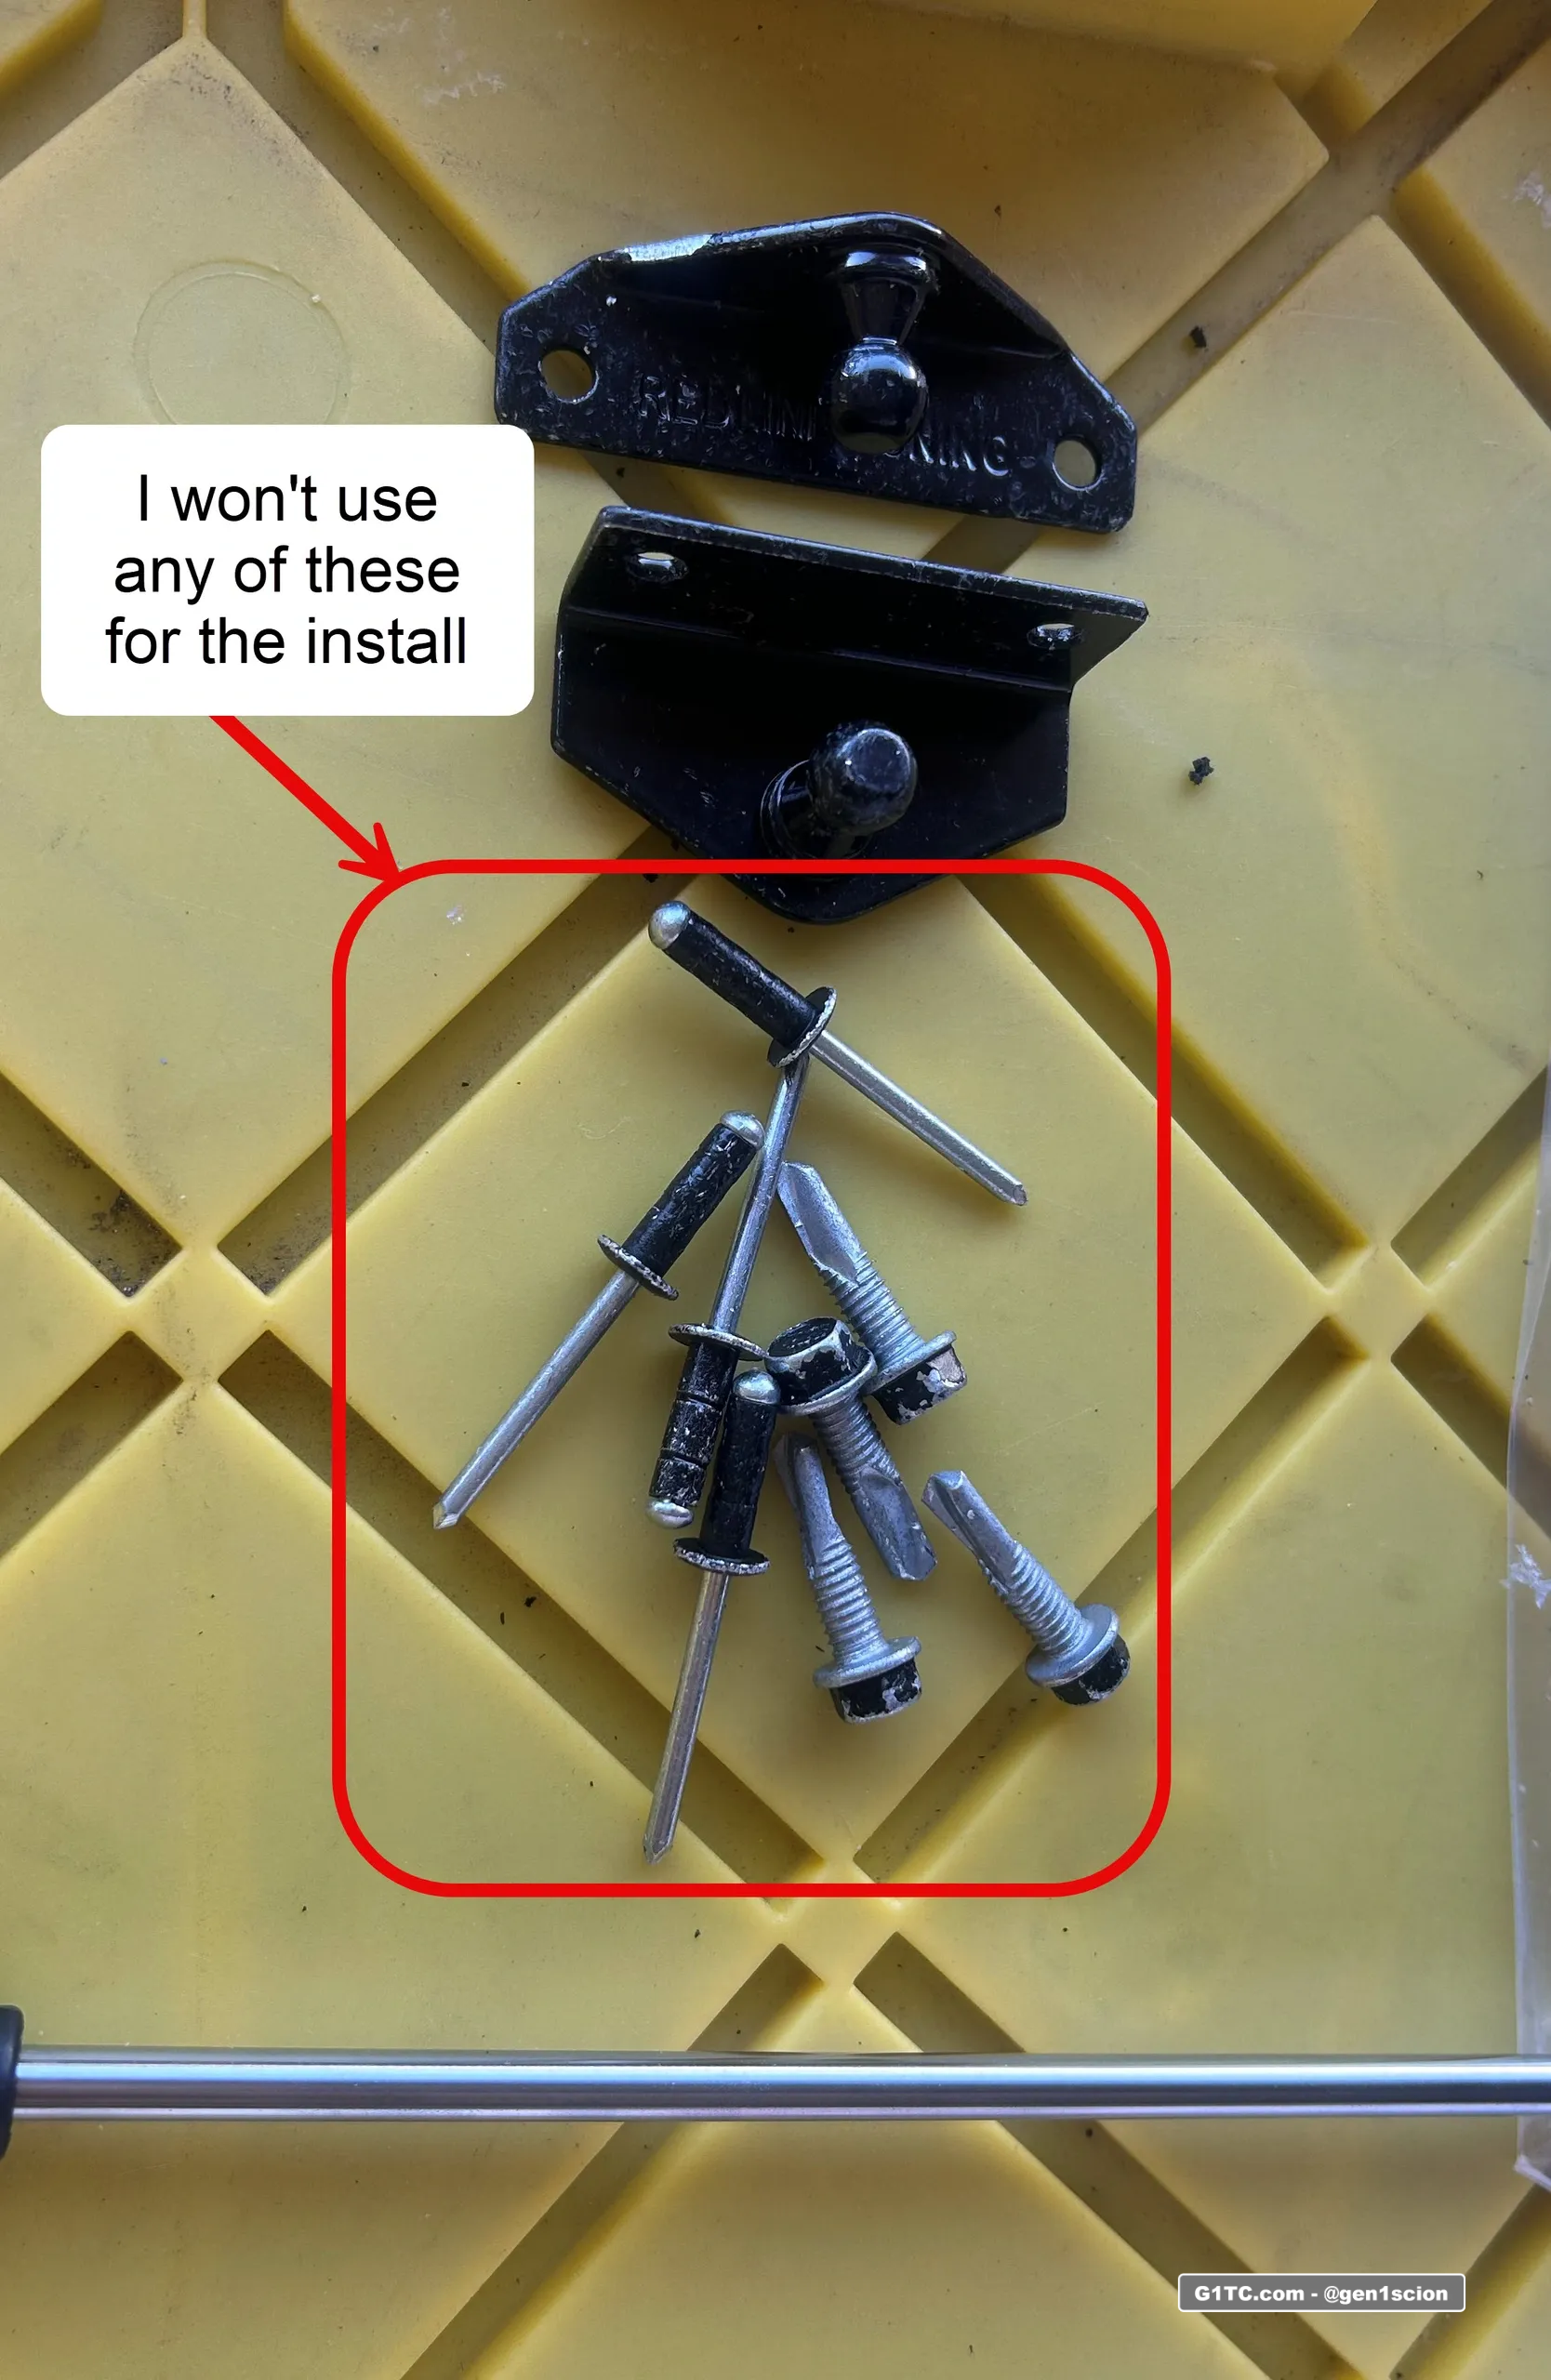
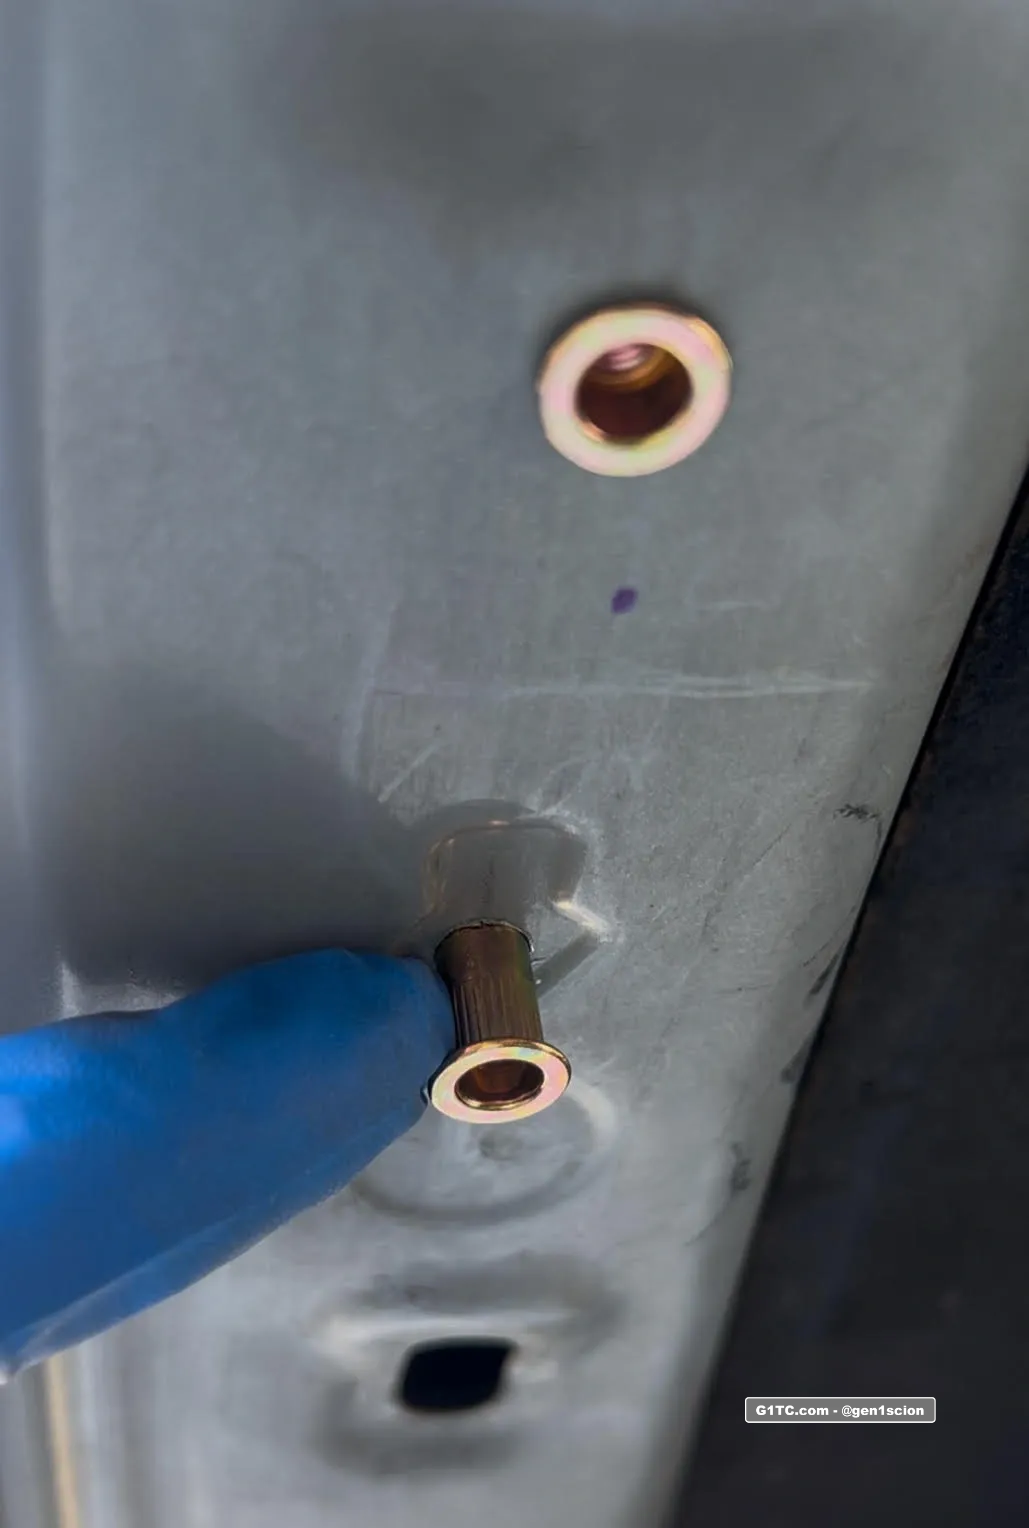
Reminder: I’m not using the hardware provided by Redline Tuning, I’m using rivnuts instead.
-
Reminder again: Everything I’m showing you below is passenger side. Use the default install procedure for driver’s side.
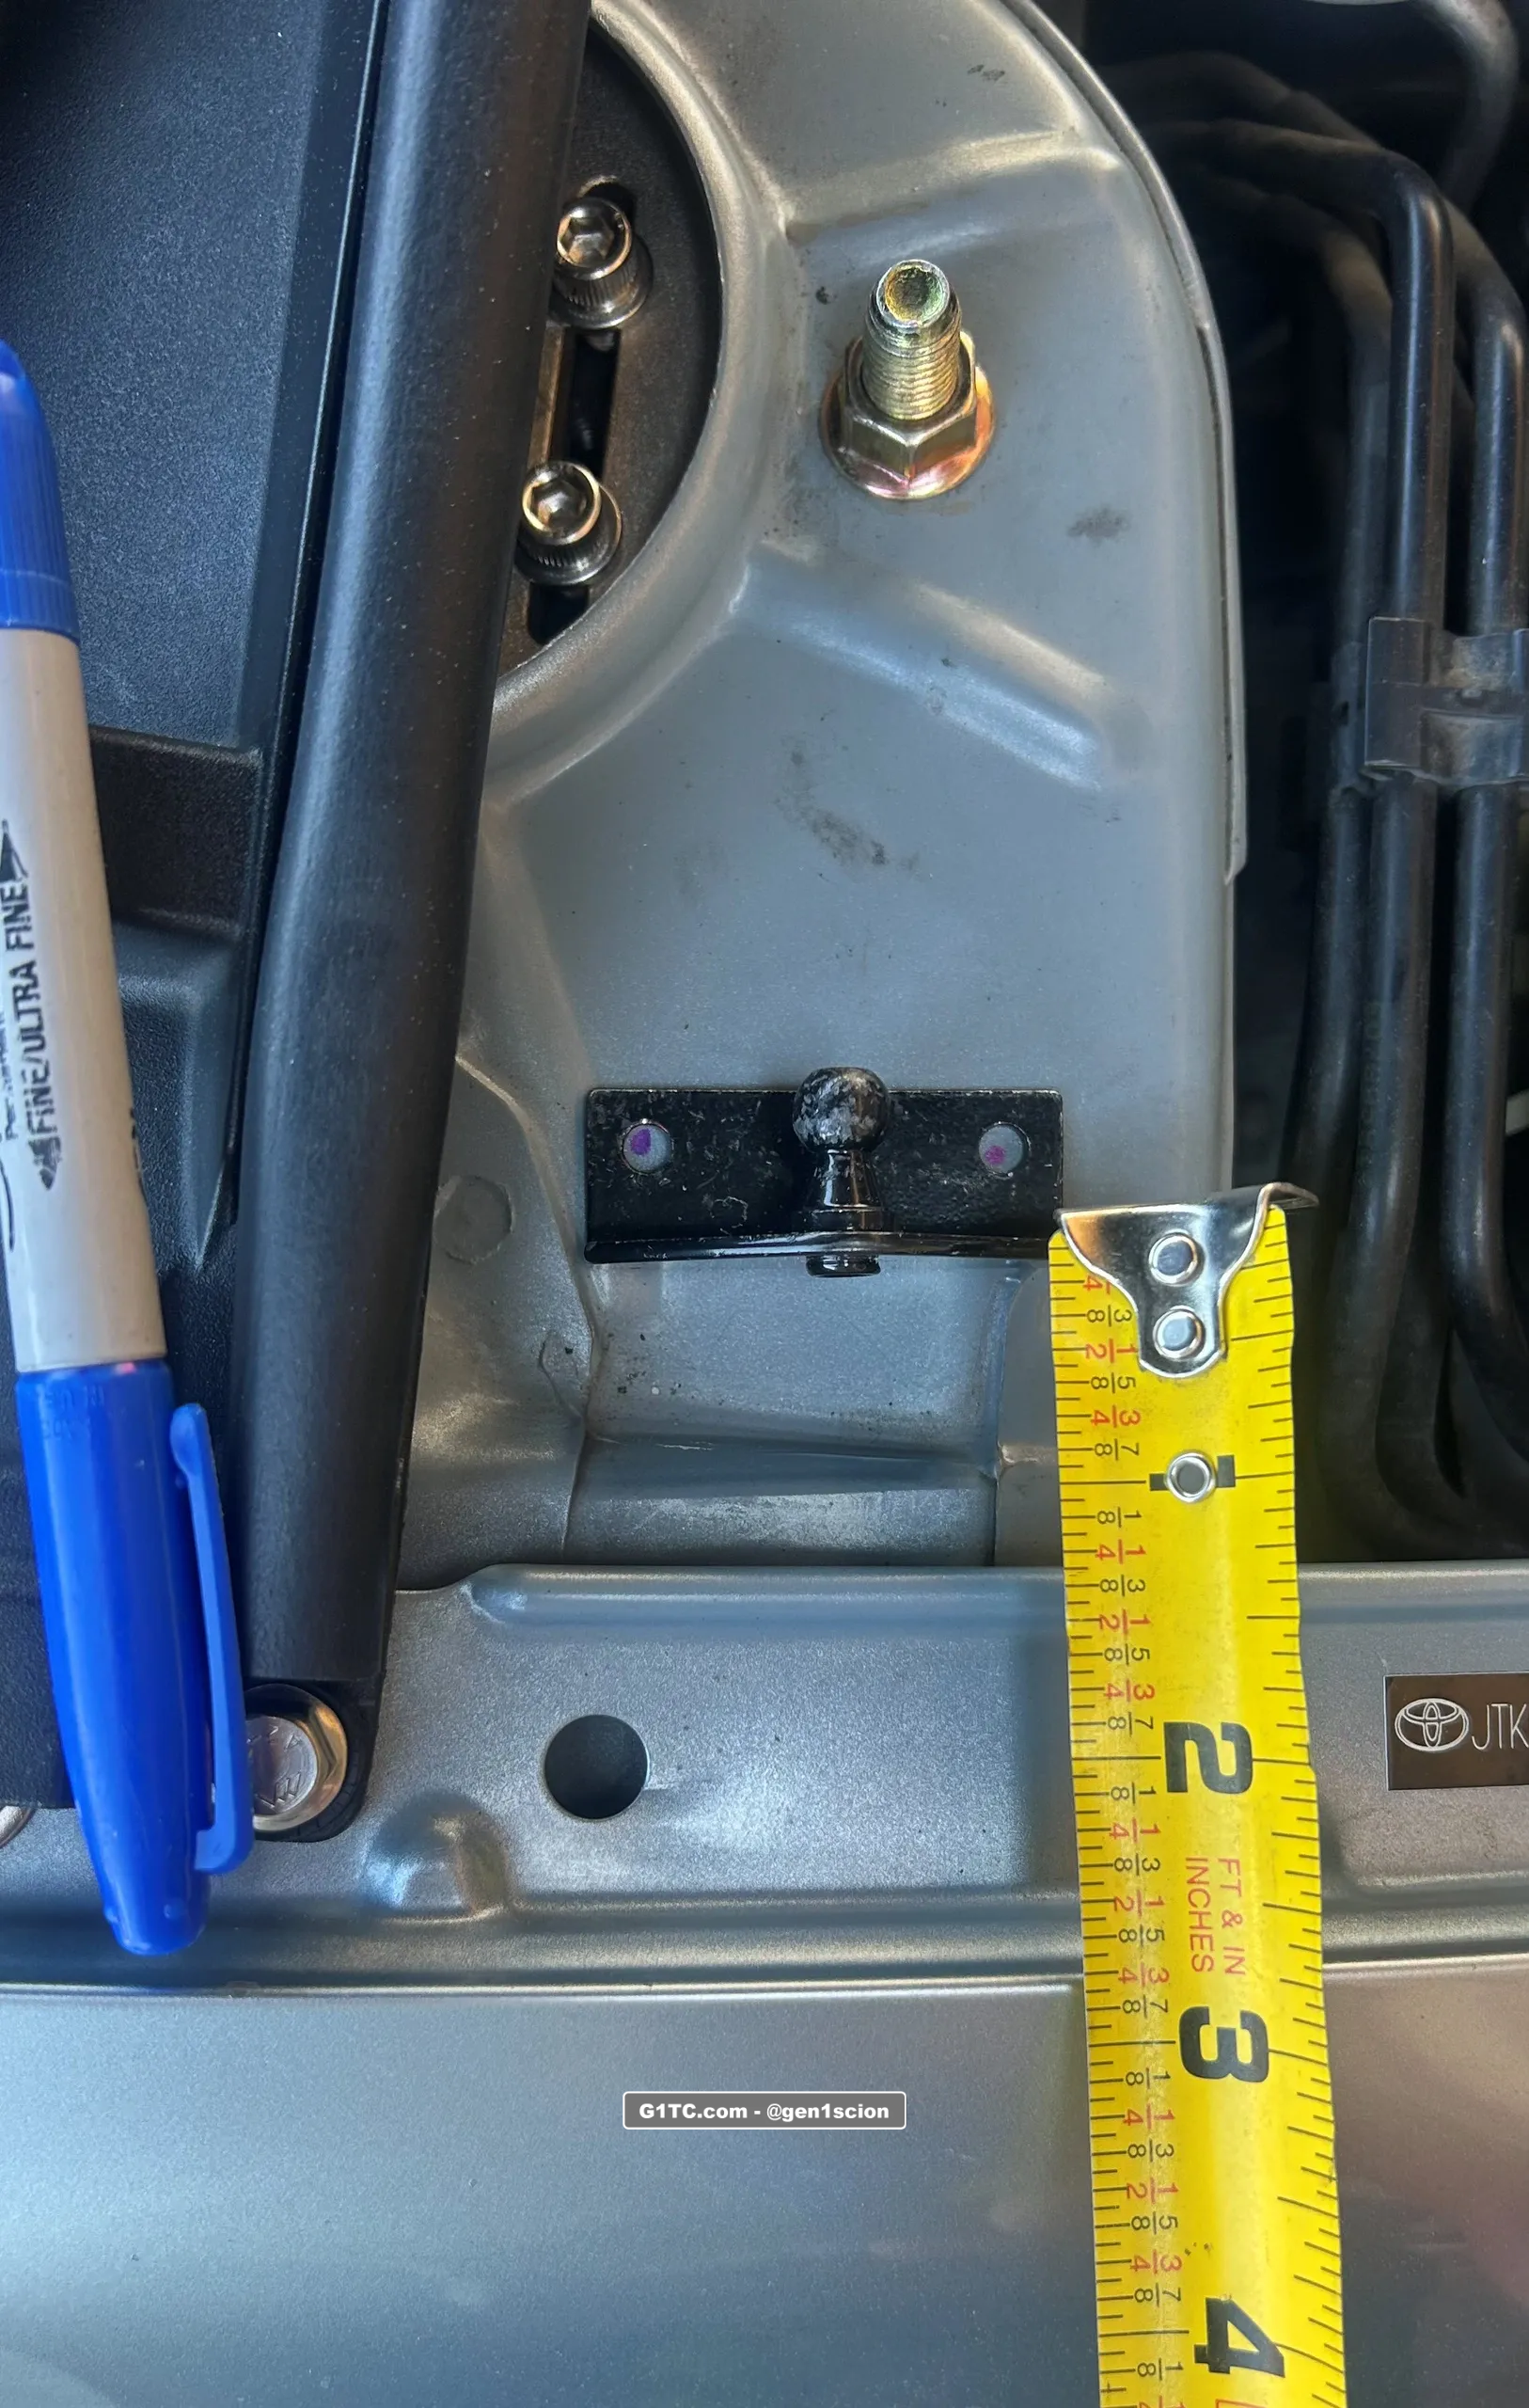

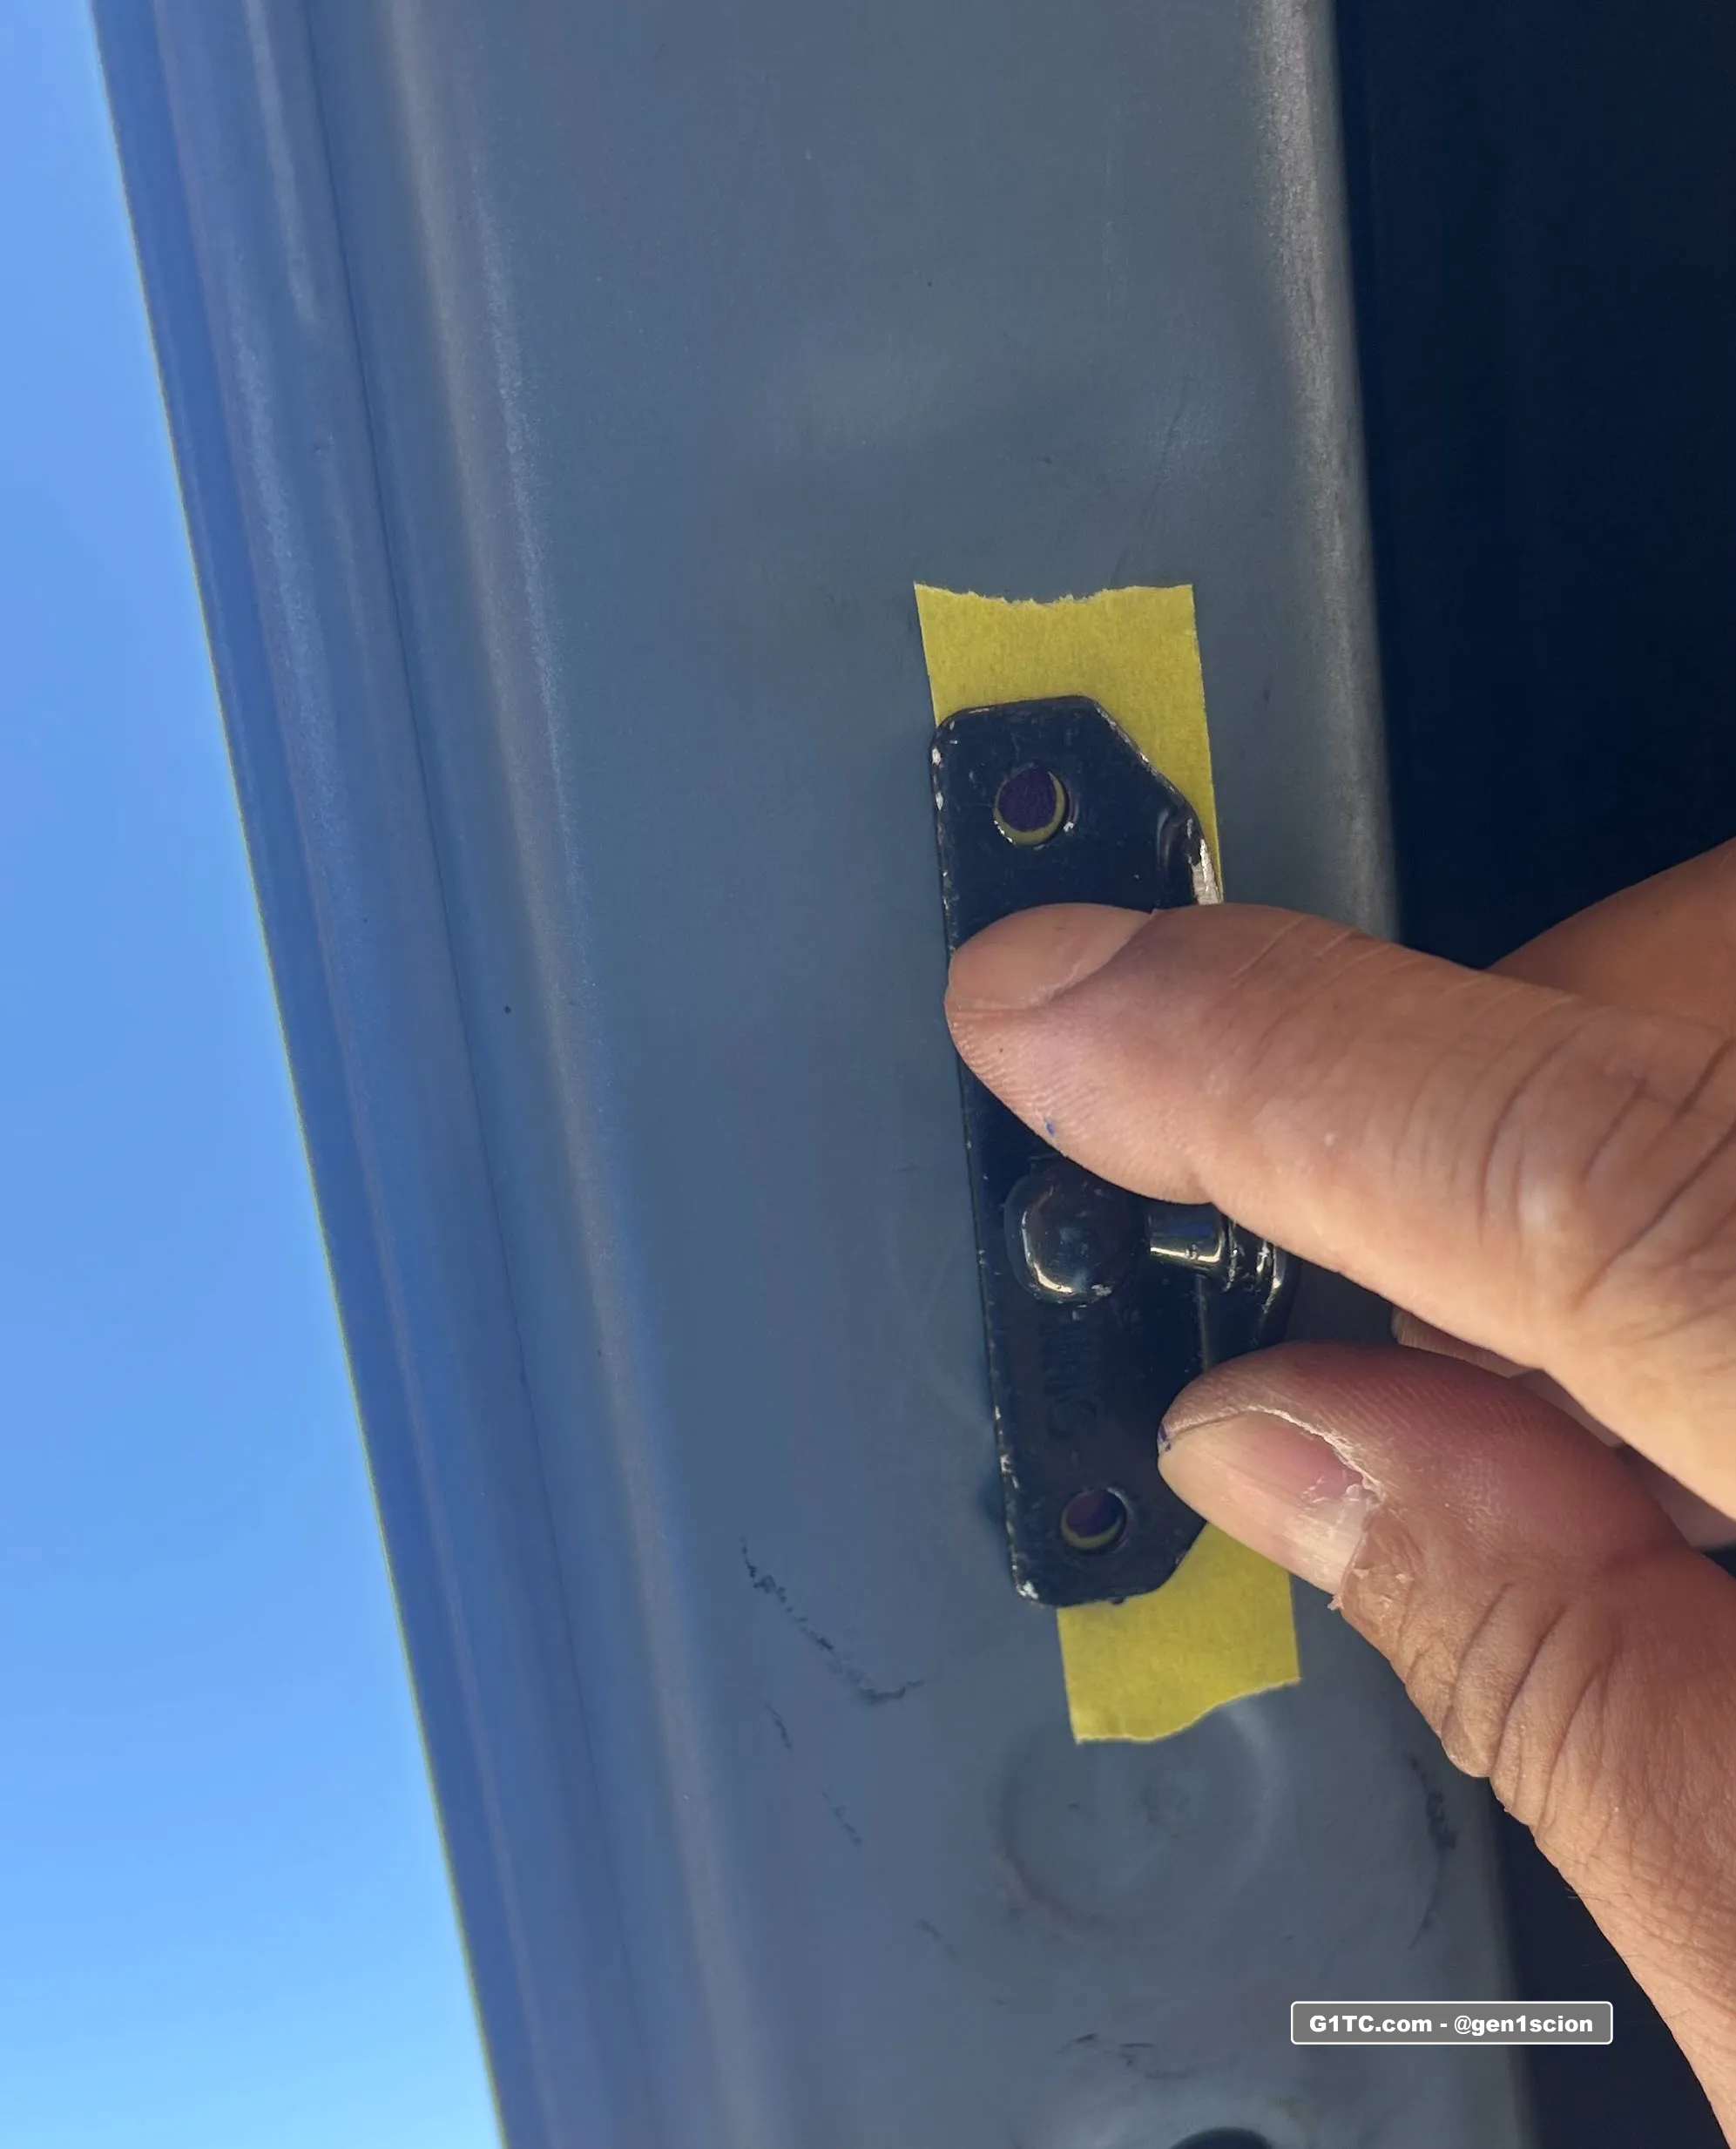
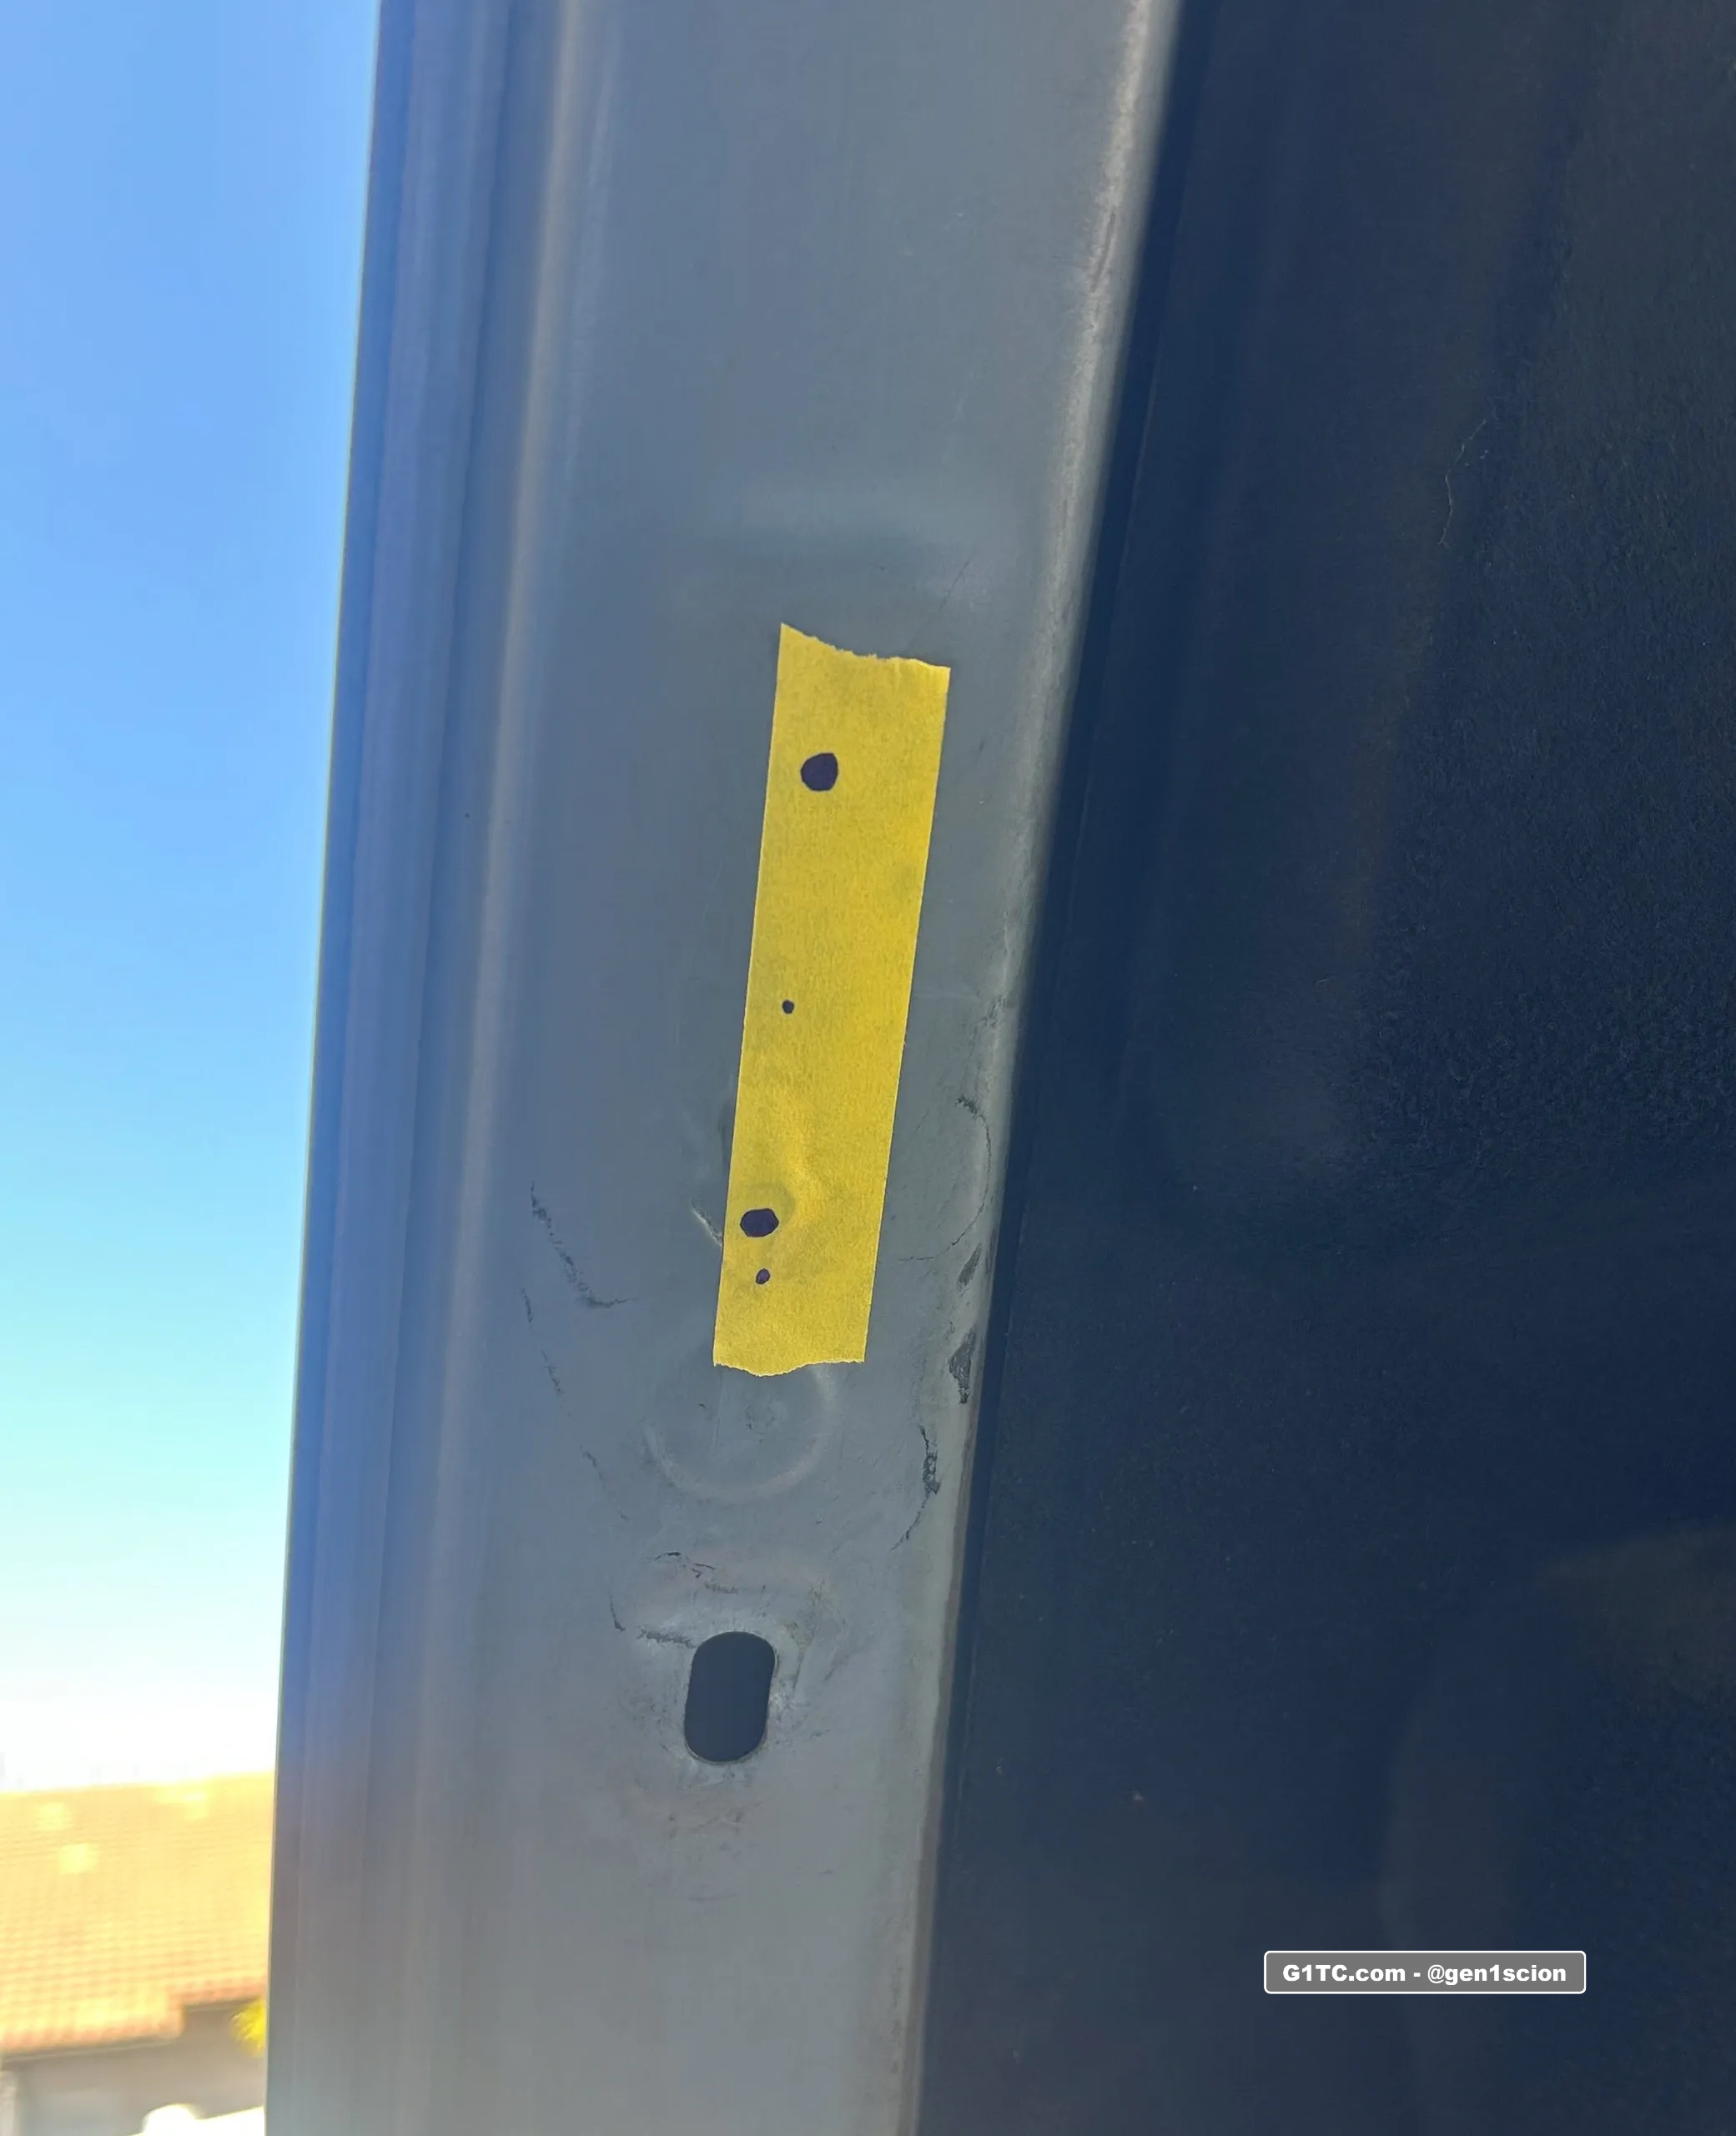
For the hood, I use the same process but I used the measurements comparing to the driver’s side, which I discovered to be about 1/4″ off from the manfucaturer measurements. I think this is just from poor measuring on the initial install of the driver side. The point here is I want the measurements to match so I had to make the marks on the hood match up with the (actual) driver’s side measurements.
Be prepared to start cutting
With the strut installed, I slowly closed the hood to see how much clearance I have before fully shut. This next section discusses the modifications I made to make clearance on the passenger side for the hood strut when closed.
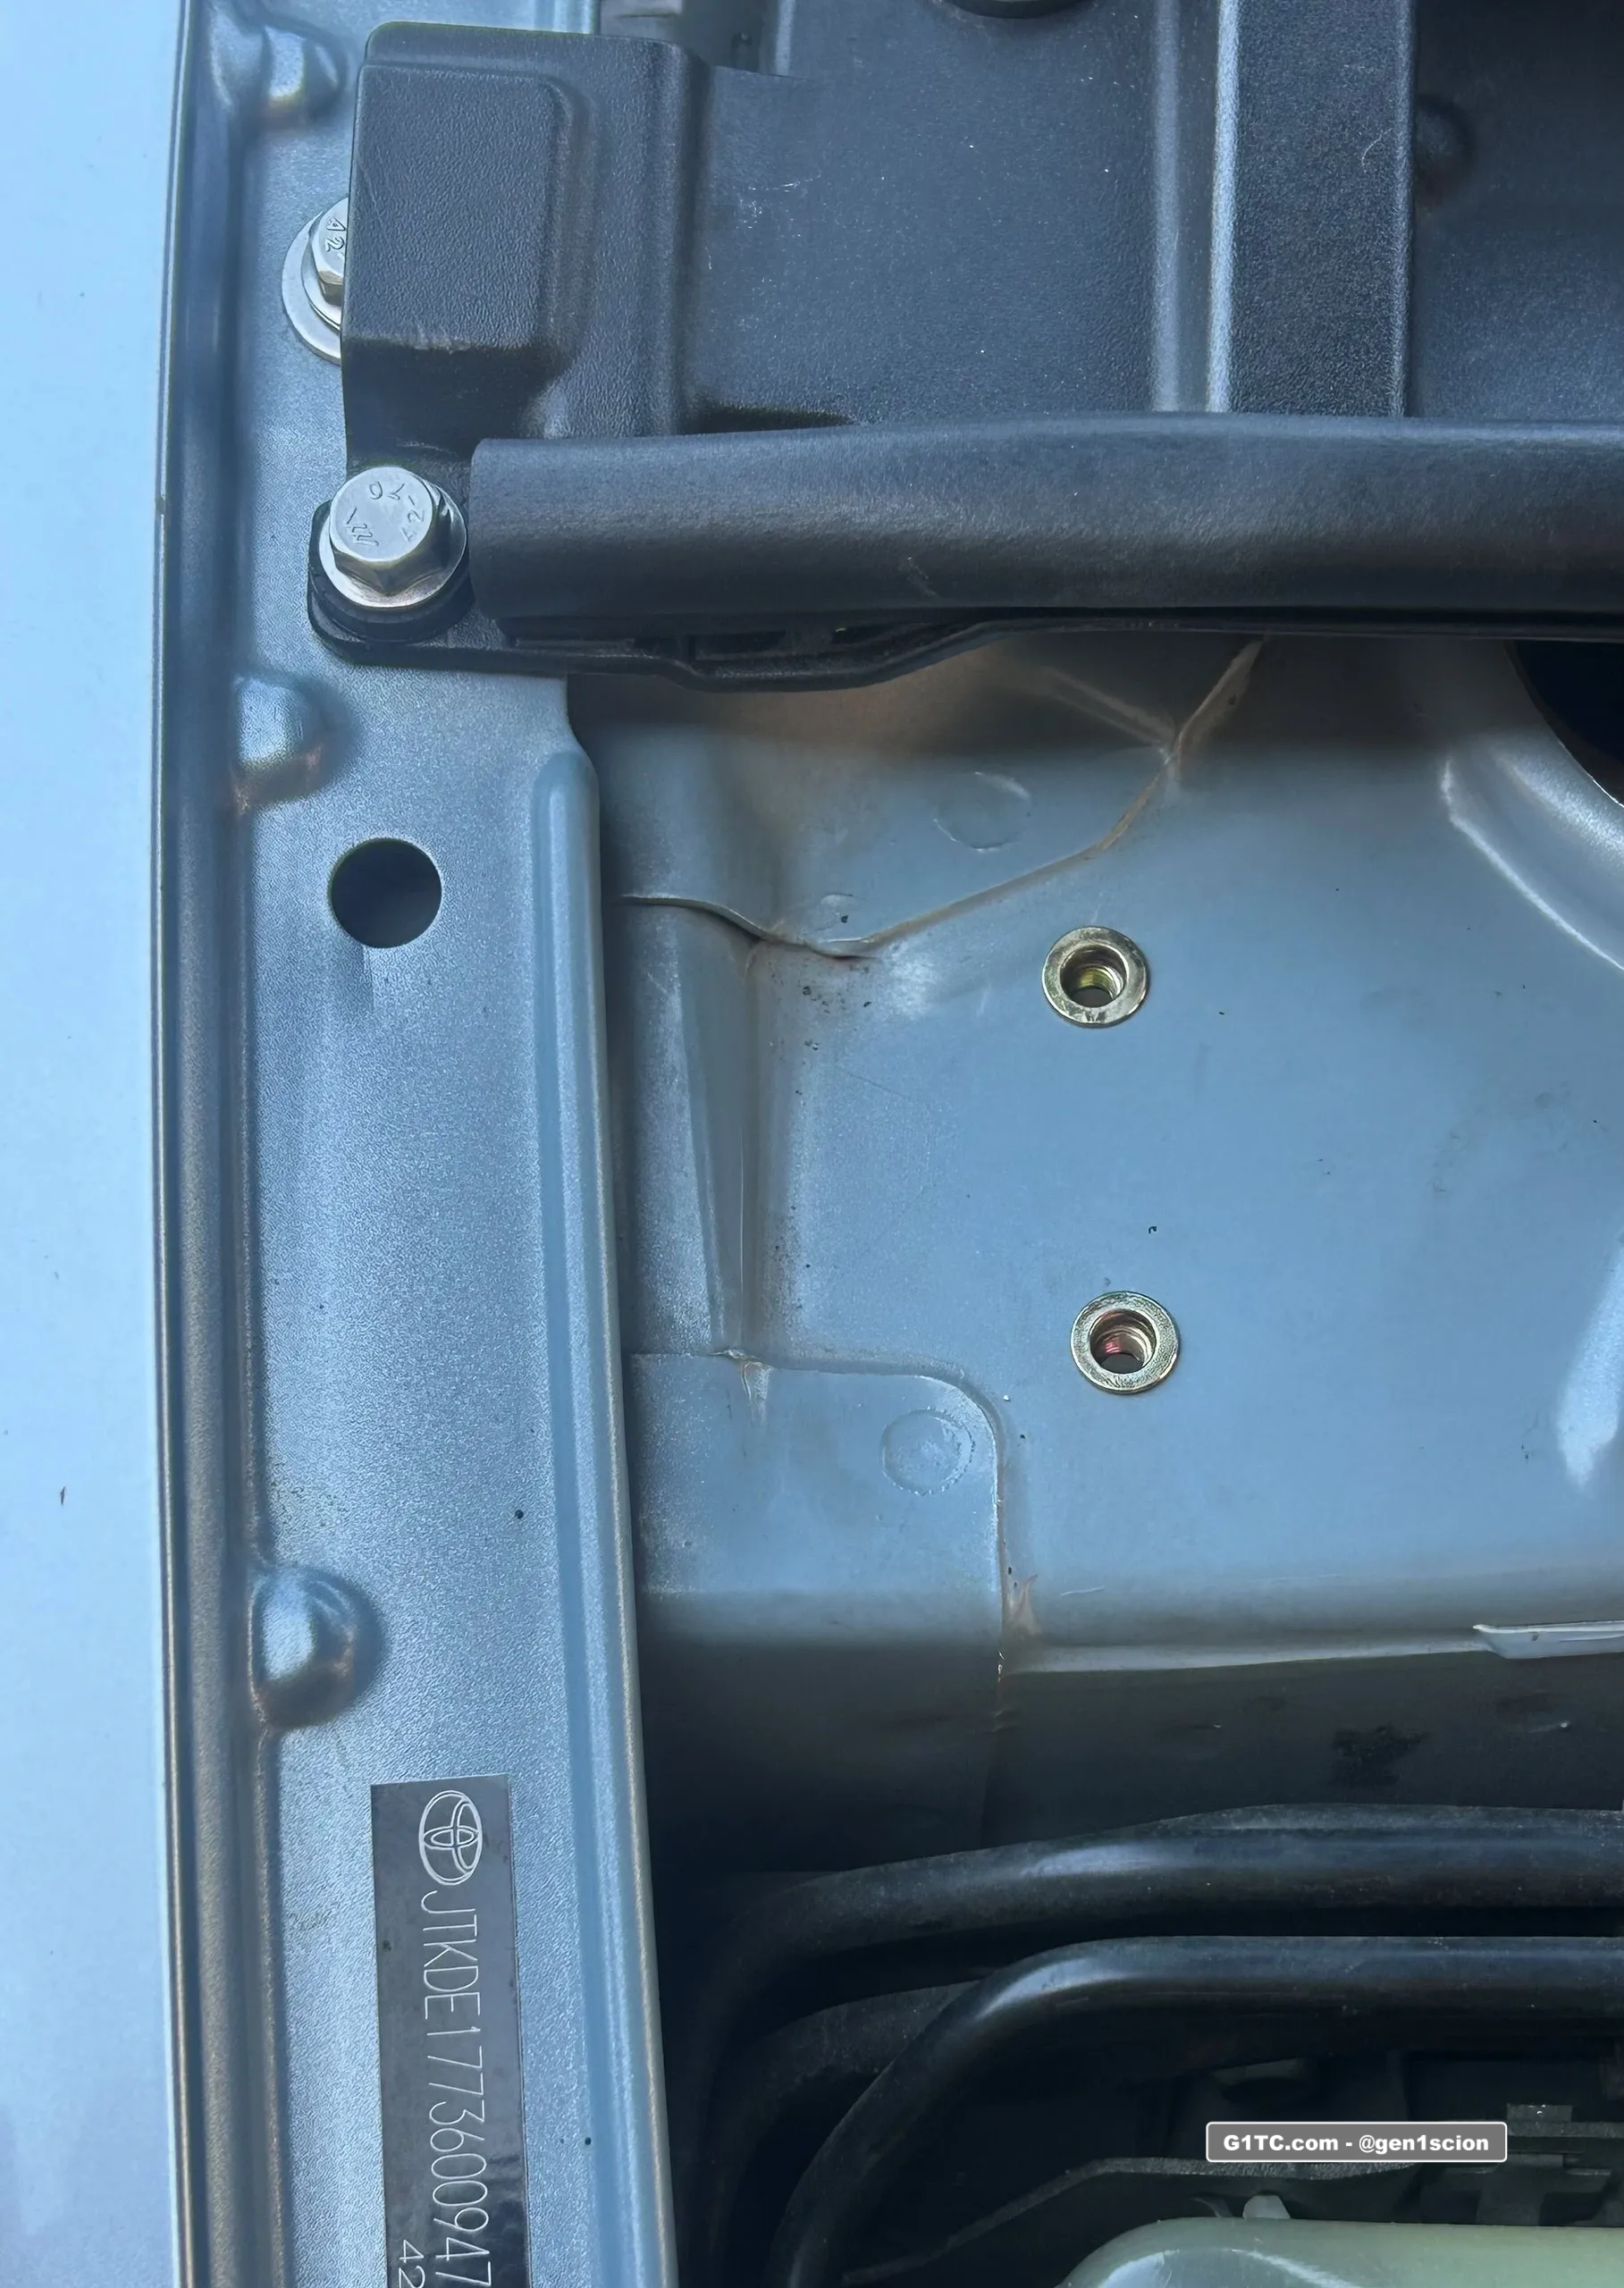
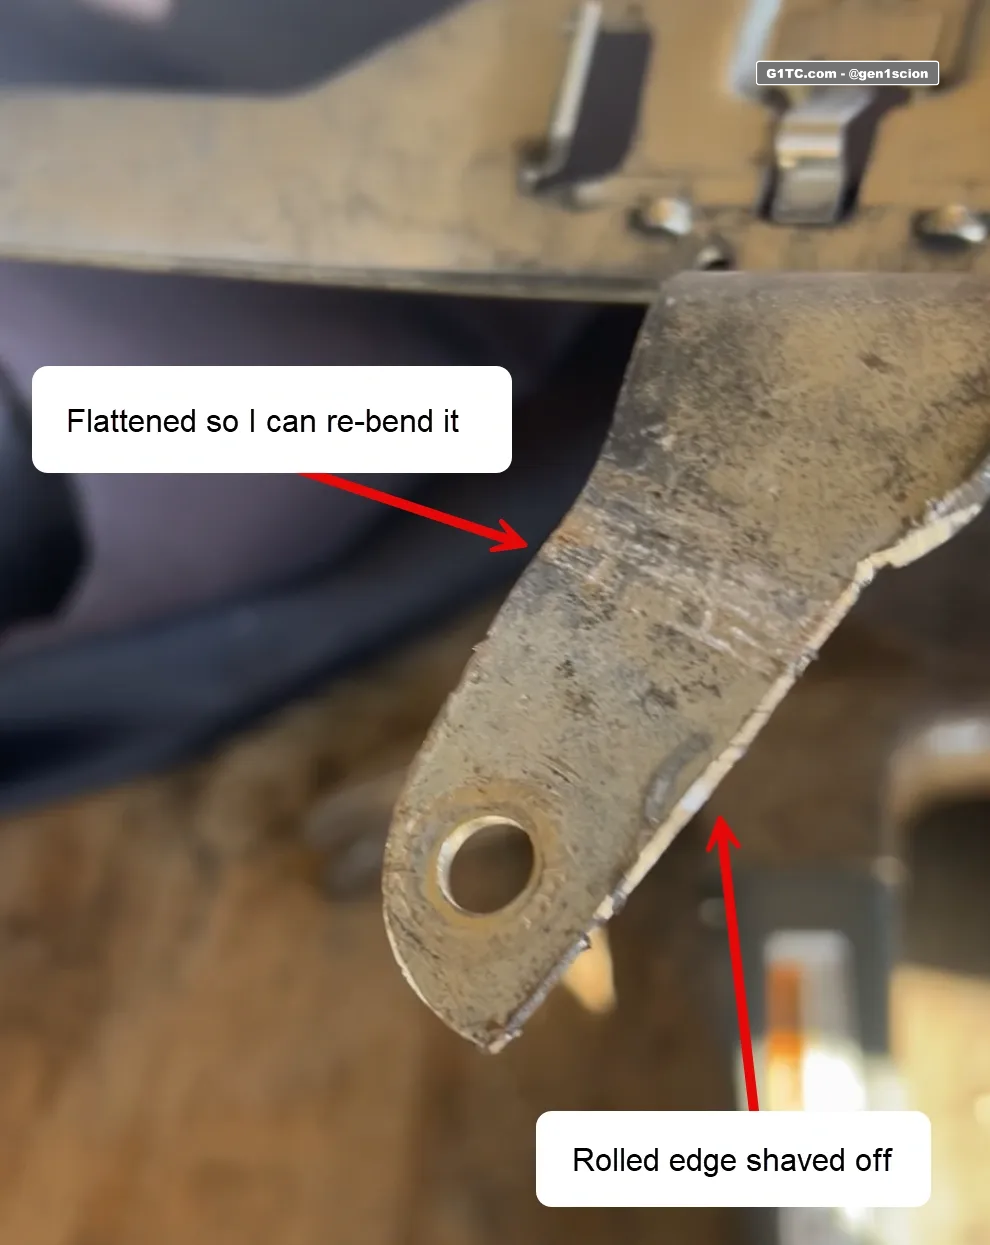
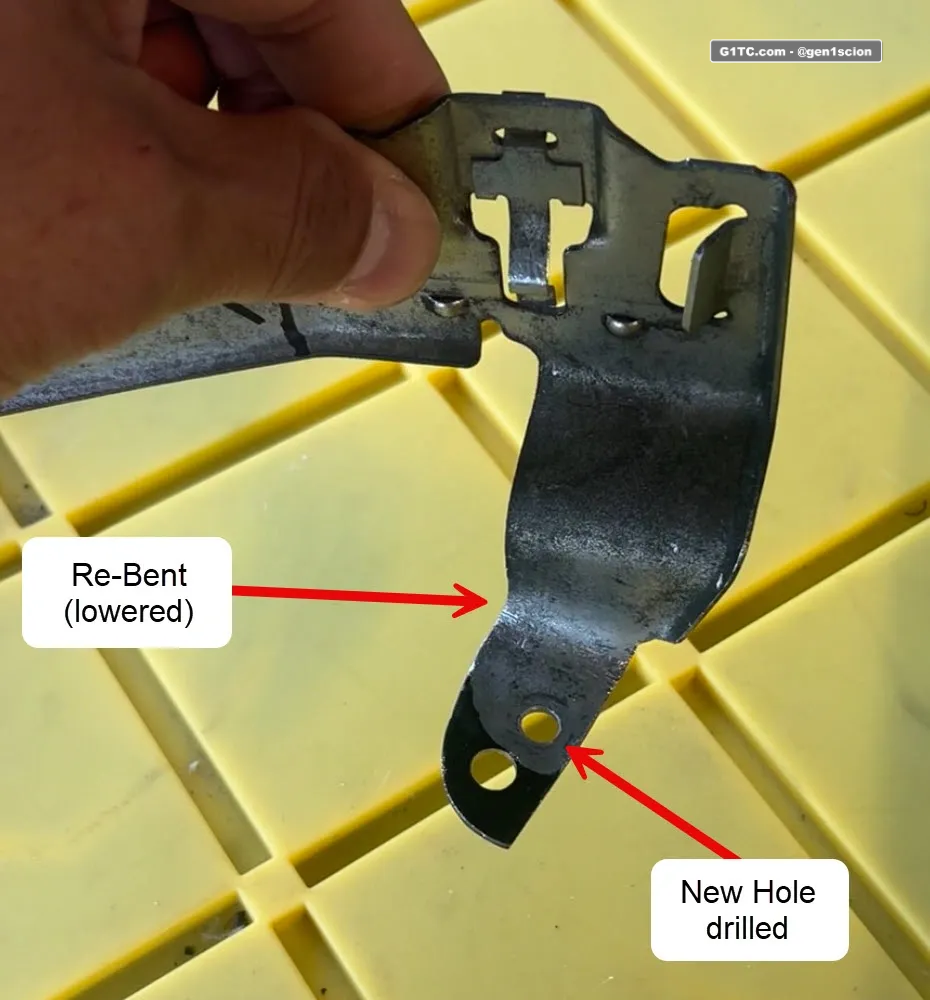
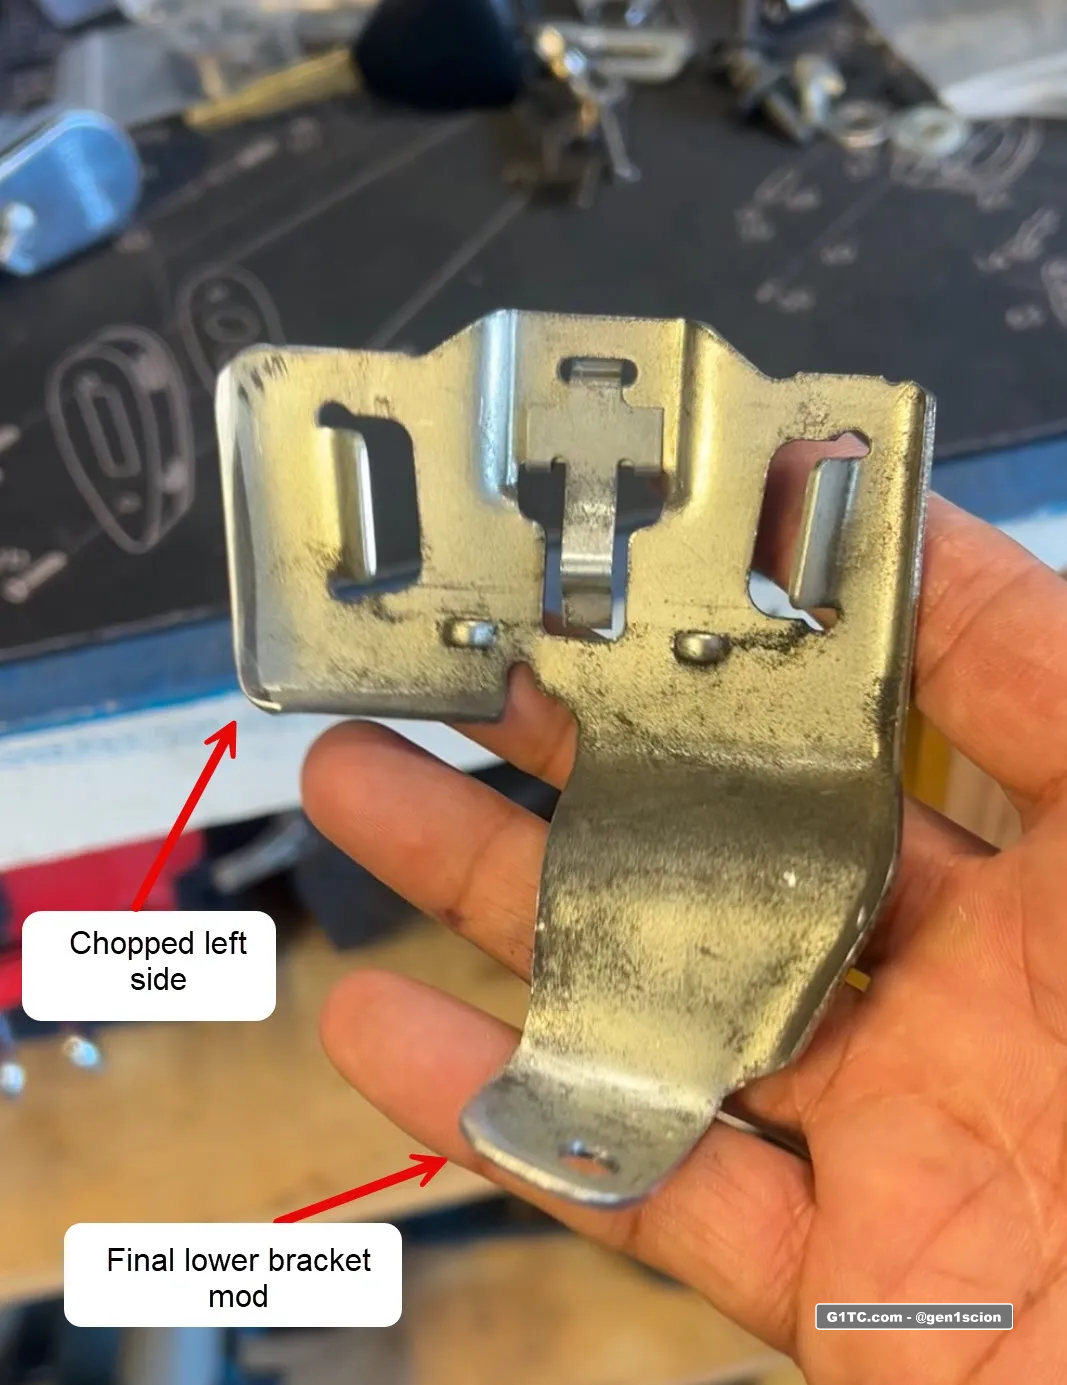
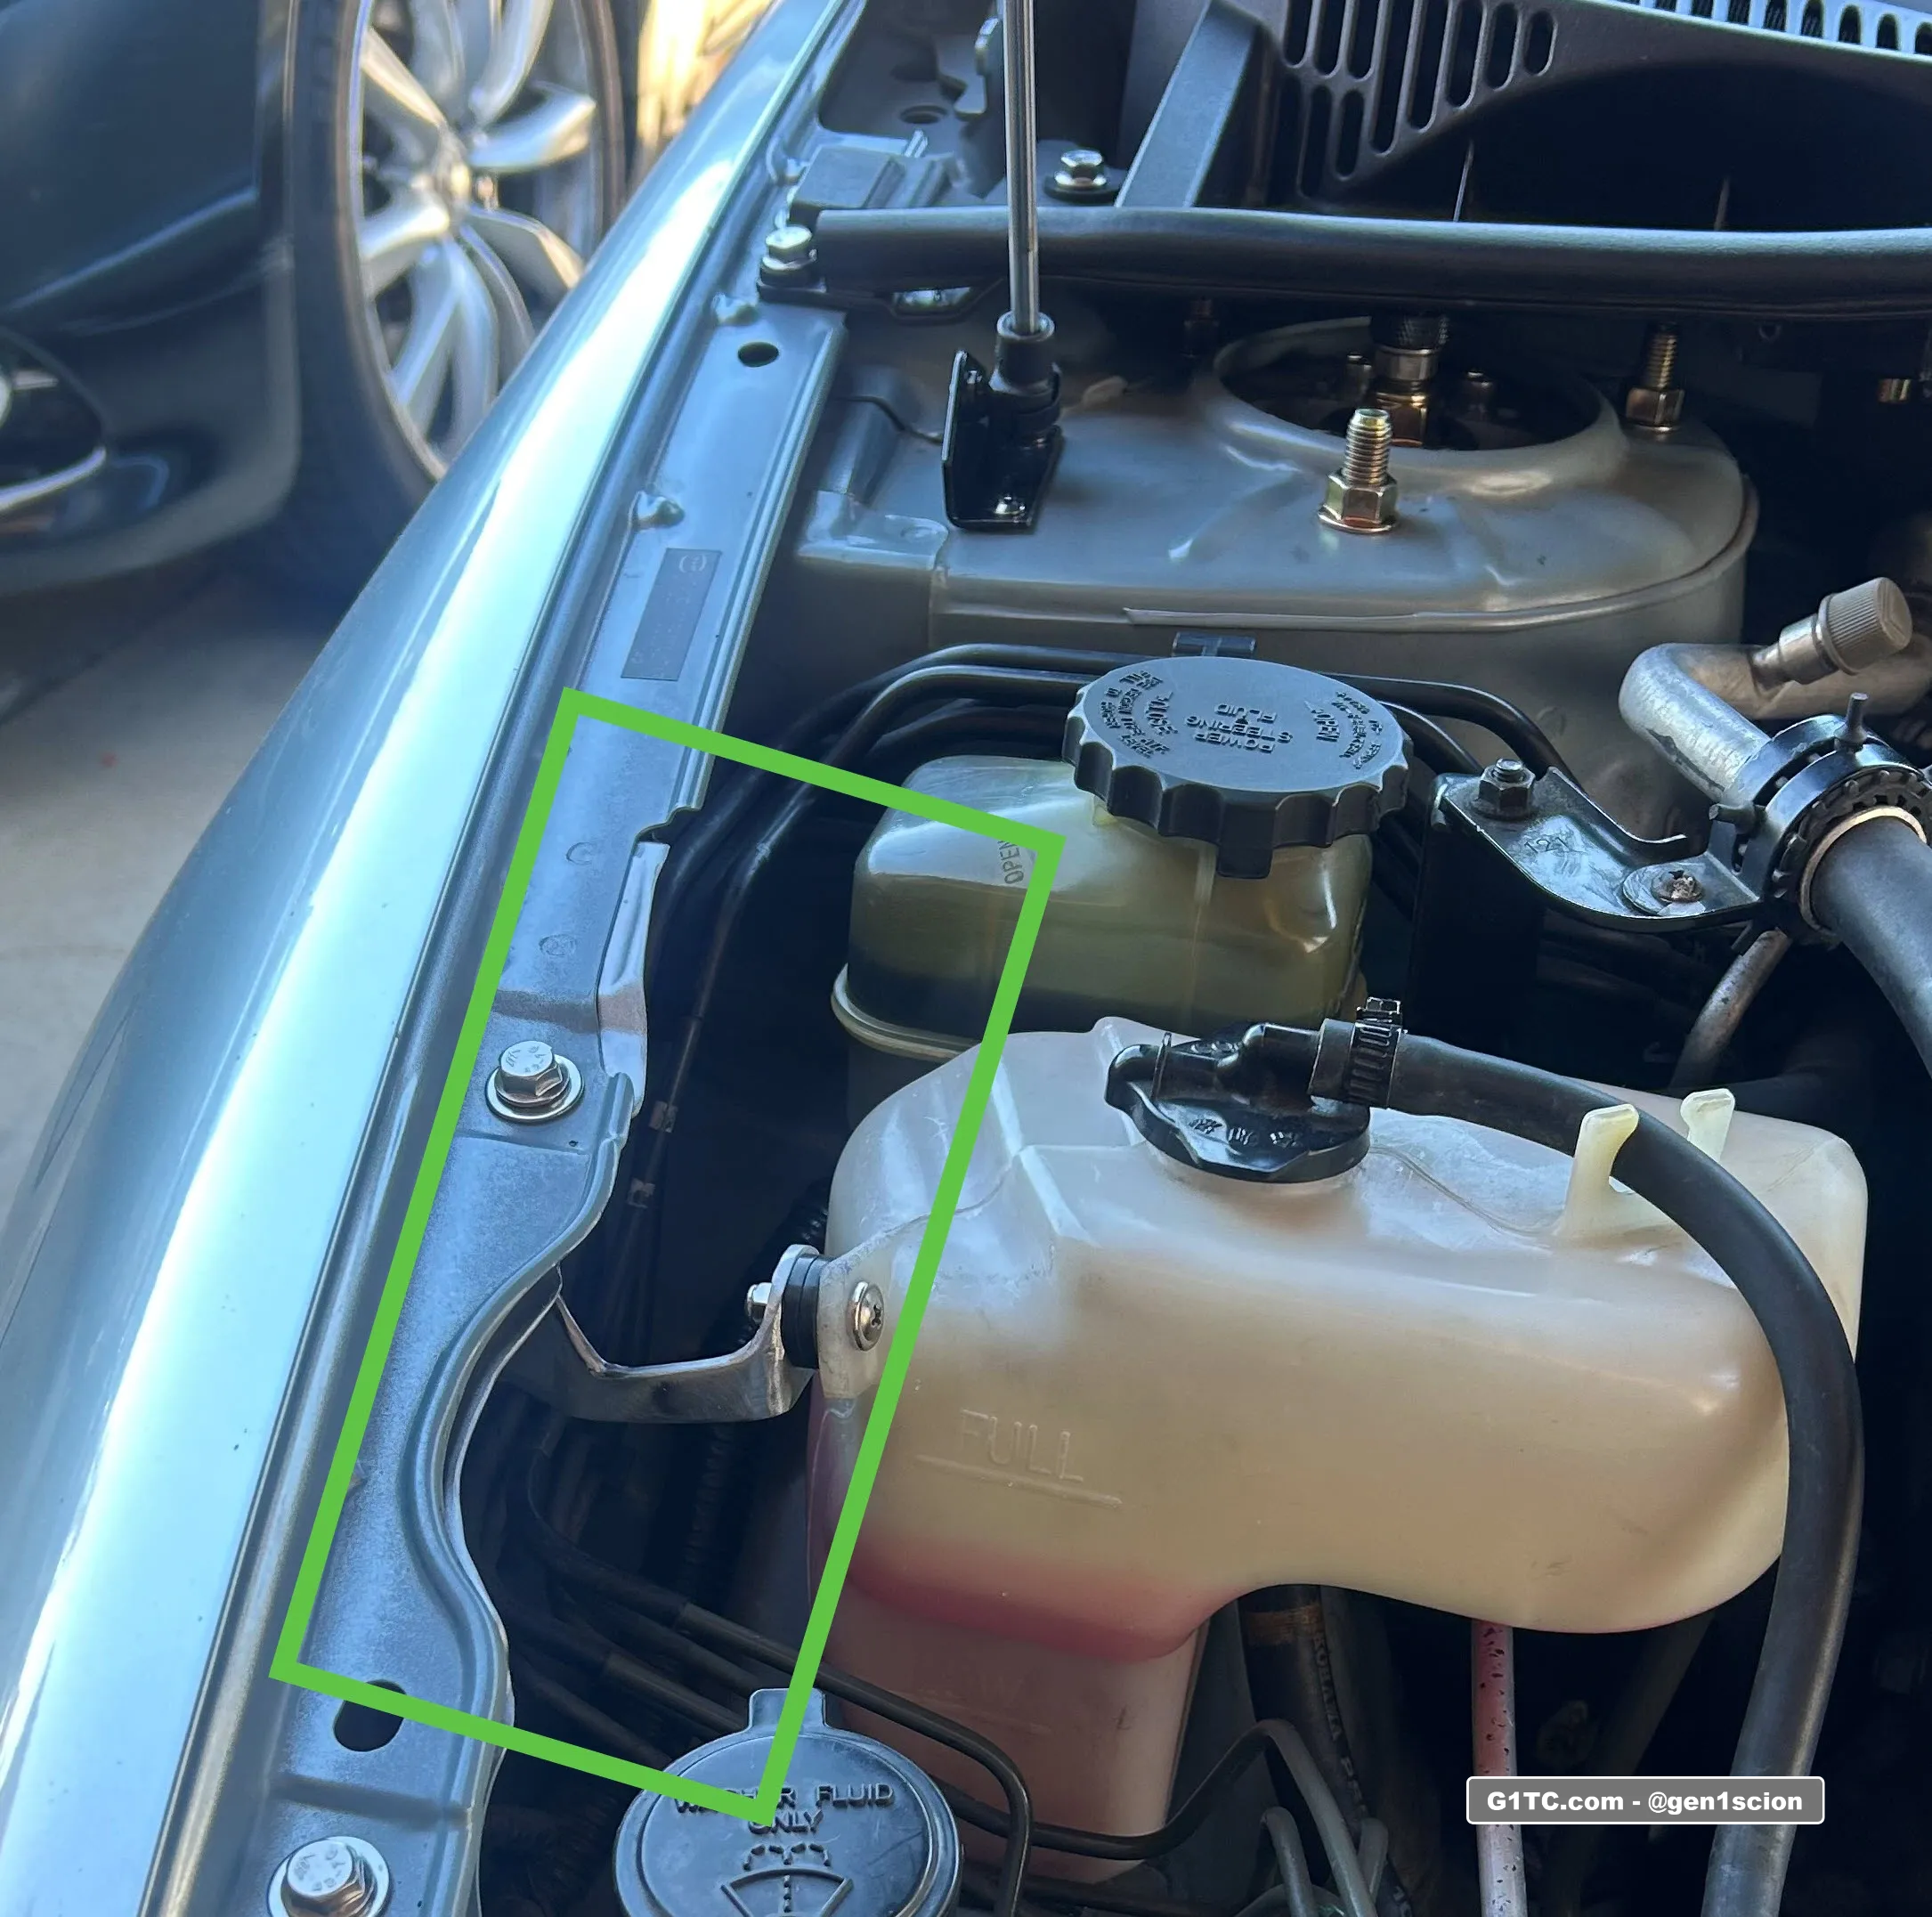
Repositioning the power steering reservoir
The bracket is modified so the PS reservoir sits lower and to the right about 1/2″. Here’s the final modification for the power steering reservoir bracket. I basically took it down to one mounting point. I shaved the rolled edge off the right side so that I could re-bend the bracket, effectively lowering the mount. The left side I just chopped off. It’s fine.
INSTALLATION TIP – After you get the general shape of the bracket done, re-install everything and then install the power steering reservoir, then just carefully bend everything into place (level and straight). Remove everything again and do your final trimming and deburring.
Securing the power steering hard lines
For now, I just wired tied everything to the ABS brake assembly. I’ll come back to this. The goal is to pull the PS hardlines away from the pully and serpentine belt assembly as much as possible.
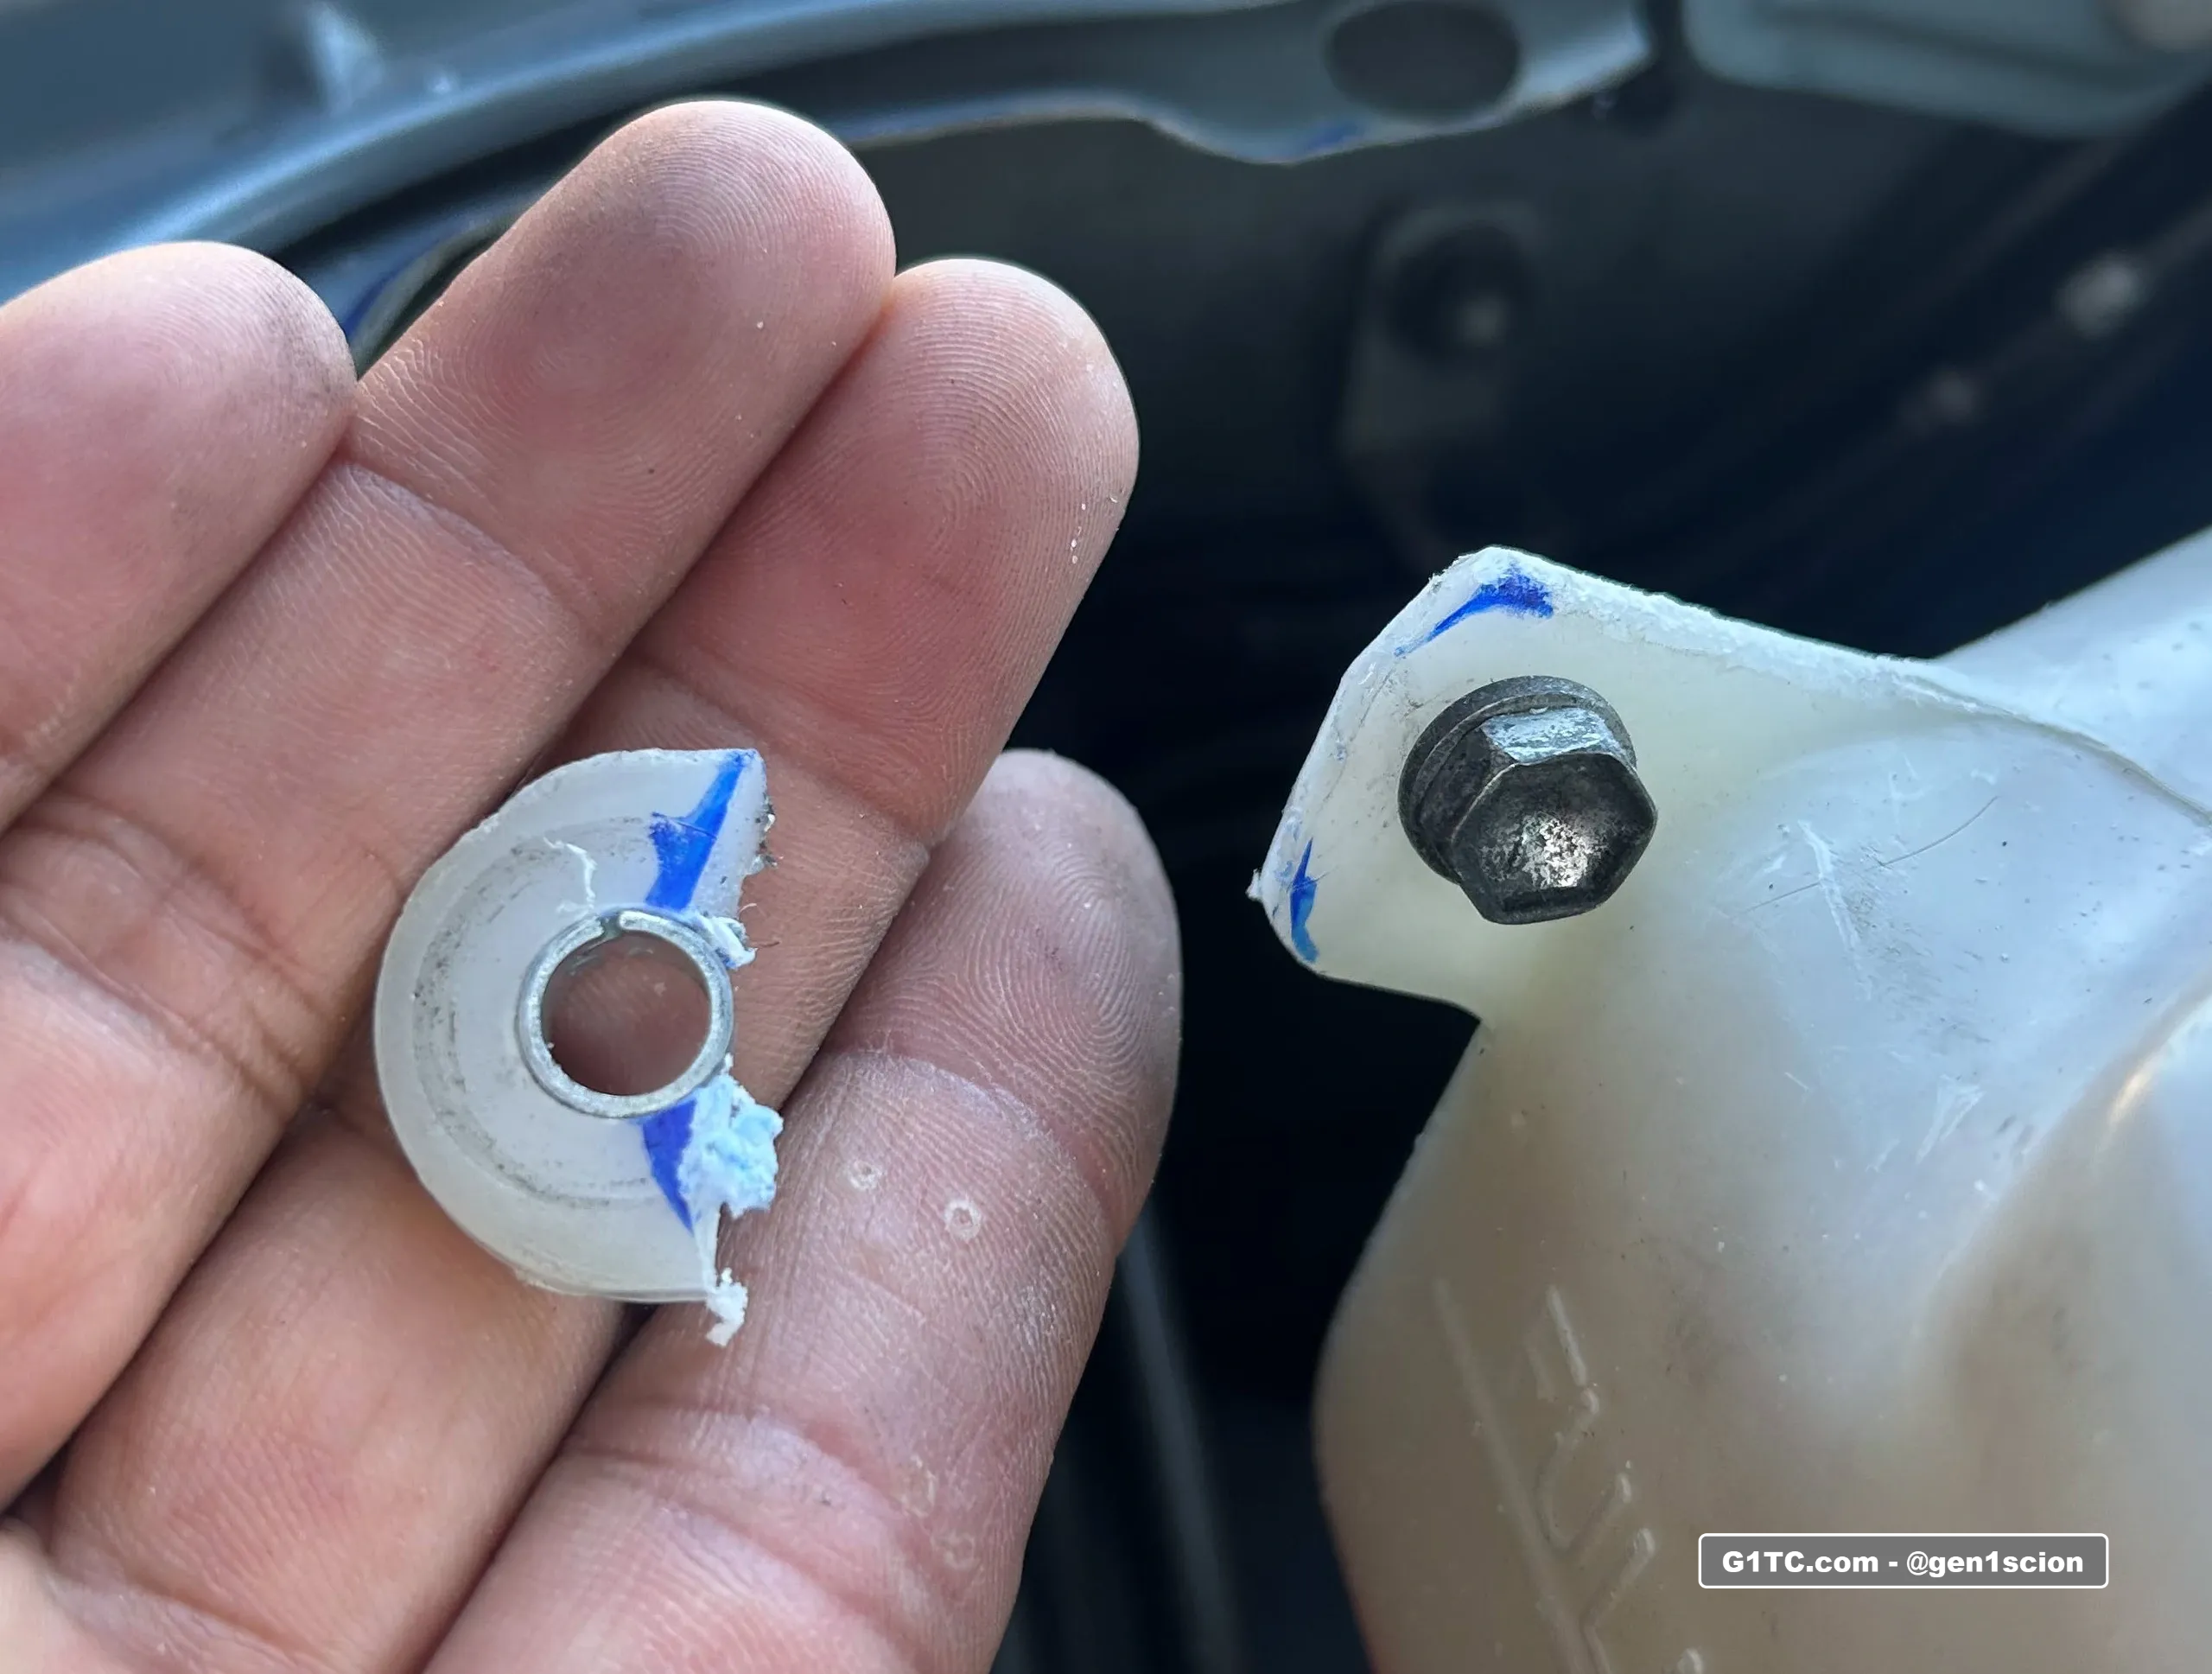
Repositioning the coolant overflow tank
This is a tricky one. Long story short, I bought a 1″ zinc plated flat bar from Home Depot. I used cardboard to get a general template down. I started cutting and bending till I got the general orientation in place. I finished it off by mounting it all, then bending the bracket till the orientation (level and straightness) was to my liking.
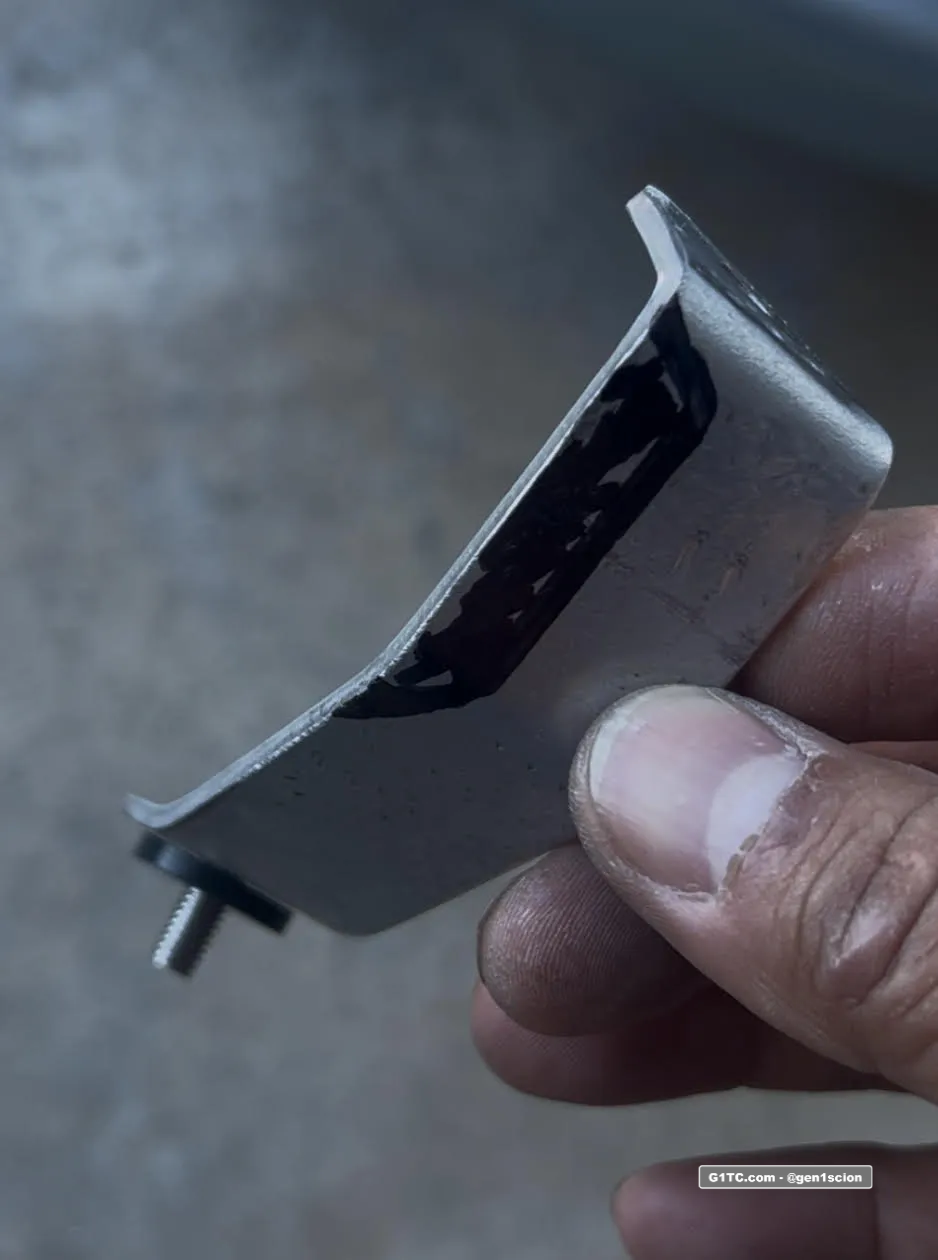
Here’s the initial bracket template
Here’s the initial test fit bent mostly into place, notice the other modifications to make this work
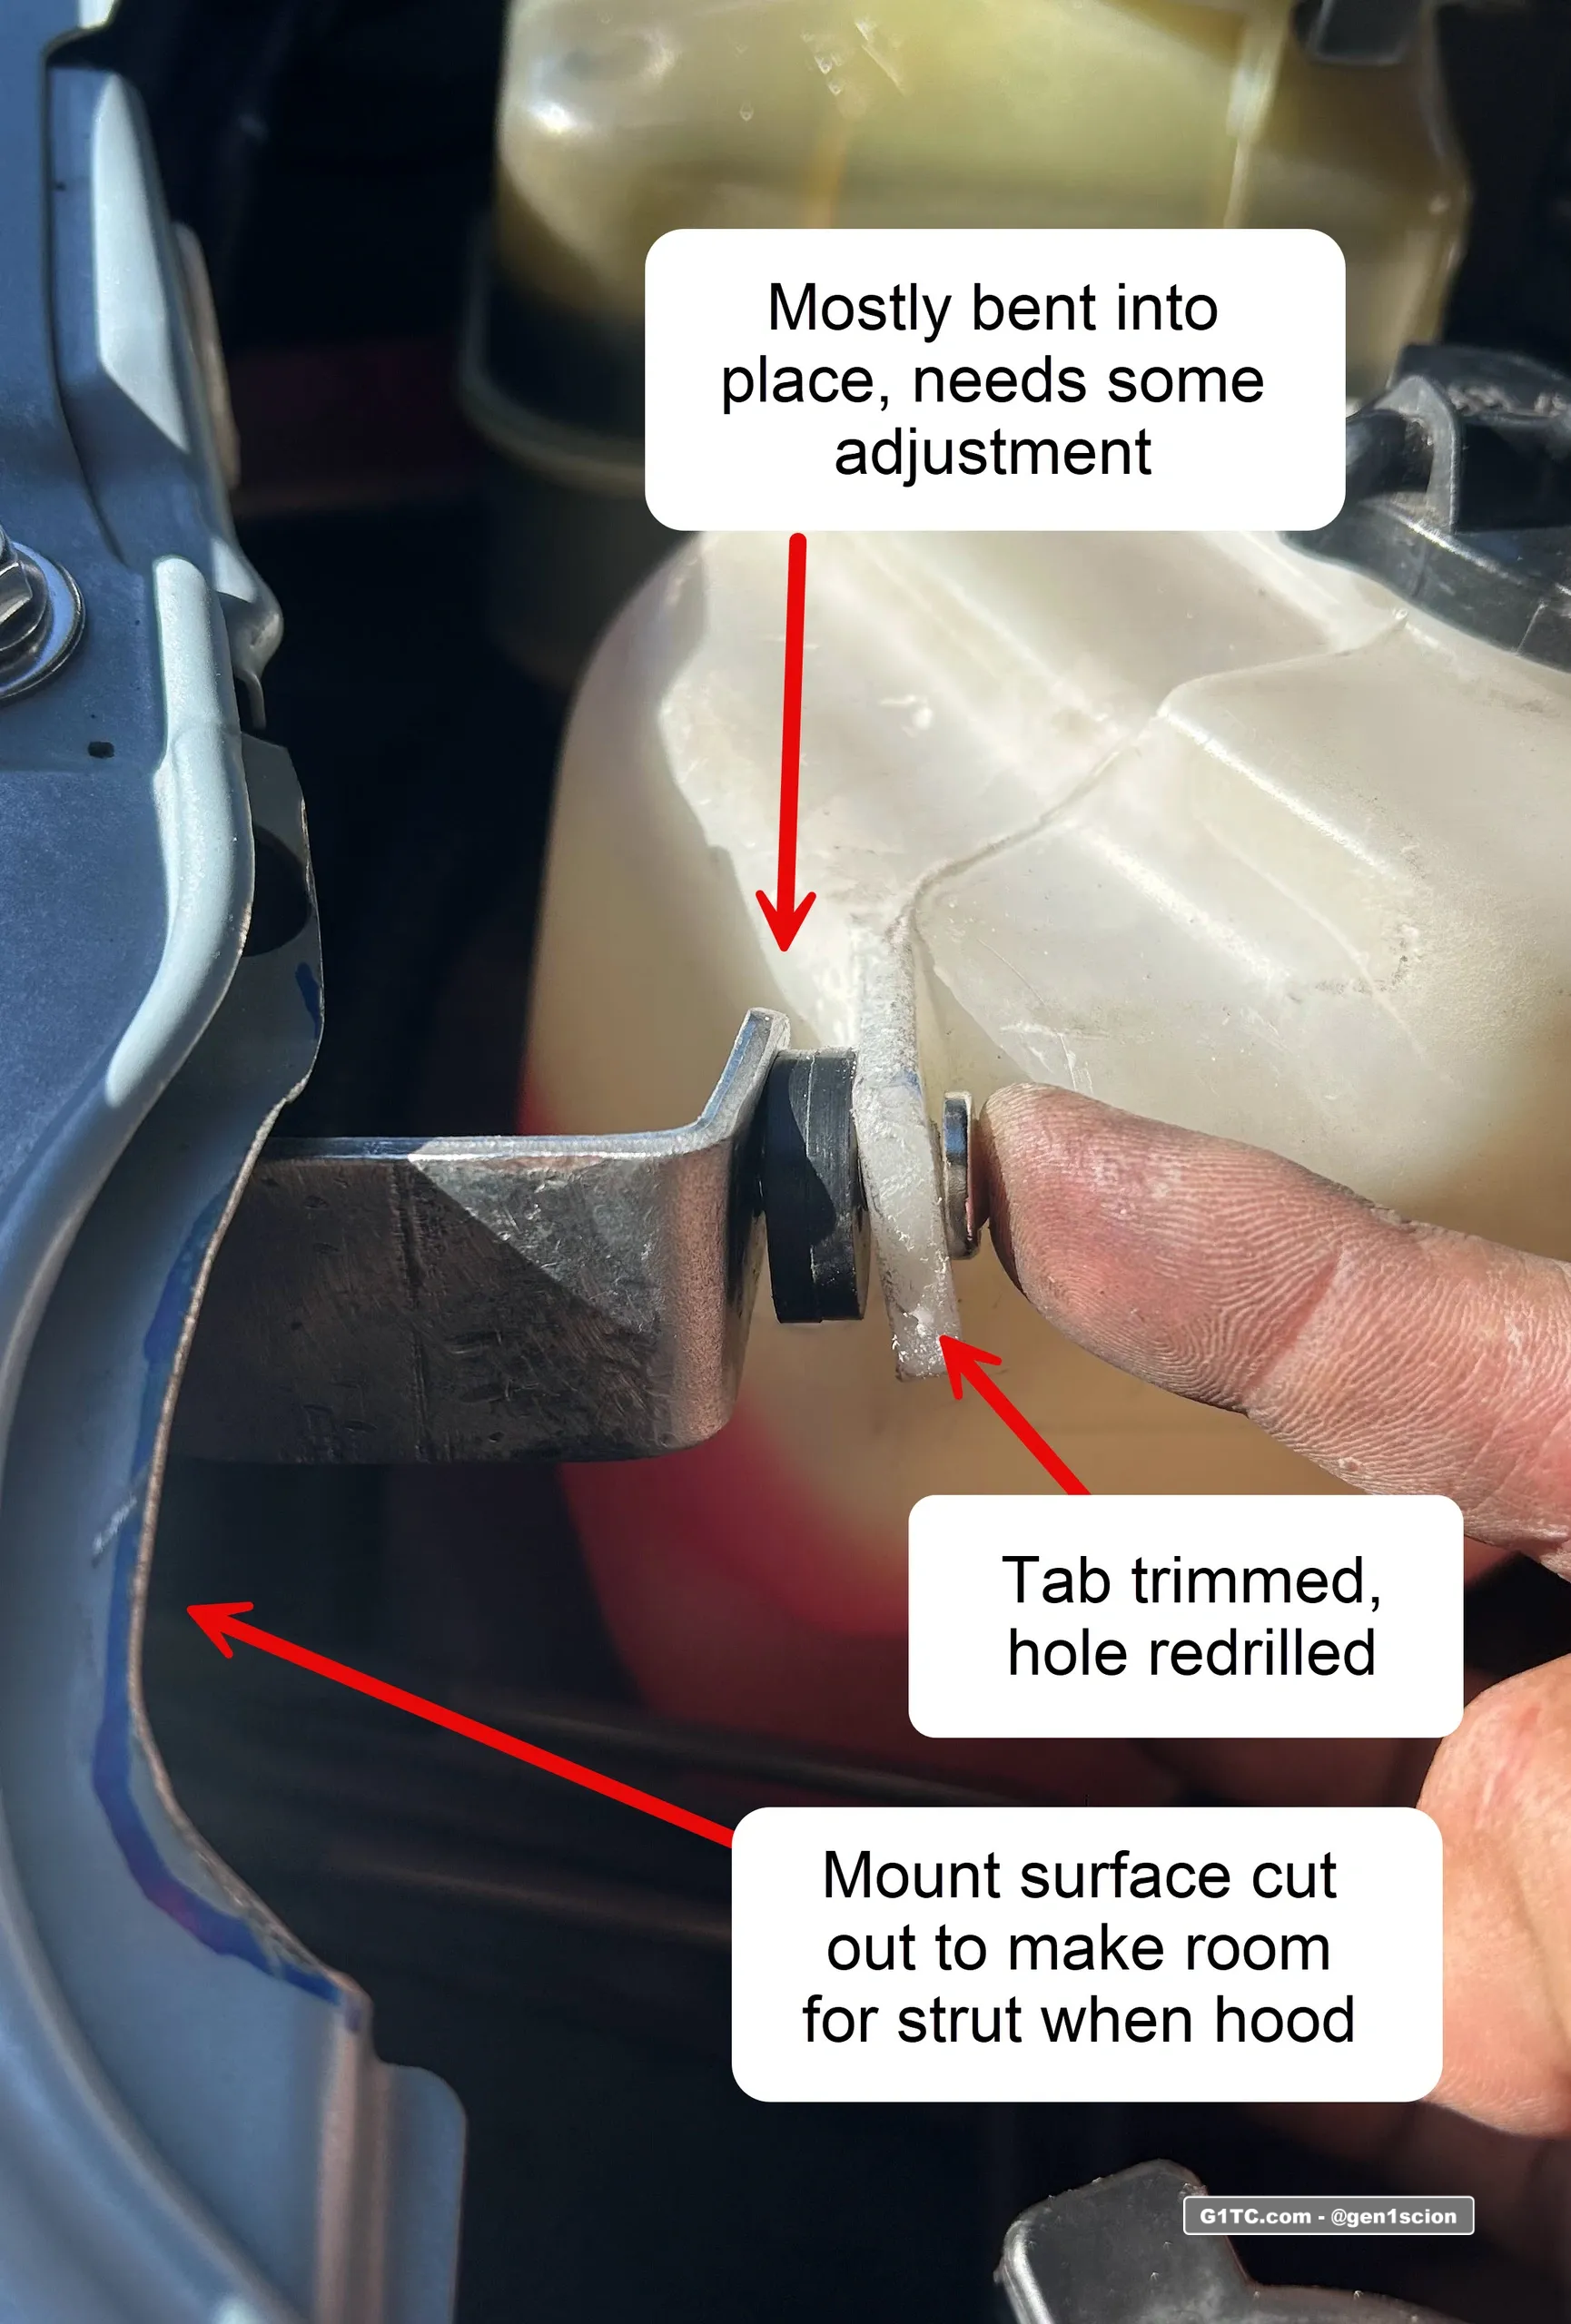
I had to make an additional notch in the bracket for even more clearance:
Here’s the final look. I’ll probably end up painting the bracket black and cleaning up the hardware more if I can:
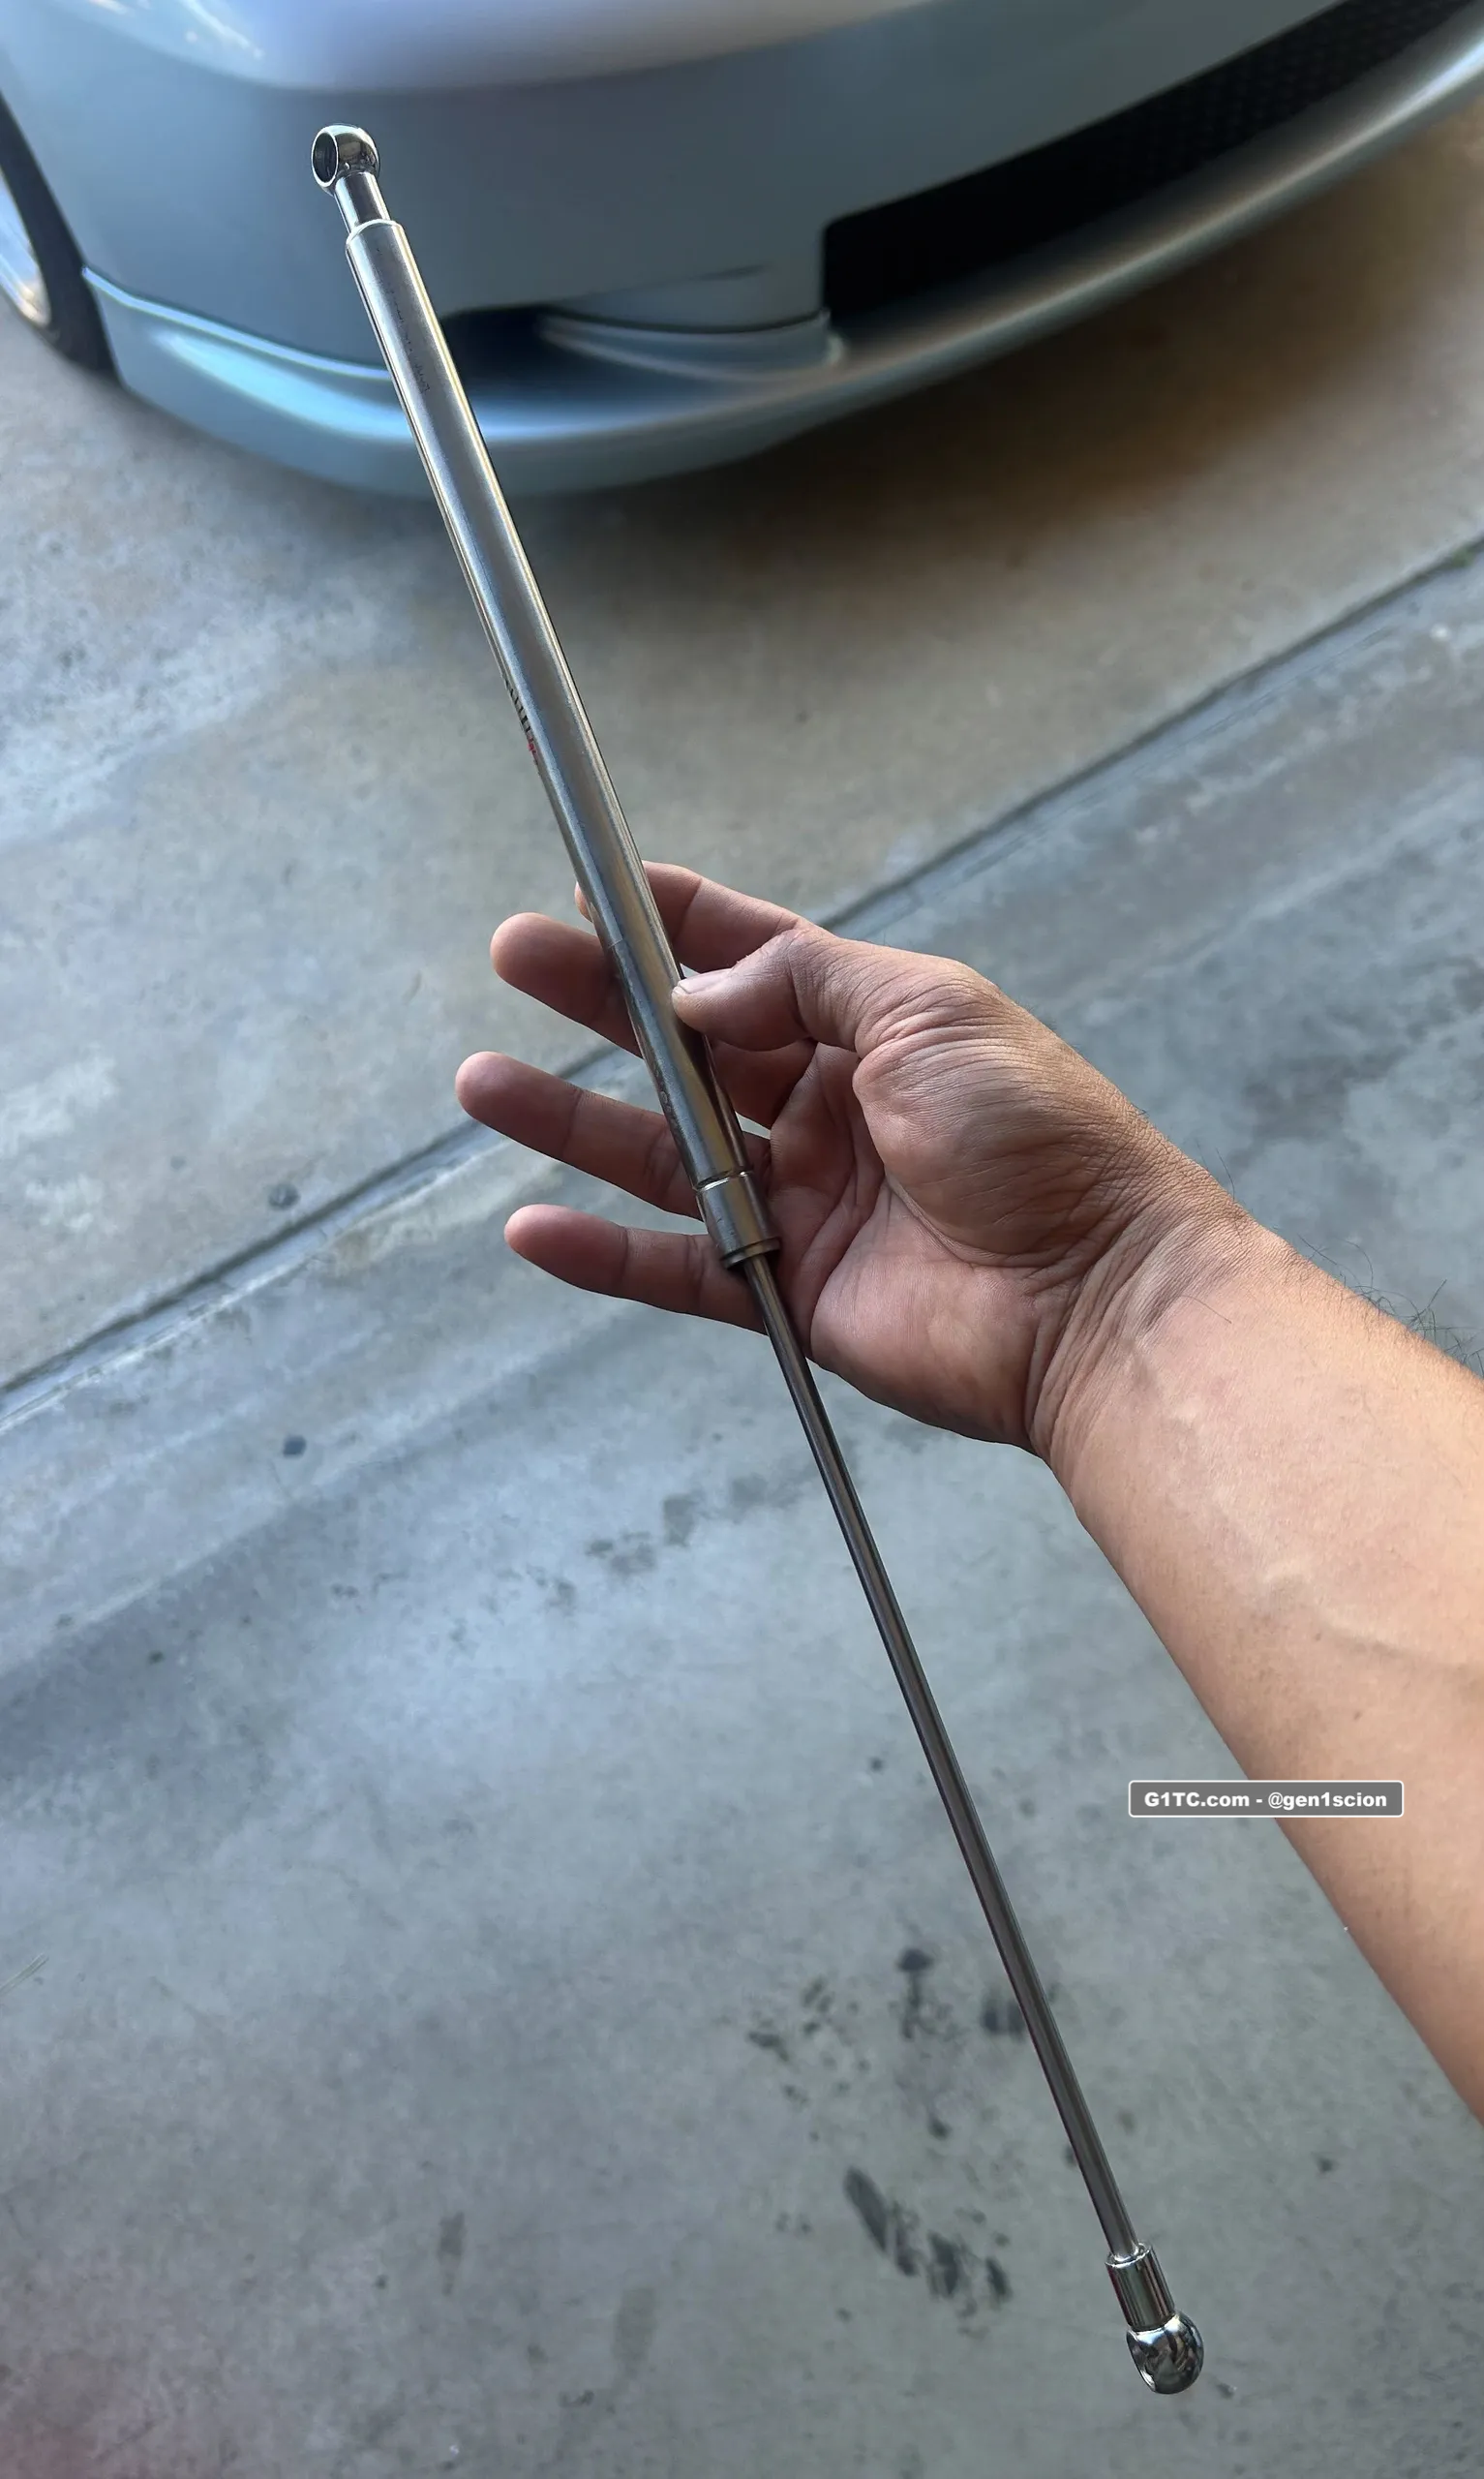
Final install pics
Post installation PSA – Dual hood strut kit will make the hood “hard” to push down. You have to use 2 hands. Over time it SHOULD soften up.
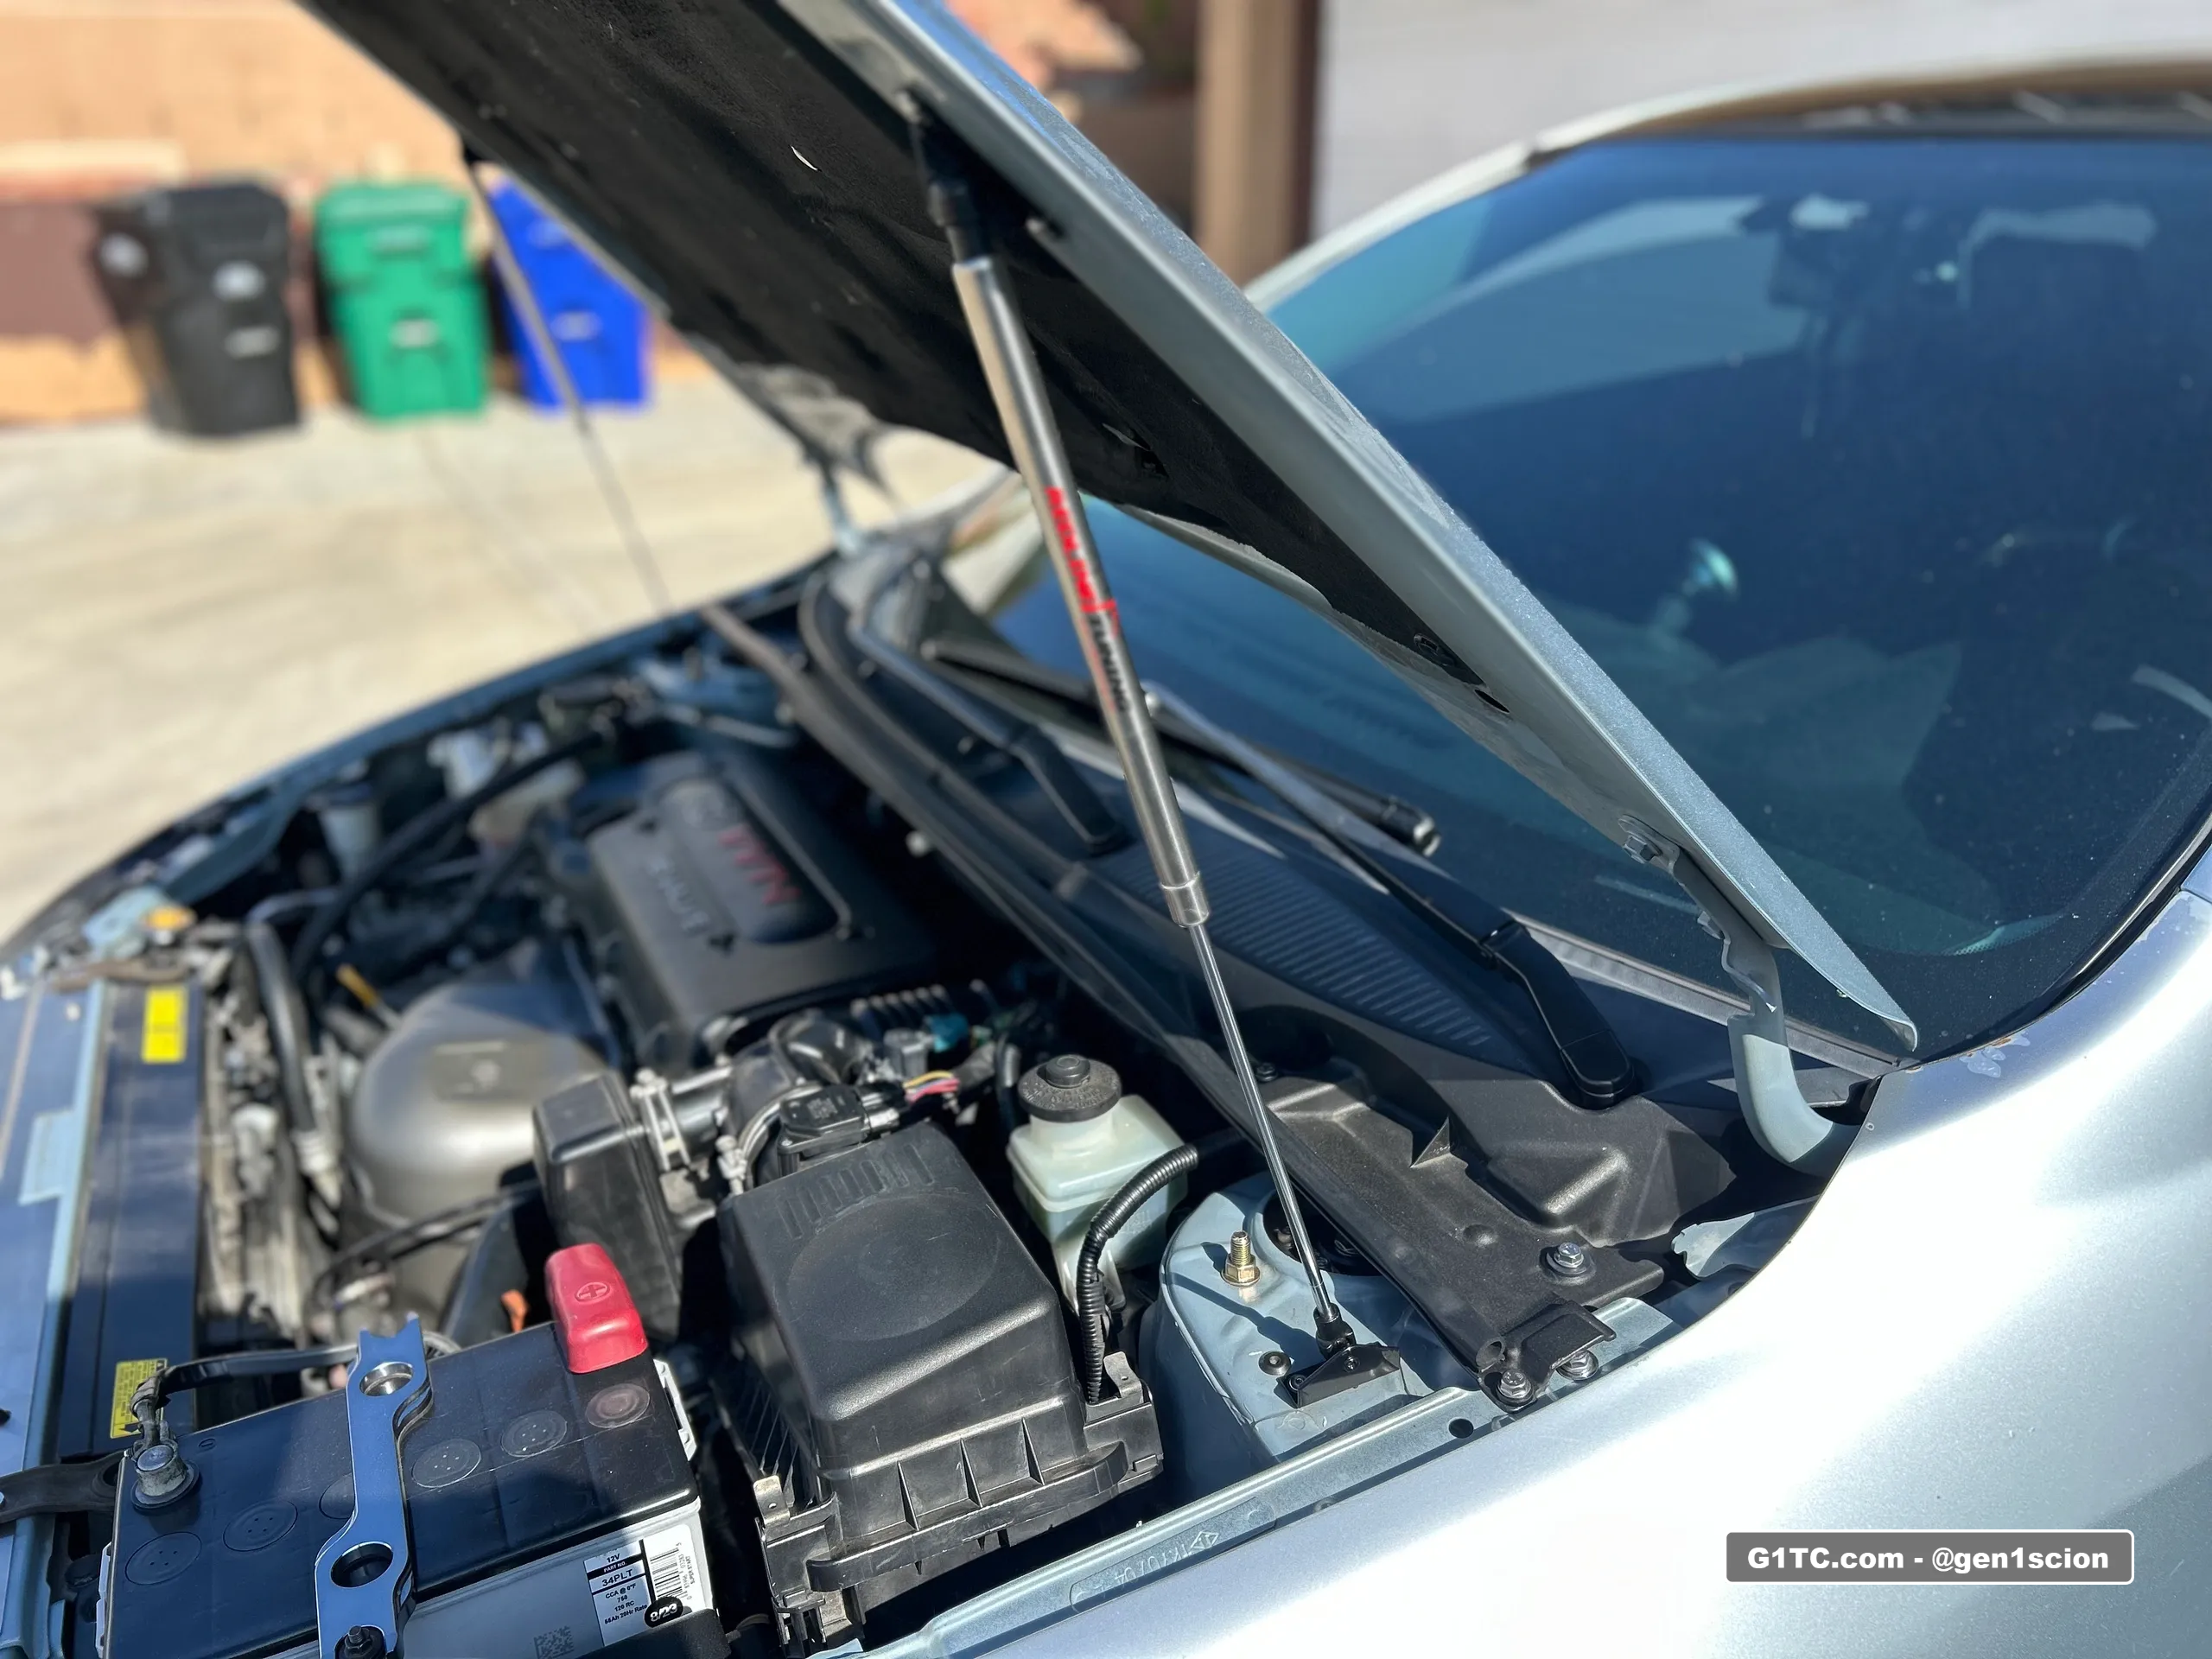
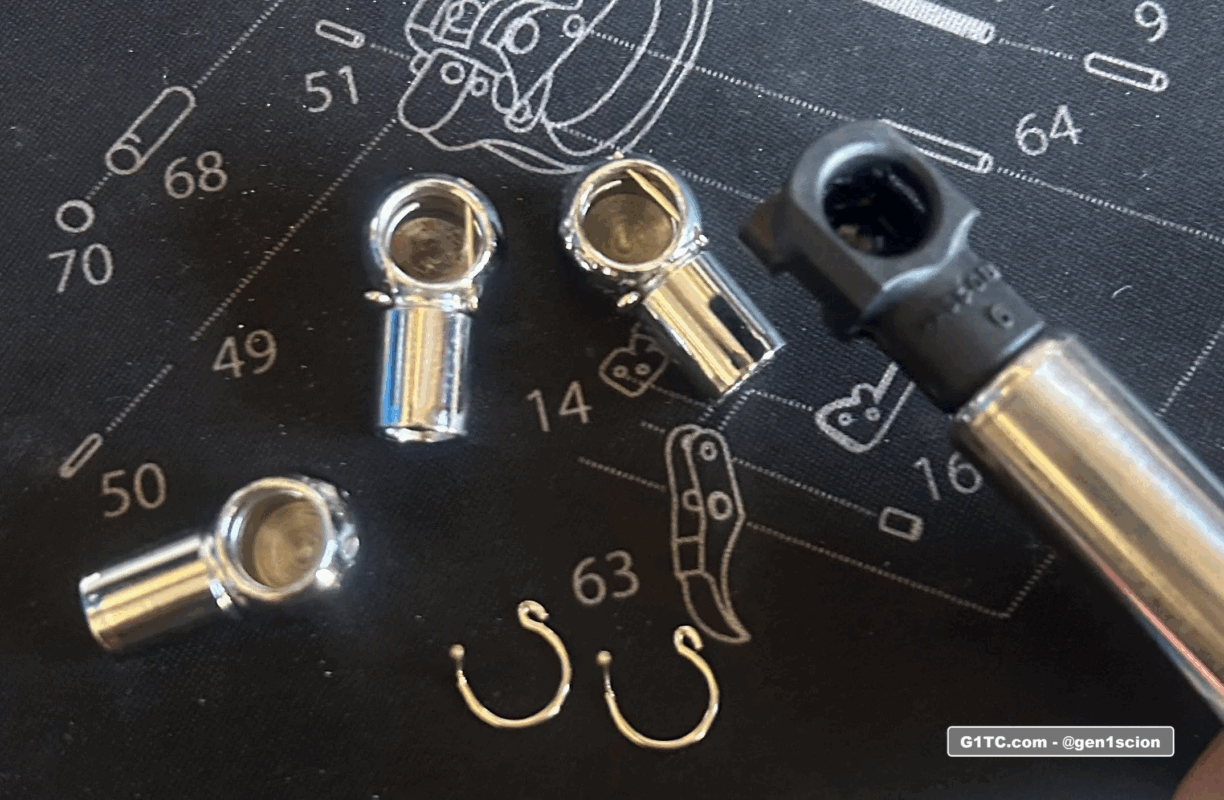
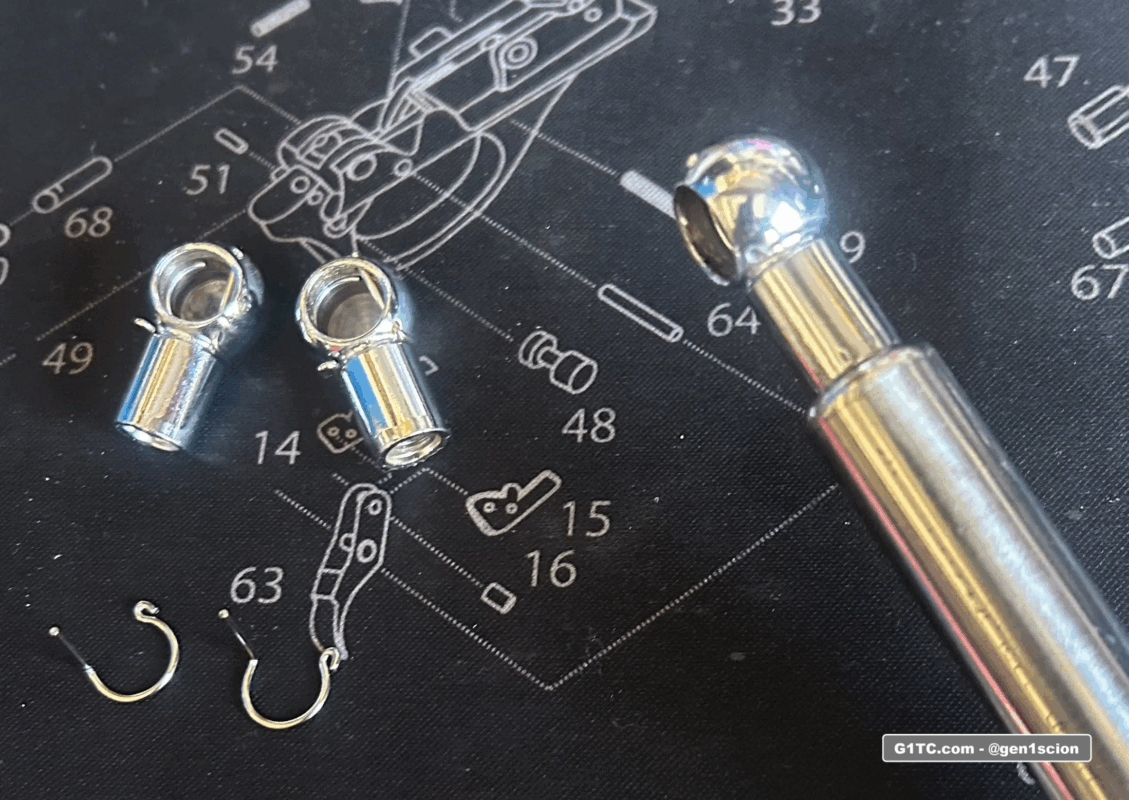
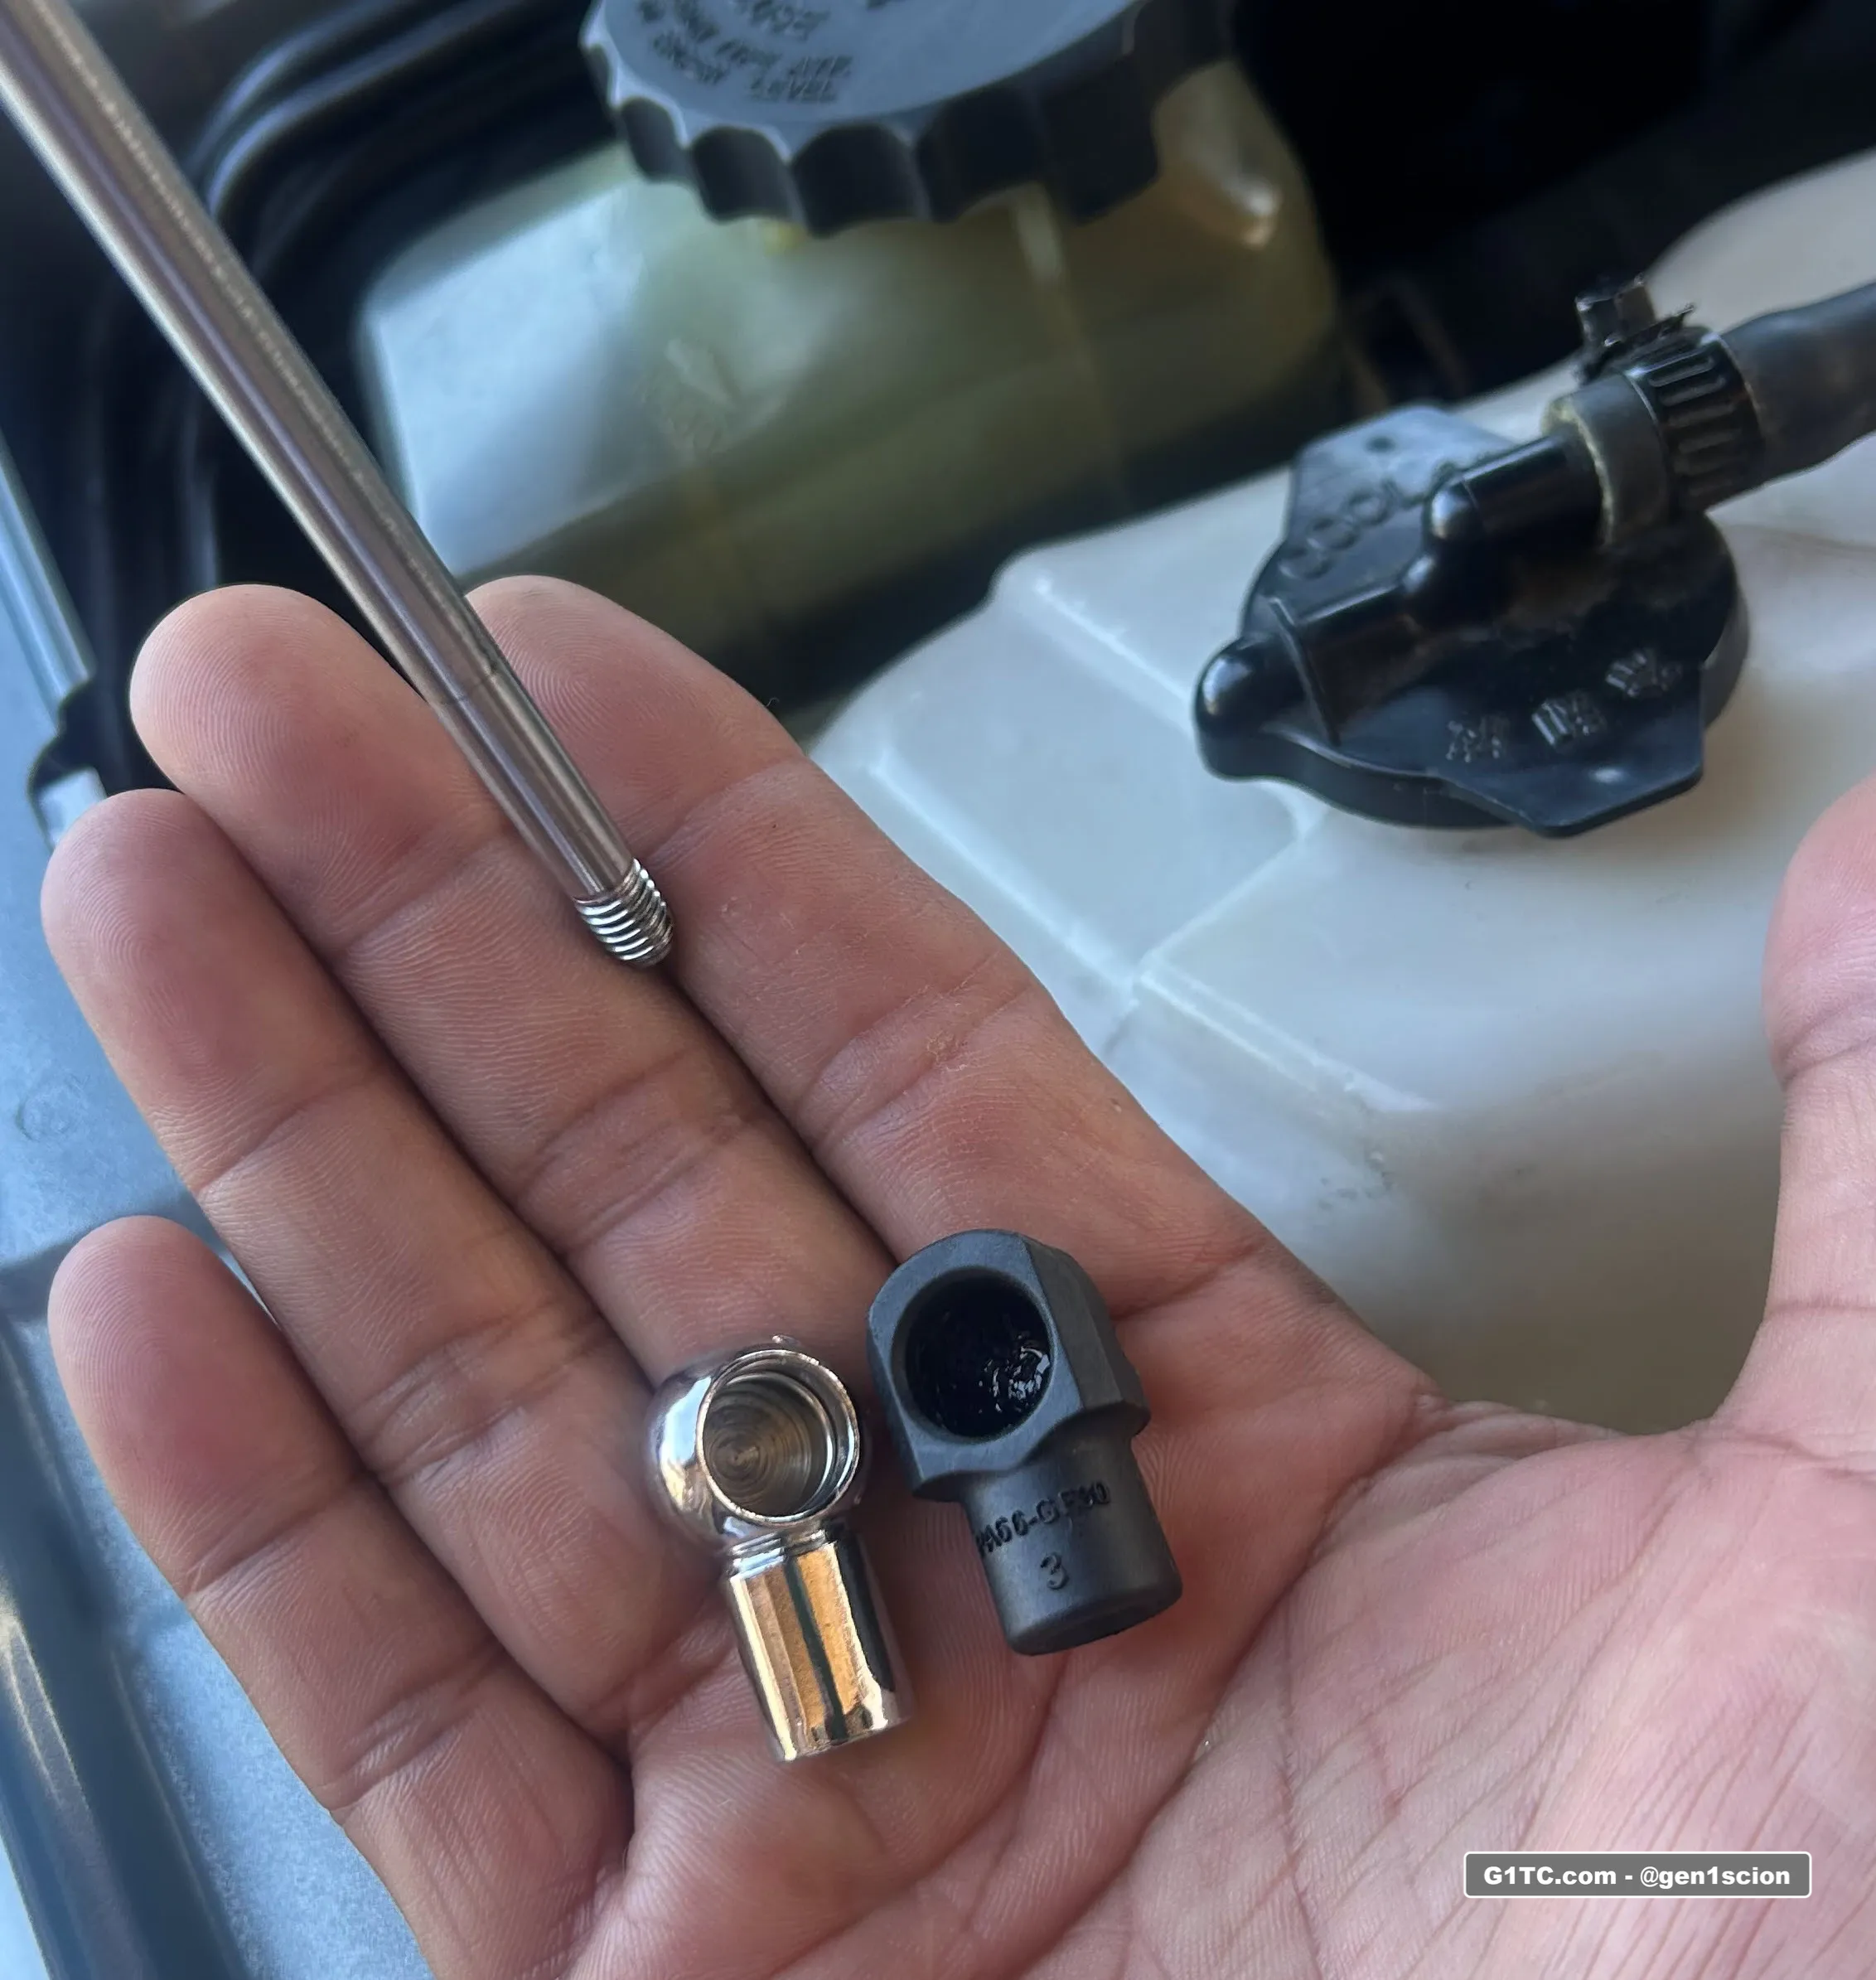
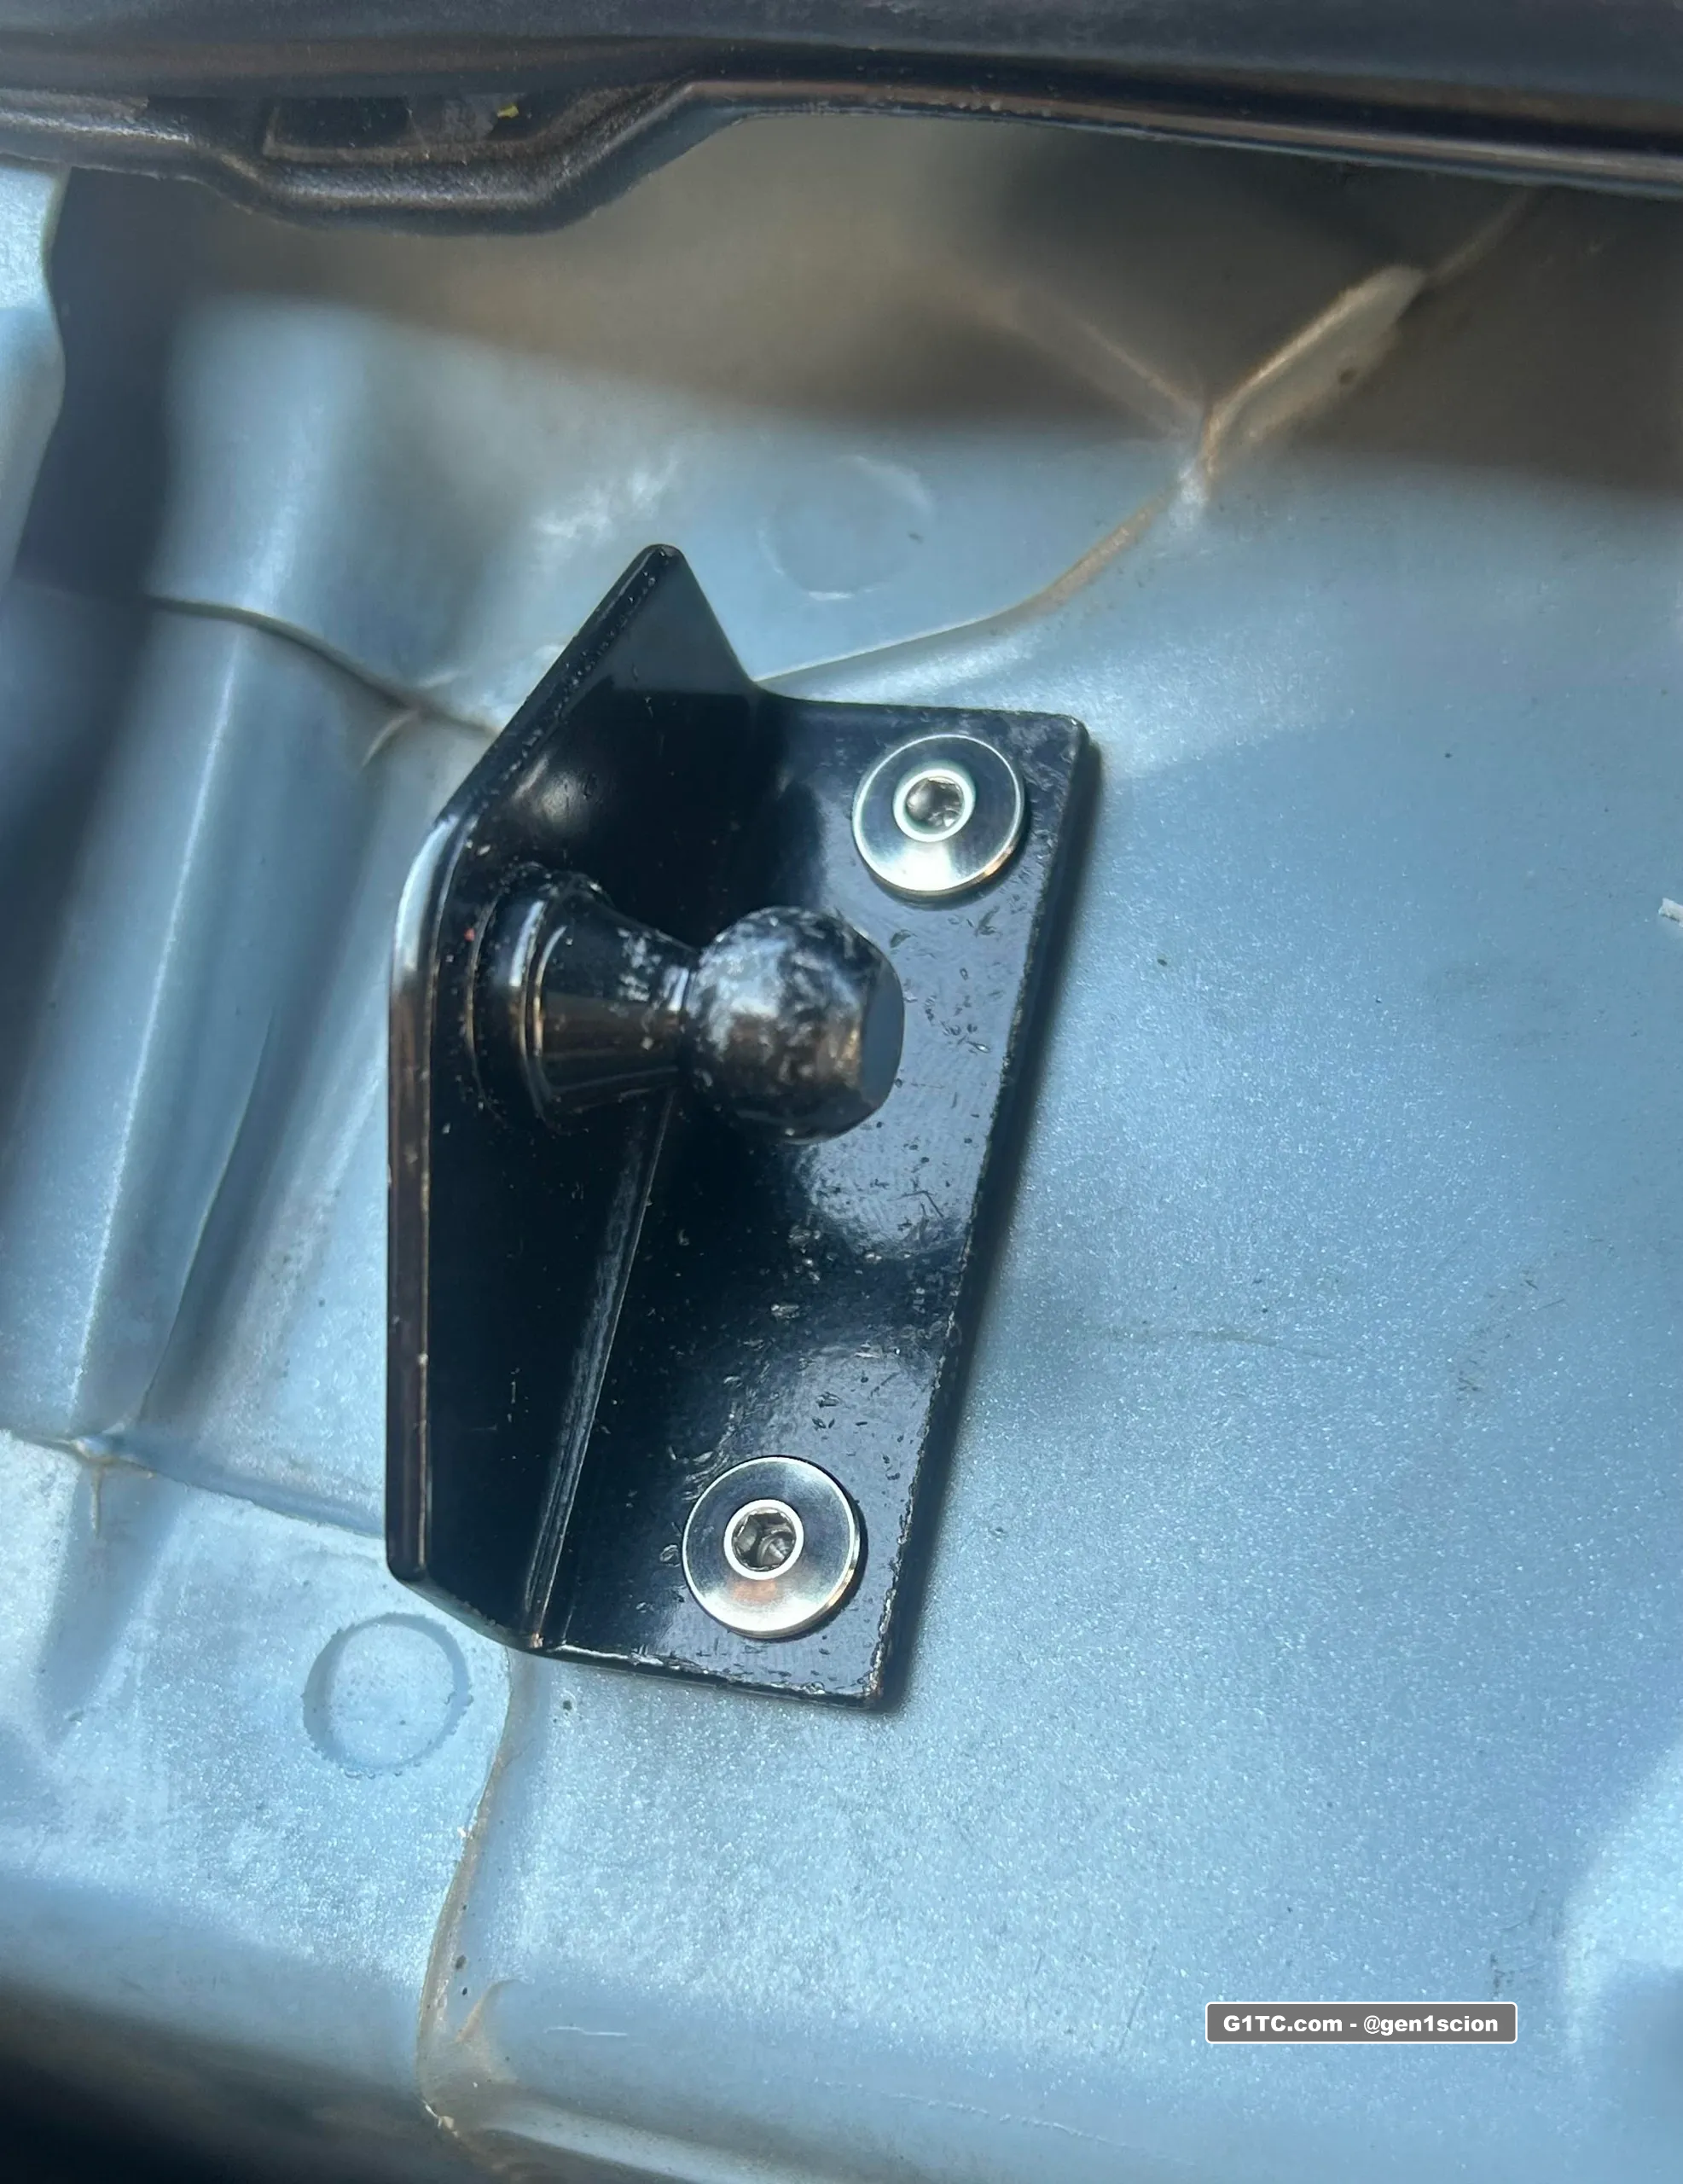
Final touch – Stainless strut ends
For the final touch I added some M6, 10mm ball ends. Found these on AliExpress for $5 set of 4.