In this article I’ll describe my maintenance procedure for changing the PCV valve
NOTE: It’s usually best pratice to do the valve cover gasket replacement in the same service.
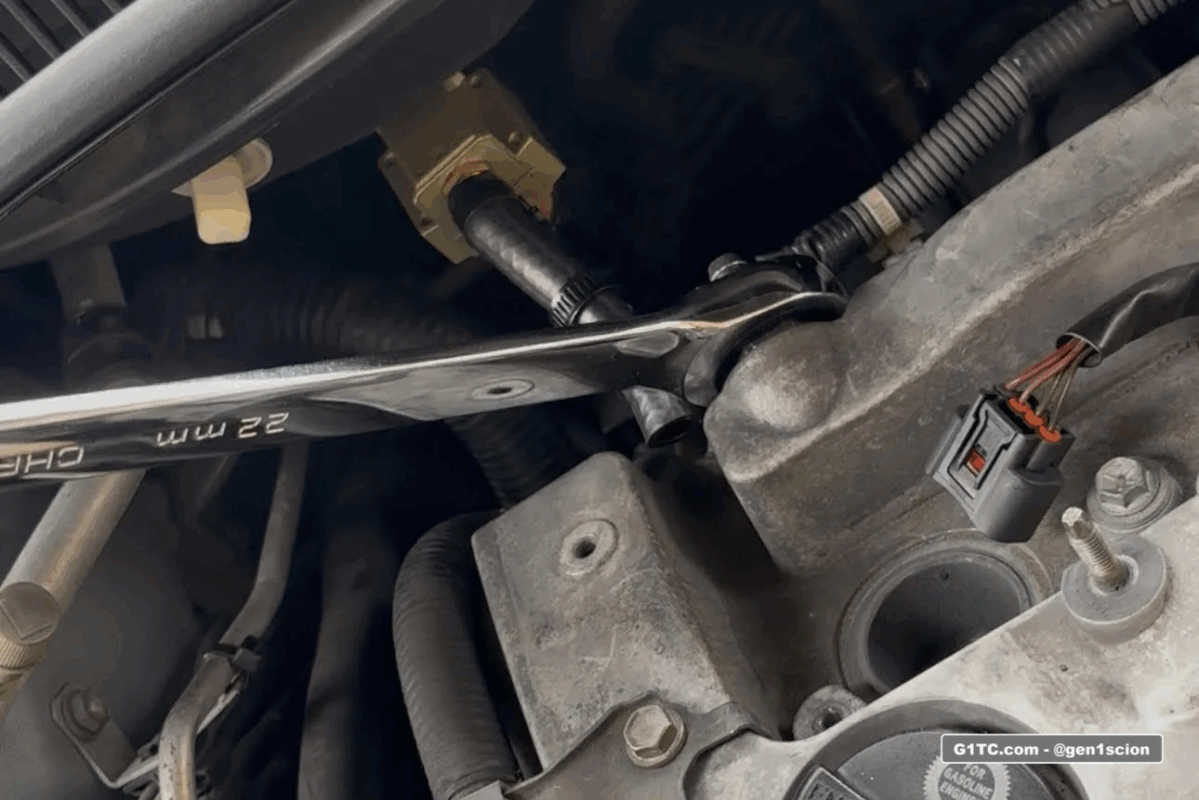
Remove the PCV Valve with a 22mm wrench
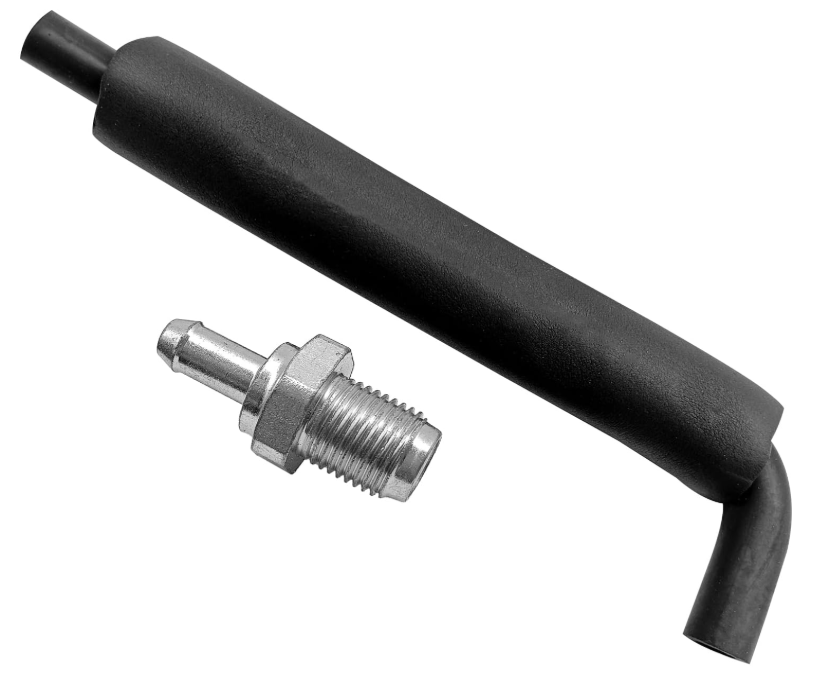
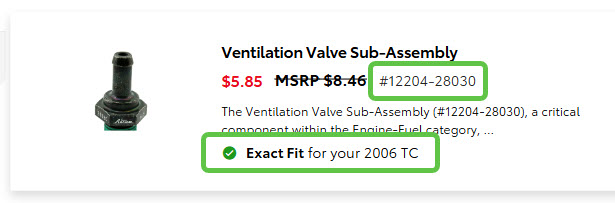
If you’re interested in a good value complete kit (with hose) Amazon has this for only $10 shipped
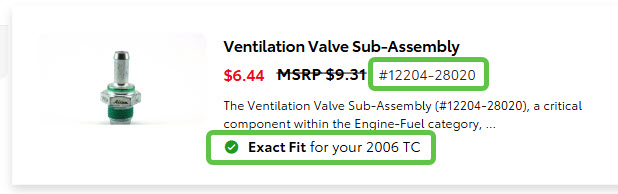
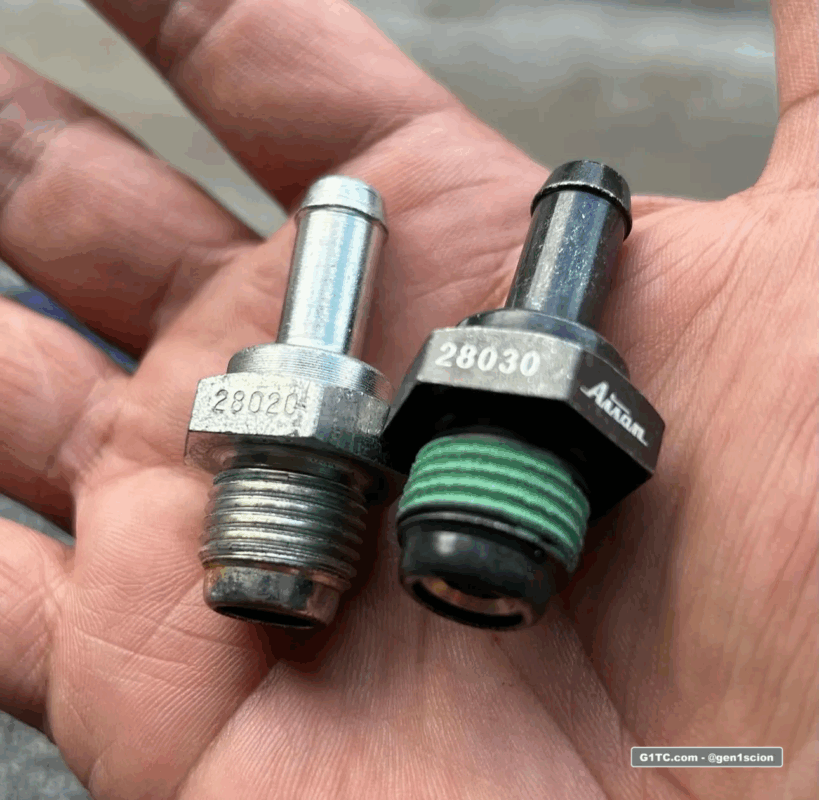
OEM Part Numbers
Either of these will work. I have run them both before with no issues.
1. Locate the PCV Valve
- On top of the engine, rear side of the valve cover
- Small metal valve with a rubber hose attached
2. Remove the PCV Hose
- Use pliers to slide the hose clamp back
- Twist and pull the hose off the valve
3. Remove the Old PCV Valve
- Use a 22mm wrench to unscrew the PCV valve
- It threads directly into the valve cover
4. Install the New PCV Valve
- Thread in by hand first to avoid cross-threading
- Snug it down lightly
5. Reattach the Hose
- Push hose back on
- Reposition the clamp
6. Start Engine & Check
- Let the engine idle
- Make sure there are no vacuum leaks or hissing sounds
Pro Tips
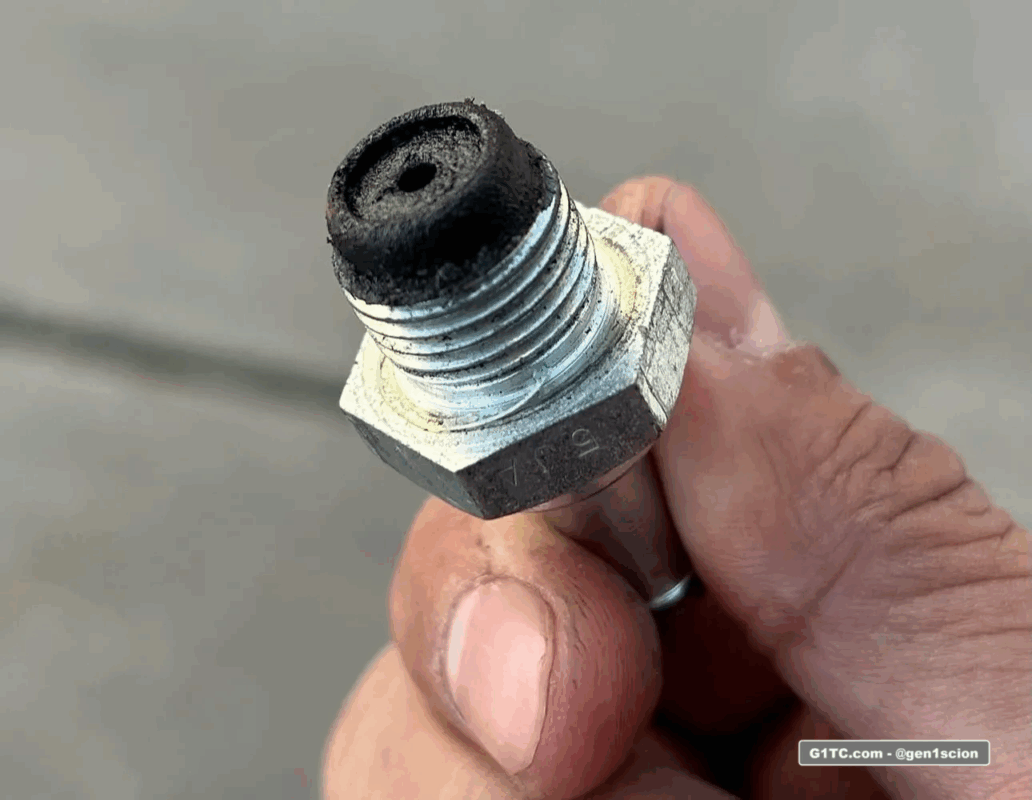
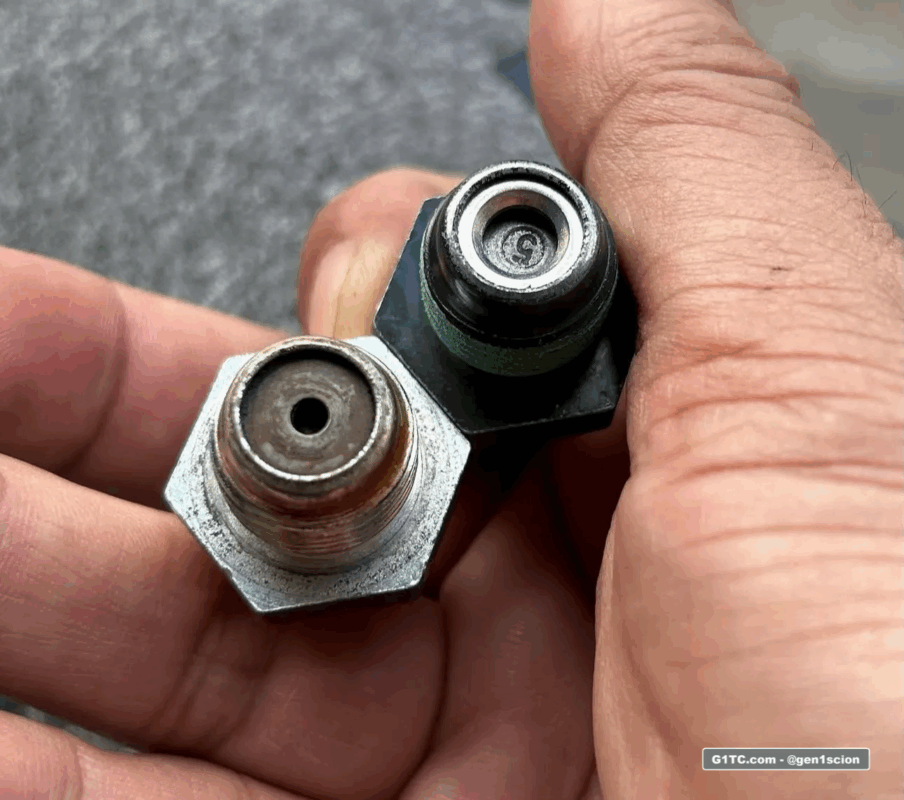
- If the old valve doesn’t rattle when shaken, it was bad
- Replace the PCV every 60k–100k miles
- Do this with the valve cover gasket job if you’re already there
- Inspect the hose for cracks while it’s off
The role of the PCV Valve
The PCV valve is a small, inexpensive component with a significant job. During engine operation, some combustion gases inevitably leak past the piston rings and into the crankcase. This phenomenon, known as blow-by, introduces unburned fuel vapors and corrosive contaminants into the oil. Without a proper ventilation system, these gases would build up pressure, leading to oil leaks and sludge buildup.
A clogged or stuck PCV valve on your Scion tC will prevent these gases from escaping, leading to the issues. Replacing it as part of your routine maintenance (typically every 30,000 to 60,000 miles, or as recommended by your owner’s manual) is a simple, cost-effective preventative measure.