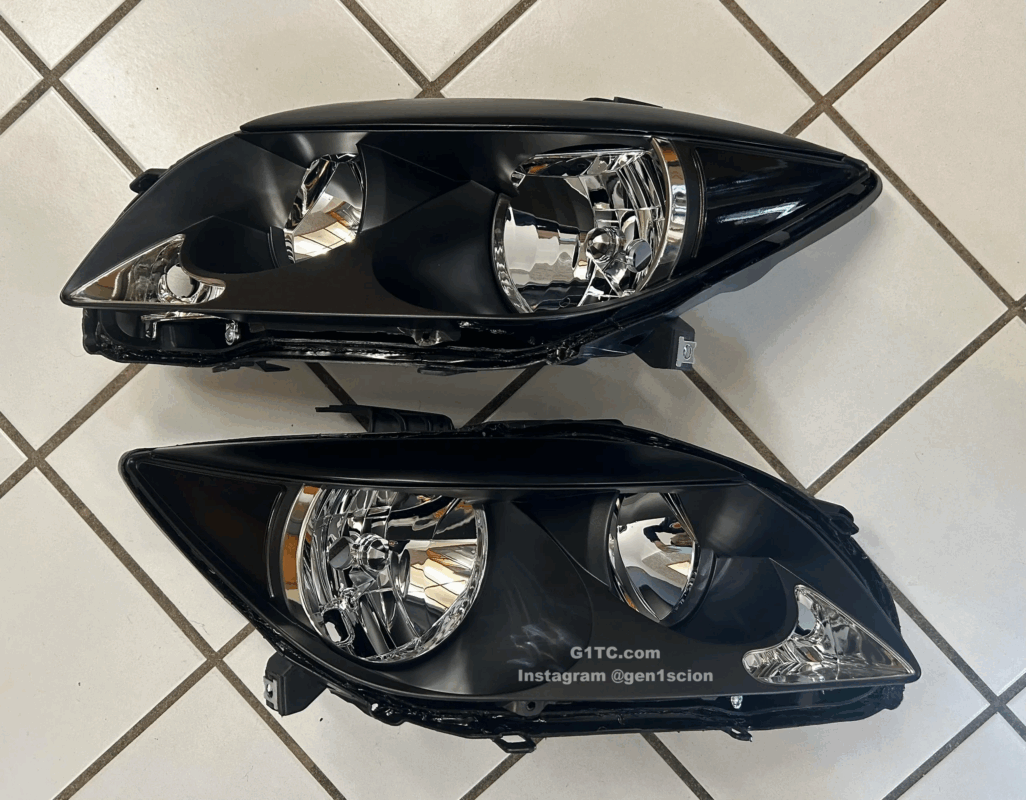
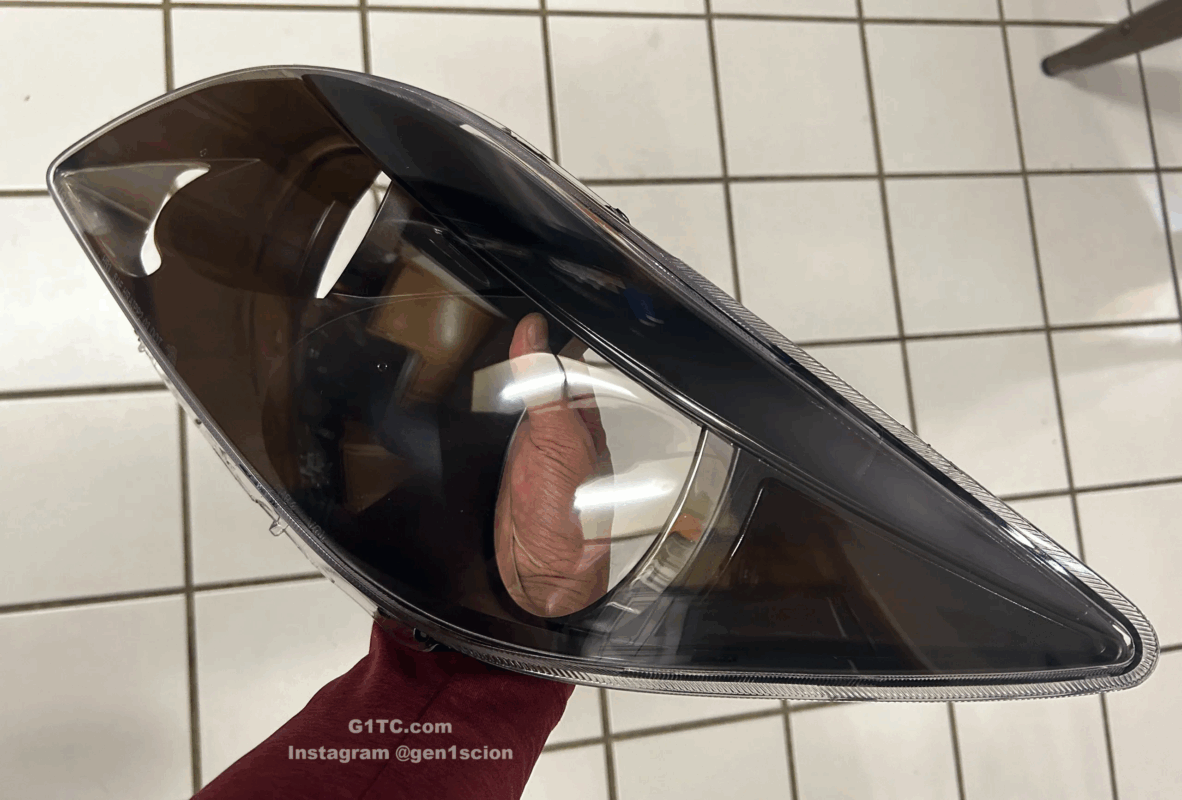
This article describes how I cracked open headlights from a 1st Gen Scion tC and blacked out the amber parking light and eyelid using lens tint paint. When the lights are turned on, you still see the parking amber thru the tint – otherwise it’s blacked out. Check your local and state laws regarding legality.
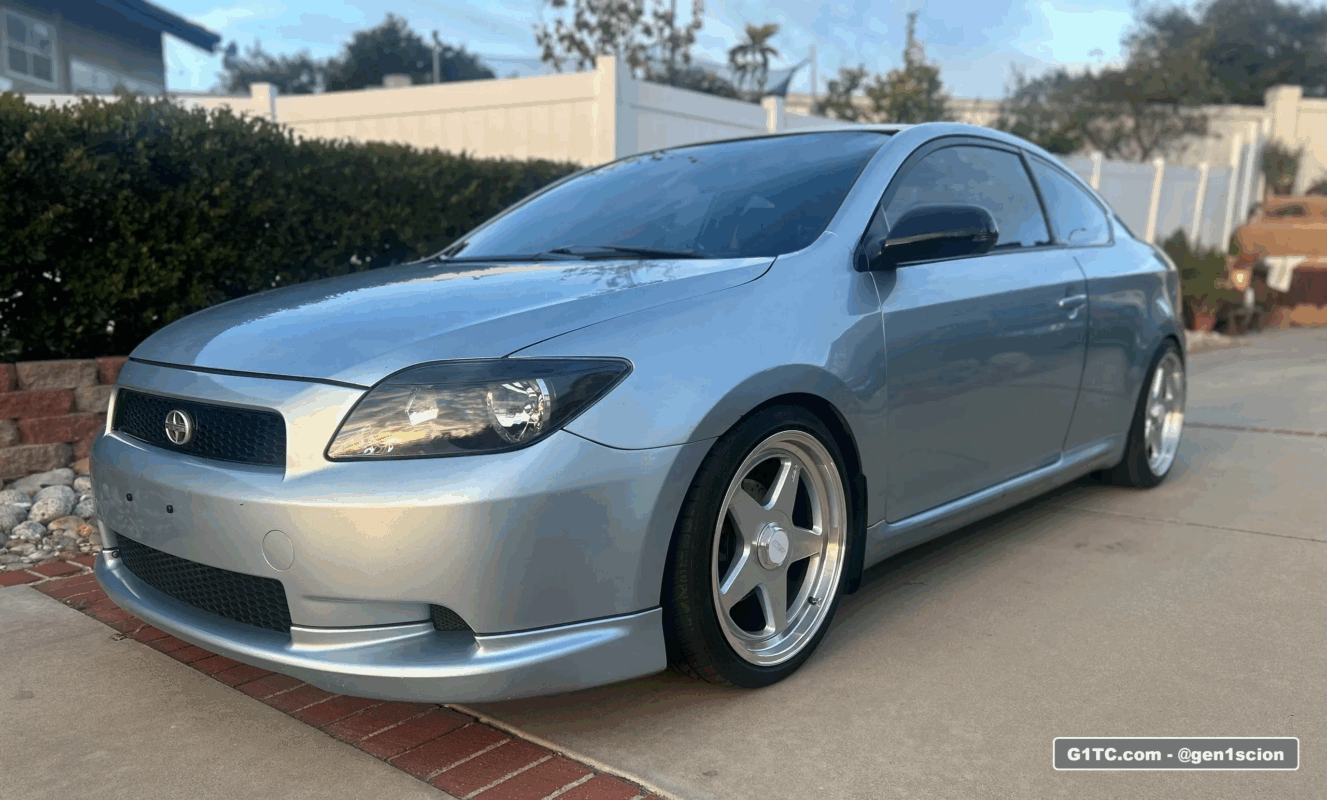
I like this look better than externally blacked out headlights (paint or wrap). I feel like it retains some accents in the housing. Plus when you look at these you know that extra work has been put into achieving that look (aka, the headlight was cracked open). Details!
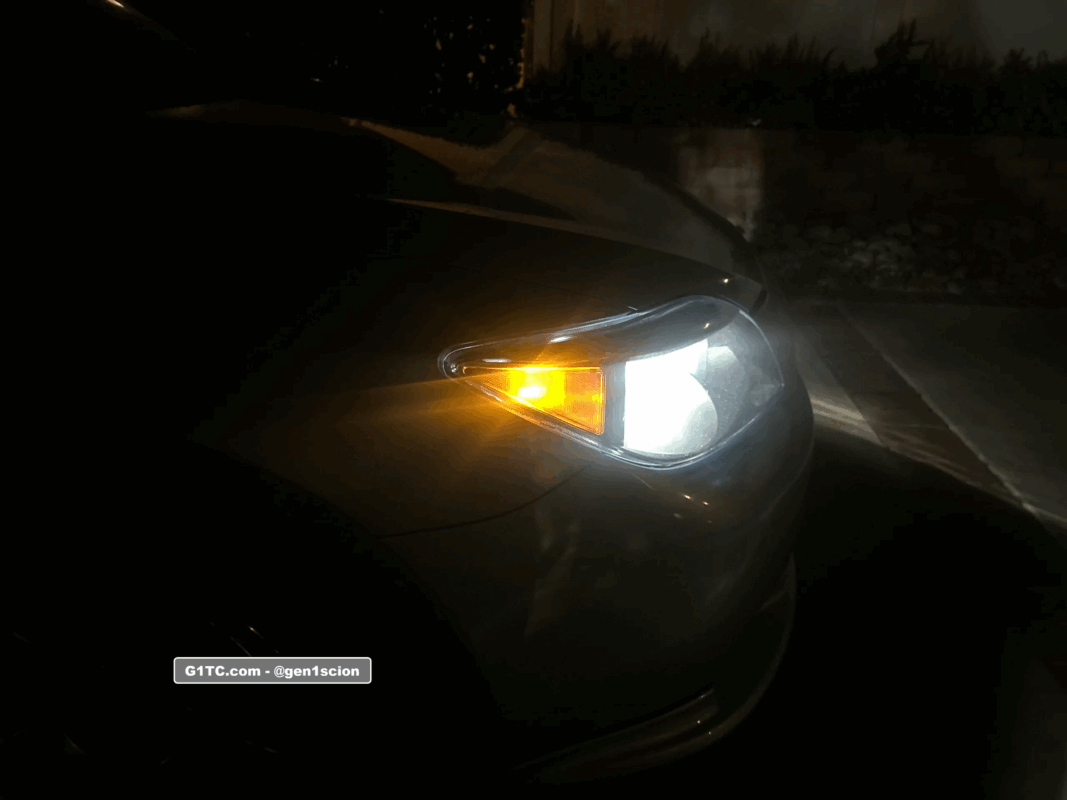
Still amber at night through the lens tint paint
How it’s done
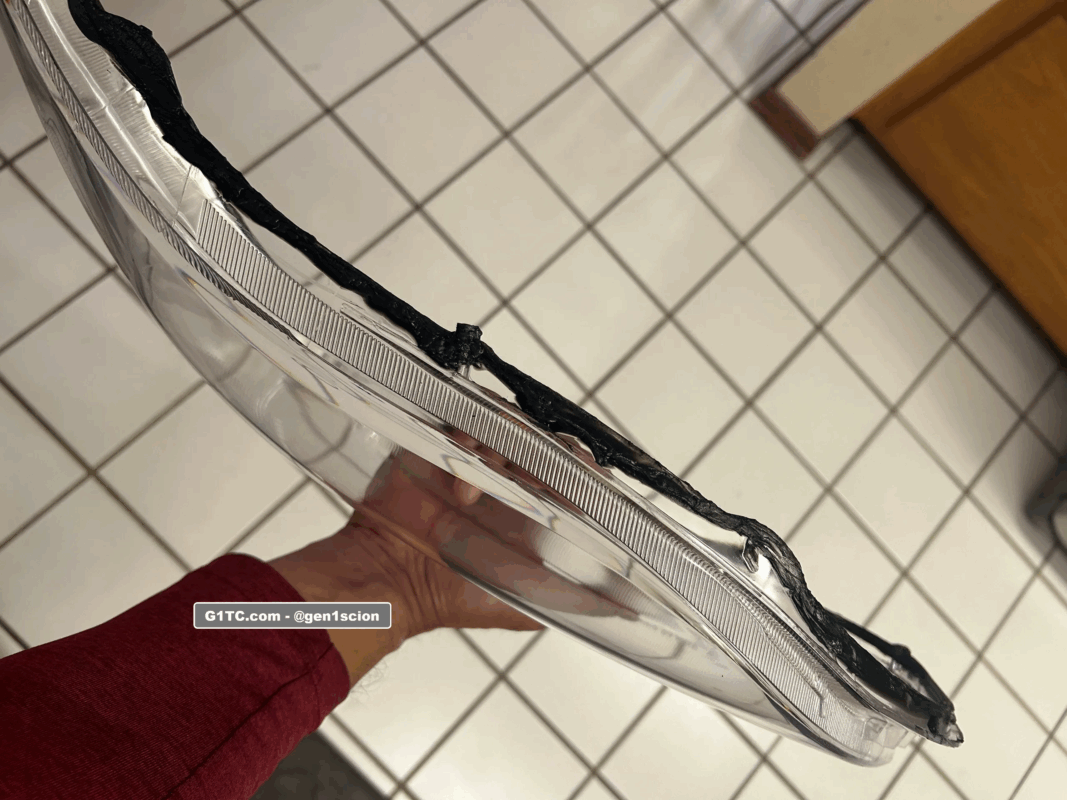
- Crack open the headlights (heat them up in the oven starting at 180F)
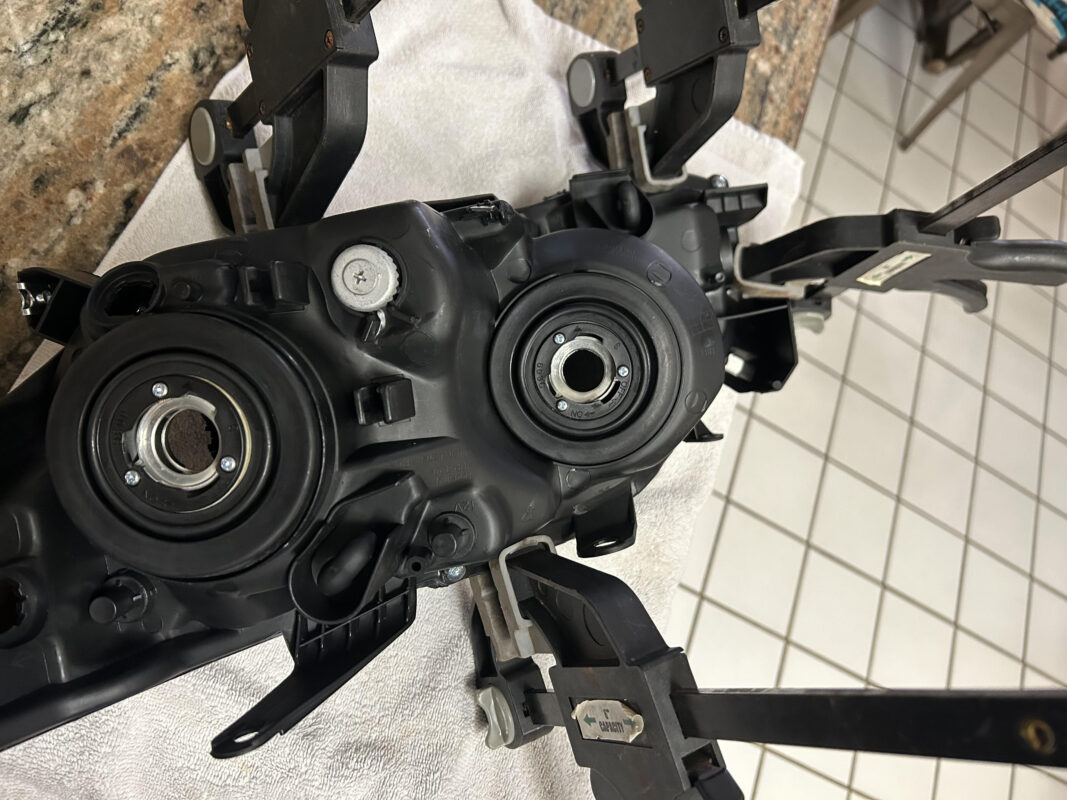
- Disassemble the head light internals
- Paint the ambers (paint eyelids and other parts now, if you want)
- Reassemble the head lights using butyl sealant tape
Materials used
Use the oven to crack open your headlights
For this project I used brand new aftermarket headlights. I wanted a new clean lens. I opted to keep the 2005/2006 style headlights. Some will retrofit the 2007-2010 models projector lights with using a harness/adapter.
Preheat your oven to 180F
You may need go hotter, but I wouldn’t take it past 200F. In my case, I only needed to heat it up for about 8 minutes at around 200F. Take it out every minute or so (after 6 minutes) and check to see how tacky and loose the sealant is. Pry with a plastic pry tool starting at the amber edge of the headlight.
I didn’t want to use a heat gun because if you accidentally focus too much on one spot you’ll melt/deform the plastic both at the housing and lens. Use a heat gun at your own risk.
Disassemble the internals
Take your time. Find all the screws. Be careful not to break any tabs. Decide what you want to paint. Now is the time.
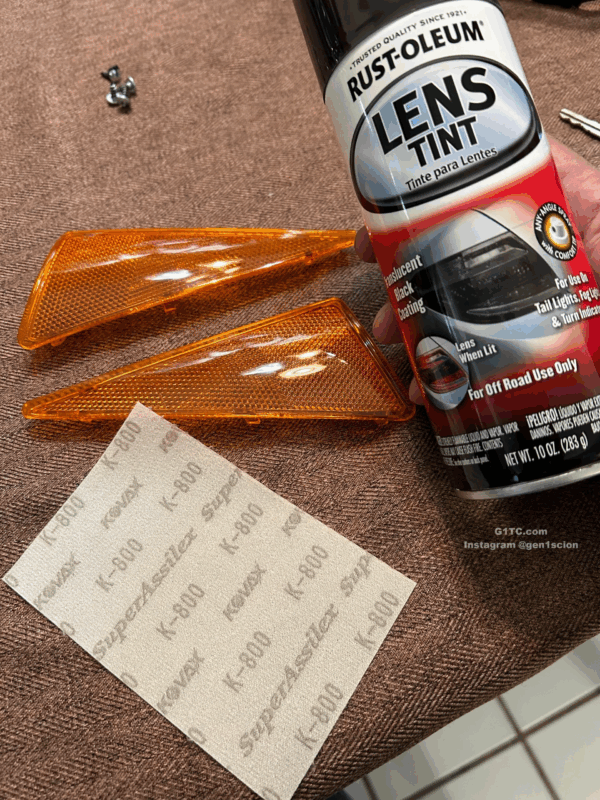
Paint with light coats
I did a very light sand prep on the ambers using 800 grit flexible sanding block. I used Rust-oleum lens tint paint and applied it in about 3 light coats.
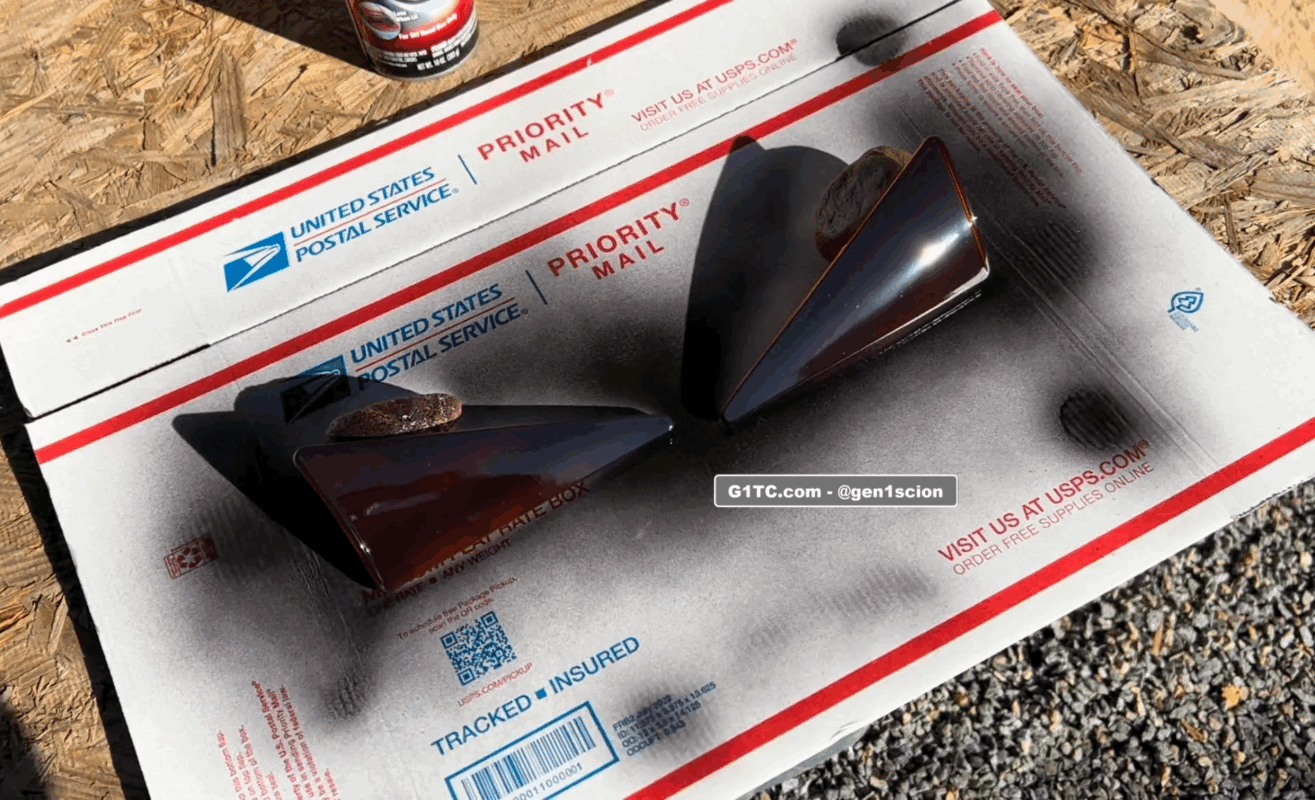
Reassemble the headlights using Butyl Sealant
I used butyl sealant tape in the normal channel of the housing then on the exterior I sealed it again with black sealant. You can do your best to remove the old butyl, but I left most of it on and then just filled the channel with new butyl strip.
Press it down as good as you can with your hands, then heat it up in the oven again at 180 for about 6-8 minutes. Take them out and press the lens in more (you’ll feel it sink in). Repeat about 3 times to make sure the lens cover is as deep as it goes into the housing channel. Clamp them down or use rubber bands while the butyl sealant tape sets for best results.
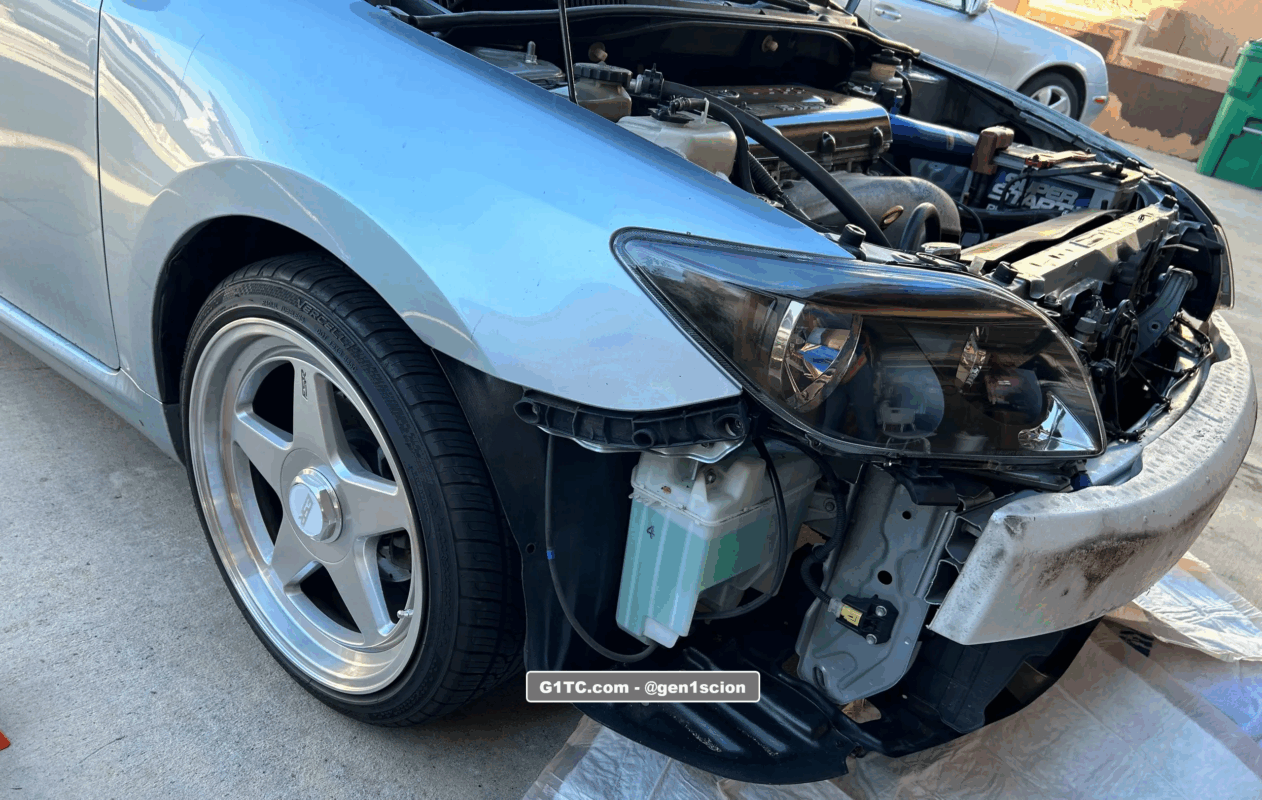
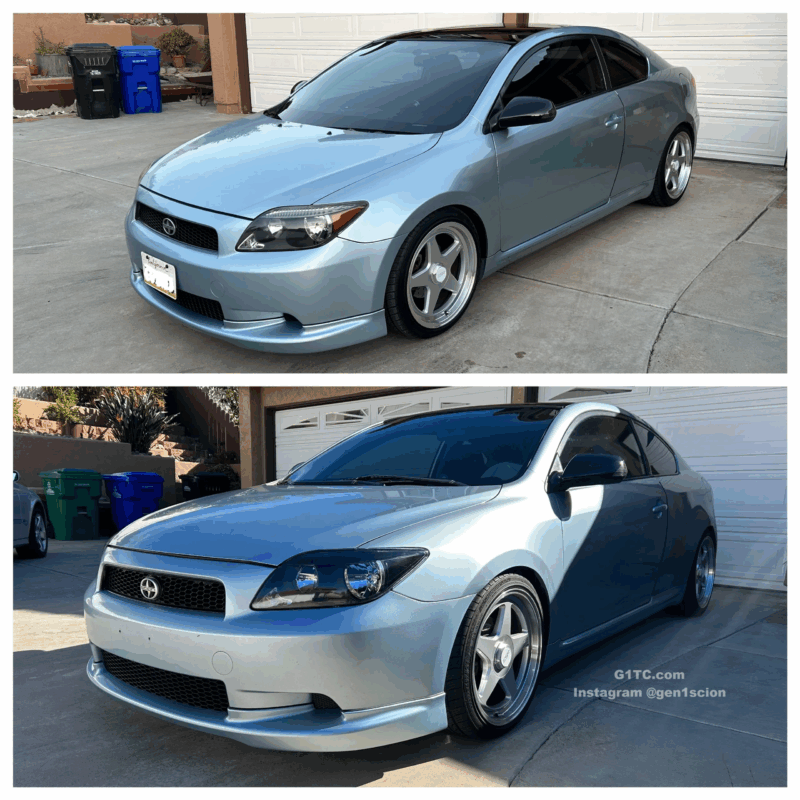
Before and after shots