The Scion tC did not come with a backup camera
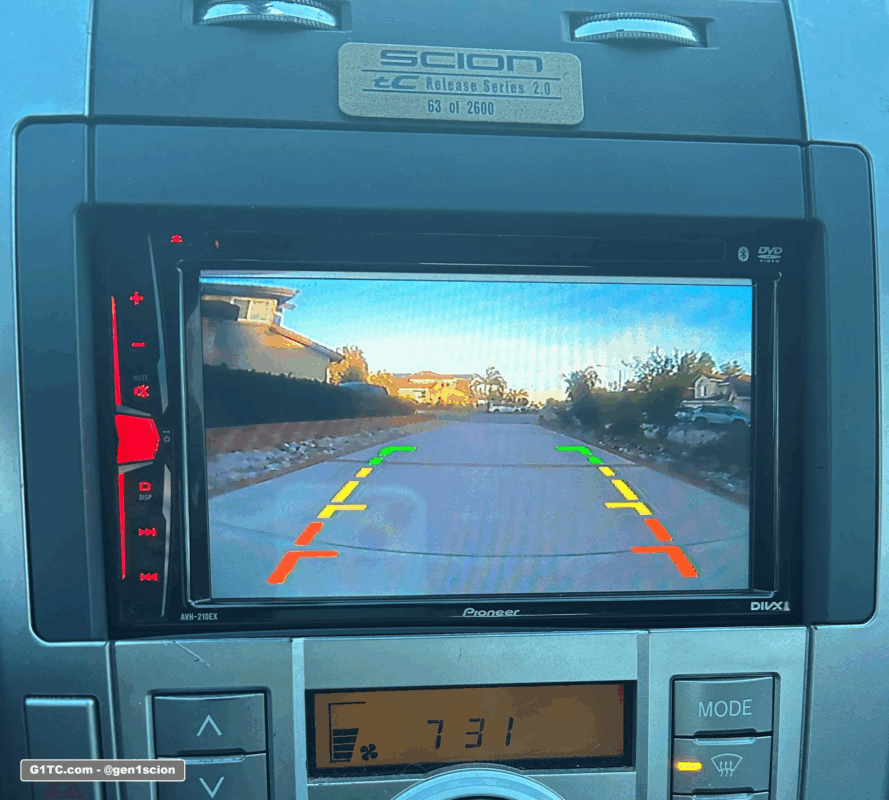
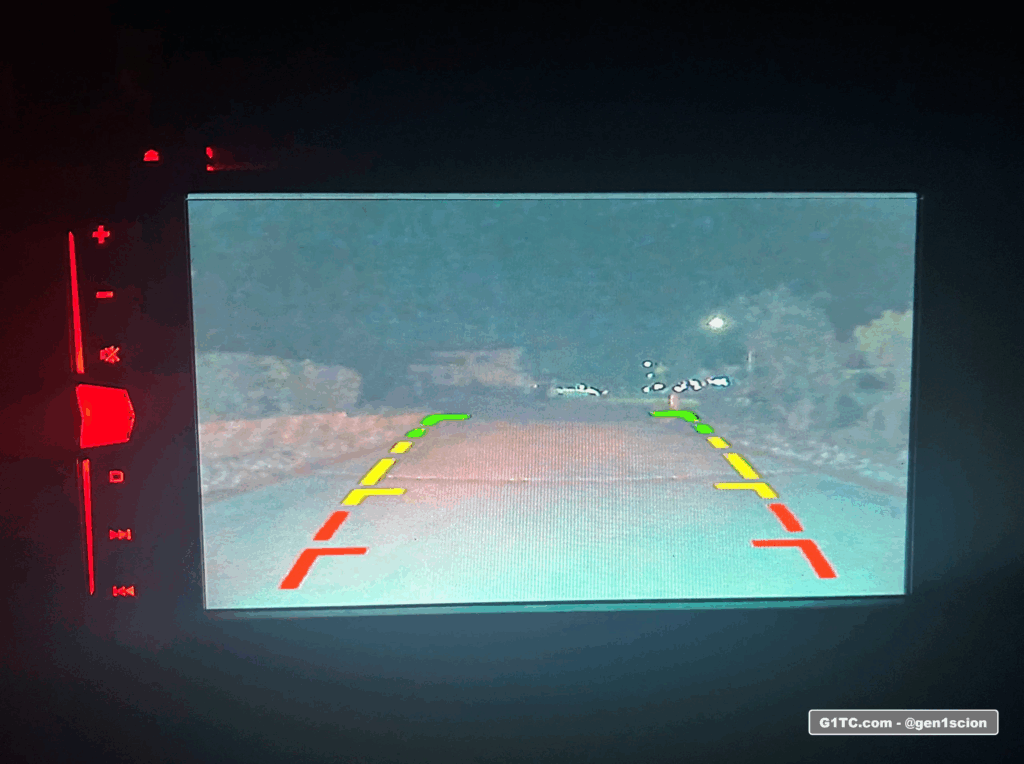
This article describes how to retrofit a backup camera into any 2005-2010 Scion tC. For starters, you’ll need a head unit that supports a reverse camera. For example, here’s my Pioneer AVH-201EX in action. I have this paired with a license plate frame backup camera center mounted. I like symmetry.
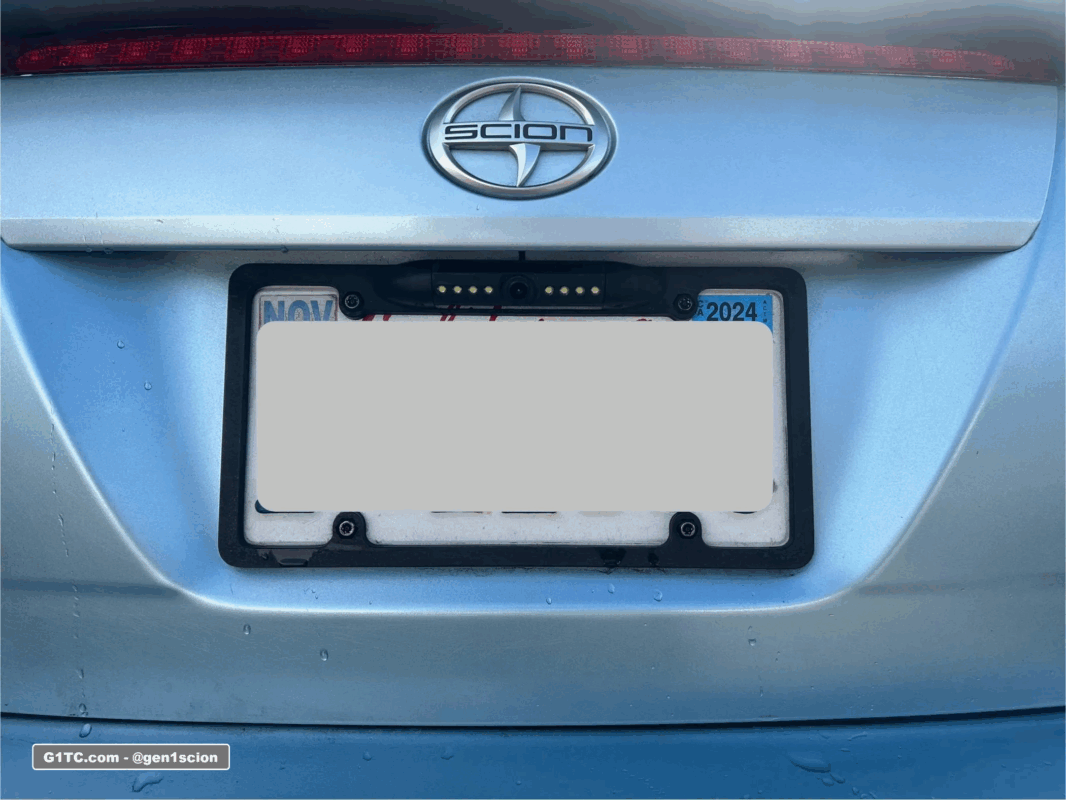
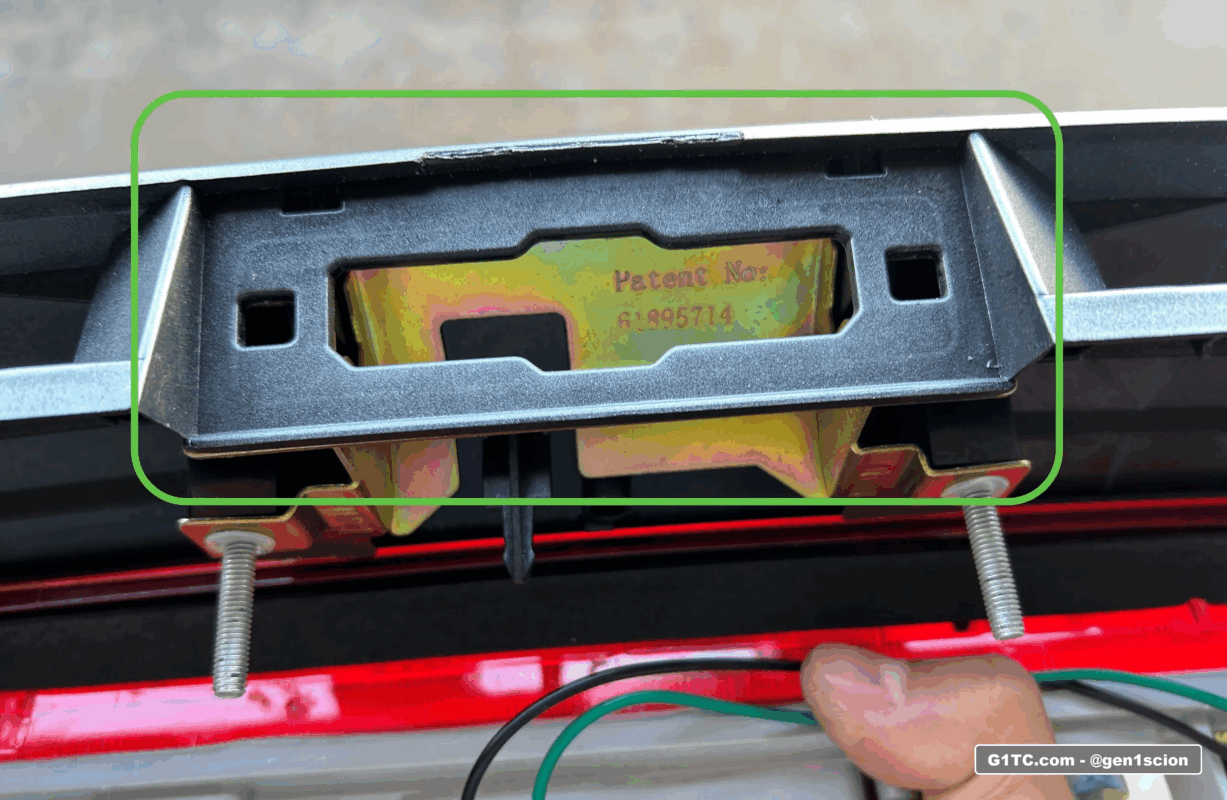
My setup here has the backup camera license plate frame with 4-mounting points. My 2006 did not come with bottom bolts. I retrofitted the 2 bottom screws using rivet nuts and I use M6 security screws to fasten it all down. No trunk rattle here!
The downside with this – If you have thick fingers (like me) that makes accessing the trunk hatch button difficult. I addressed that later by modifying my trunk hatch button to a recessed button, giving me enough space to fit my finger in there to push the hatch button.
Wiring up the backup camera
I’m going to make some generalizations here because
- We’re not all buying the same backup camera kits
- We all have different head units
Start with a dry run. Test the camera first
Test it first. Wire it up quick style without feeding wire through the paneling. If for some reason the backup camera is not working this is your chance to return it.
Wiring at the head unit
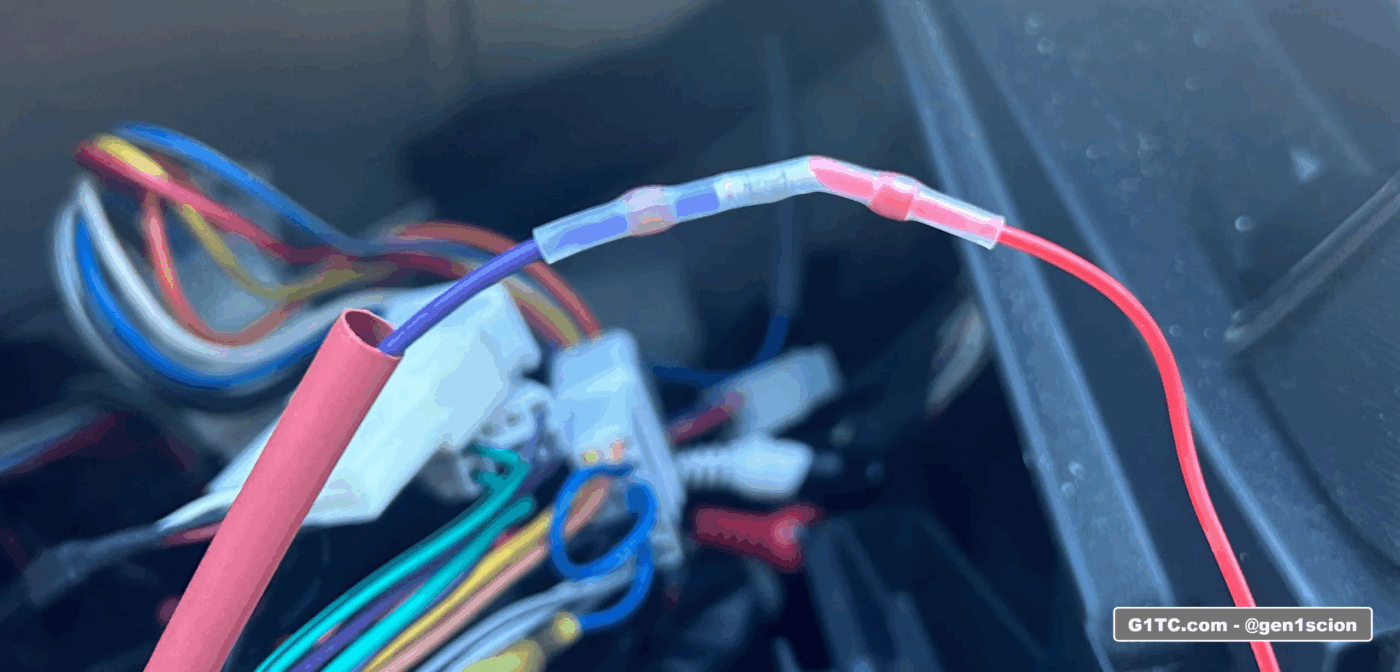
In most cases, the reverse camera trigger wire (at the head unit harness or adapter harness) is a purple wire. Consult your head unit documentation because it may be different. Mine was a purple wire coming from the Metra harness made for the Toyota.
Tap the reverse signal wire at the reverse bulb
I trigger the reverse signal wire, from the reverse bulb in the back of the trunk, black wire. See video below. In other words, when you put the car into reverse, your reverse lights turn on, we tap that wire to send the signal to the head unit that the car is in reverse. It activates the camera view on the head unit display.
Wiring path
Run your wire through the panels and down the hatch grommet. See video below.
After testing, I finalize the install by actually running the wire down the side paneling by the door sill, up the driver’s side B pillar, through the headliner, out the hatch grommet, and into the hatch.
Fishing wire through the hatch grommet is tough
- Use about 8-12″ of coat hanger
- Don’t try to fish it through the whole path at once. The curves are hard to navigate.You can damage the wire on the unprotected metal edge.
- Fish it through in 3 passes (trust me here).
- Fish it up, pull it through
- Fish it over, pull it through
- Finally fish it up again and pull it through. See video below.
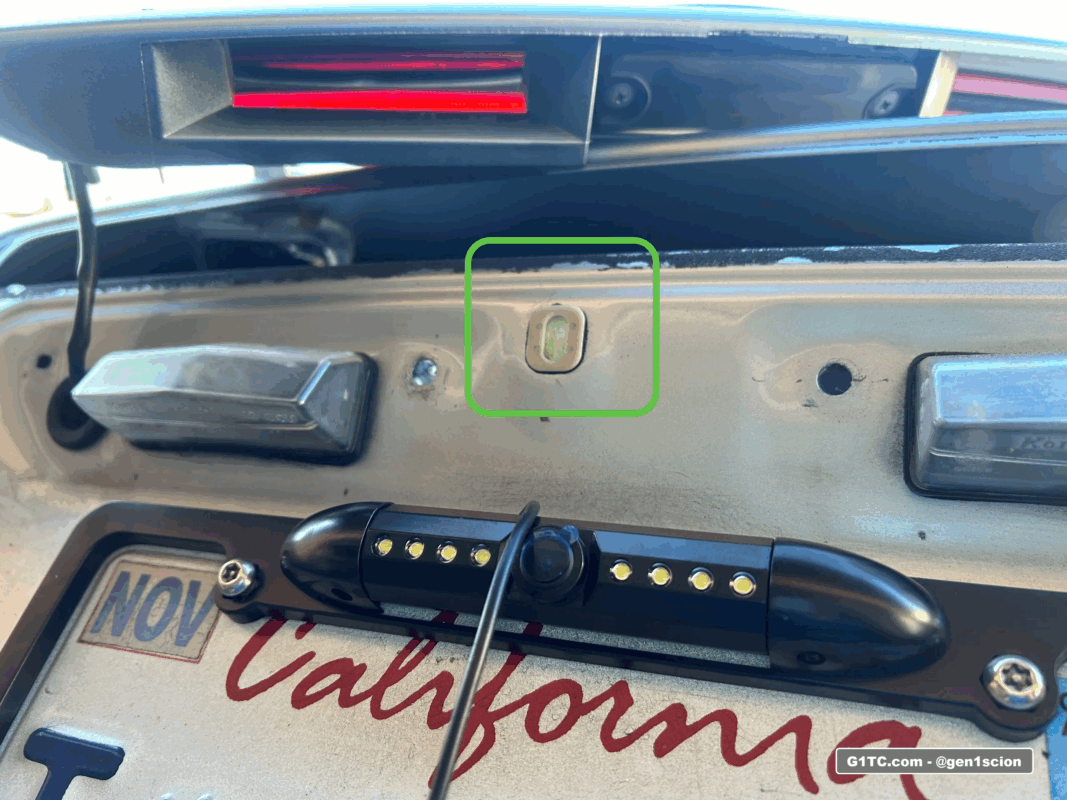
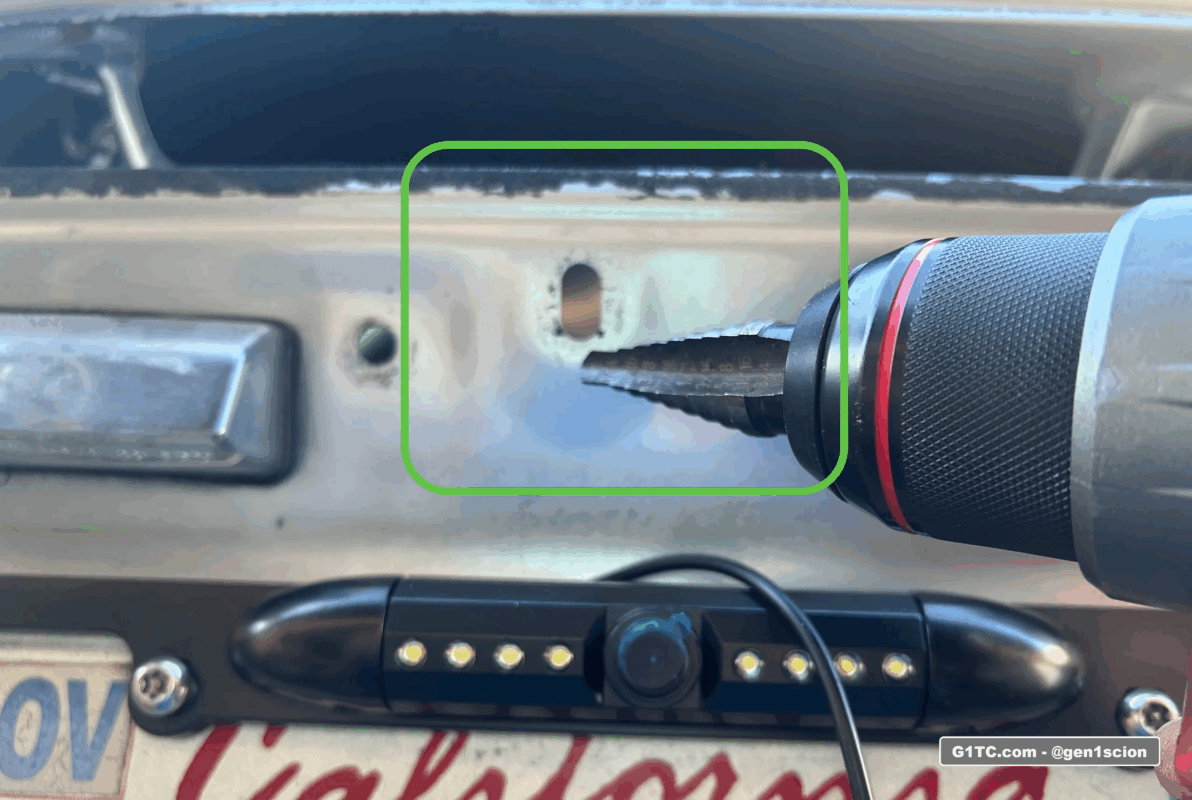
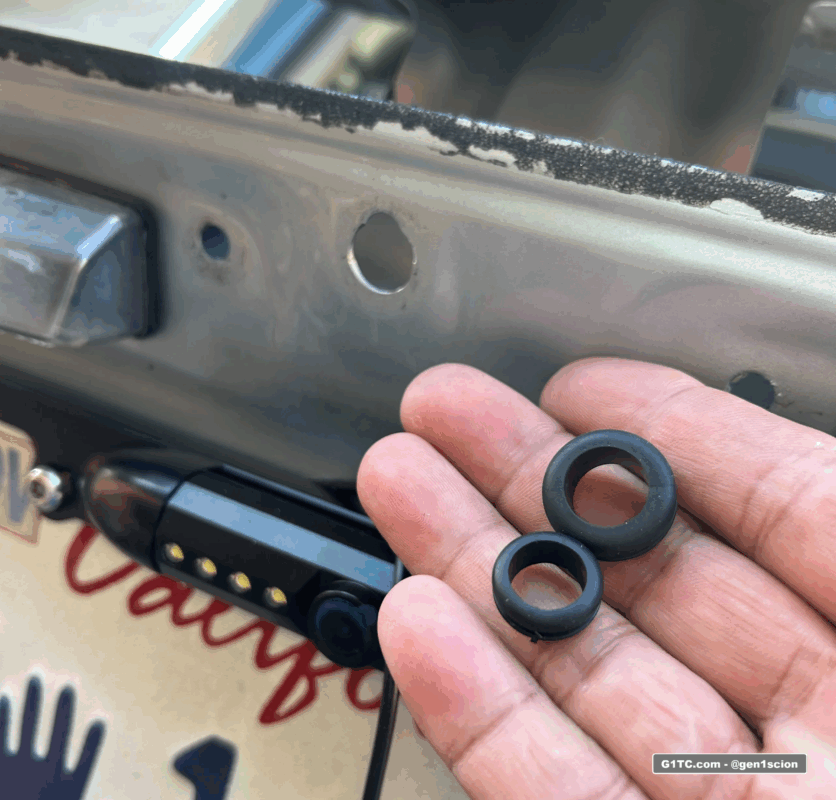
Widen hole above license plate in hatch to feed the camera wire
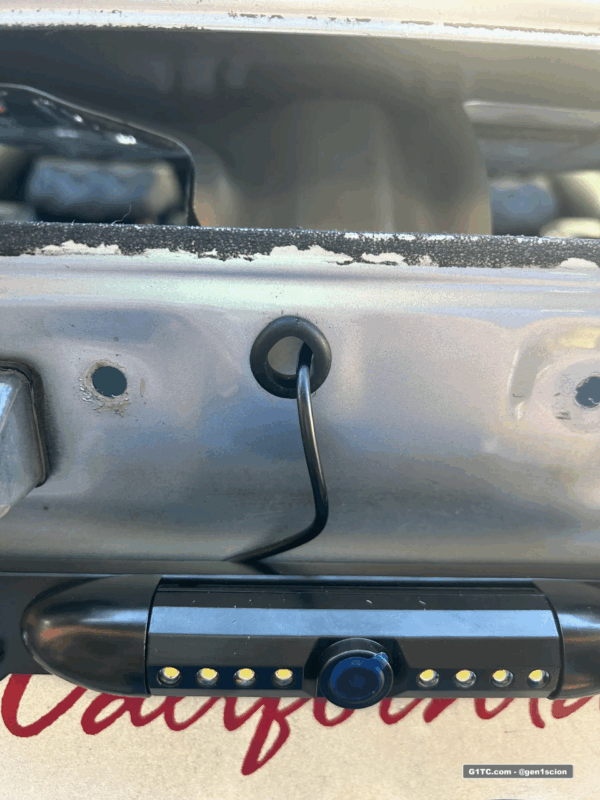
To finalize the wiring I fed the camera wire through this hole (see below). I had to widen it with a step bit. I used a grommet around the hole to prevent the edges from fraying the wire.
You’re done!
- Button everything up and test the reverse camera again. Test it at night too.
- Change the physical angle on the camera as needed, on this model there’s a set screw to lock it in place
Accessing the hatch button
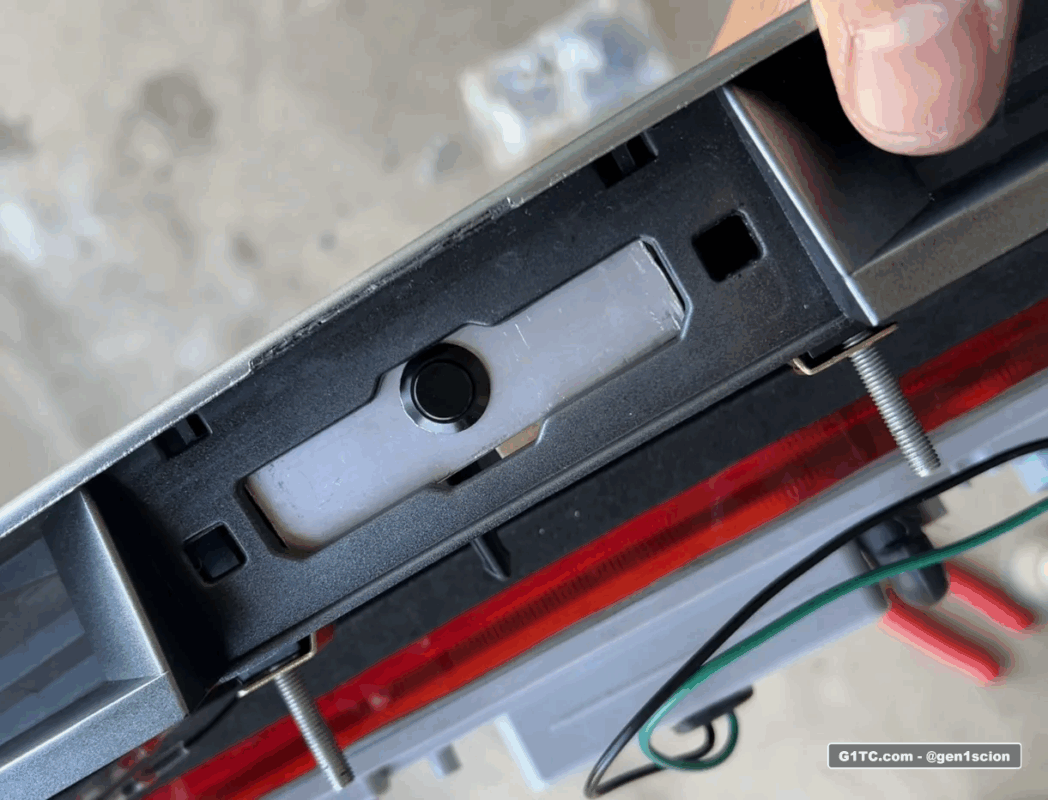
I have thick fingers. I had an issue accessing the hatch button. The thickness of the button + the thickness of the camera + the thickness of my fingers = can’t push the hatch release button.
Custom button
I wired up a 2-prong momentary IP65 water proof button and then jerry rigged it in a way to make it flush or recessed into the assembly. With a 2-prong button, the wires are a direct swap to the OEM hatch button. Just solder them together.
Links to soldering tools and accessories
-
Adjustable heat soldering tool kit complete with extra tips, solder, flux, etc. You can use this for the DIY Cluster LED swap too, very handy to have
-
Butt connectors that melt solder to the connections, I really like these
-
Heat gun with melting shield, great for melting the butt connectors above. You can get in tight spots without heating up neighboring parts
-
Tube shrink wrap, I use this stuff all the time to cover up raw wire soldering and to water proof butt connectors
-
Mini fuse taps, these come in handy if you want to piggy back off existing HOT or switched AC power from the fuse box near the driver kick panel