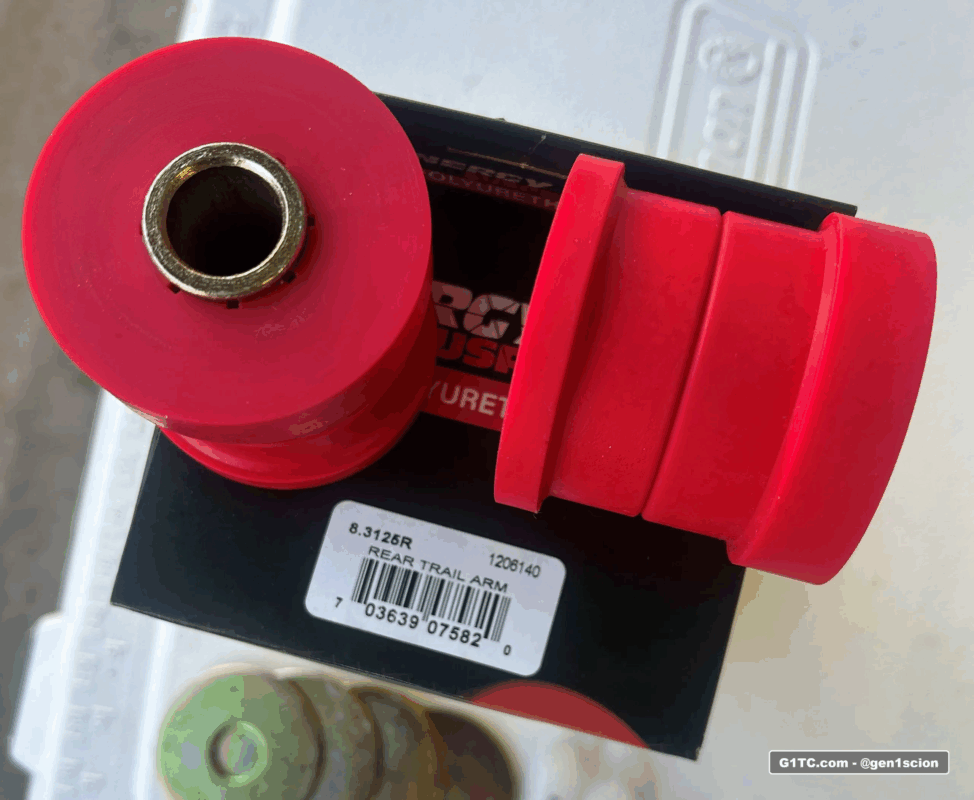
This article describes my installation process for the Energy Suspension 8.3125R polyurethane bushings for the rear trailing arms on a 2005-2010 Scion TC. My stock bushings were mostly in good shape. After install I discovered they did have some sag to them.
What you’ll need
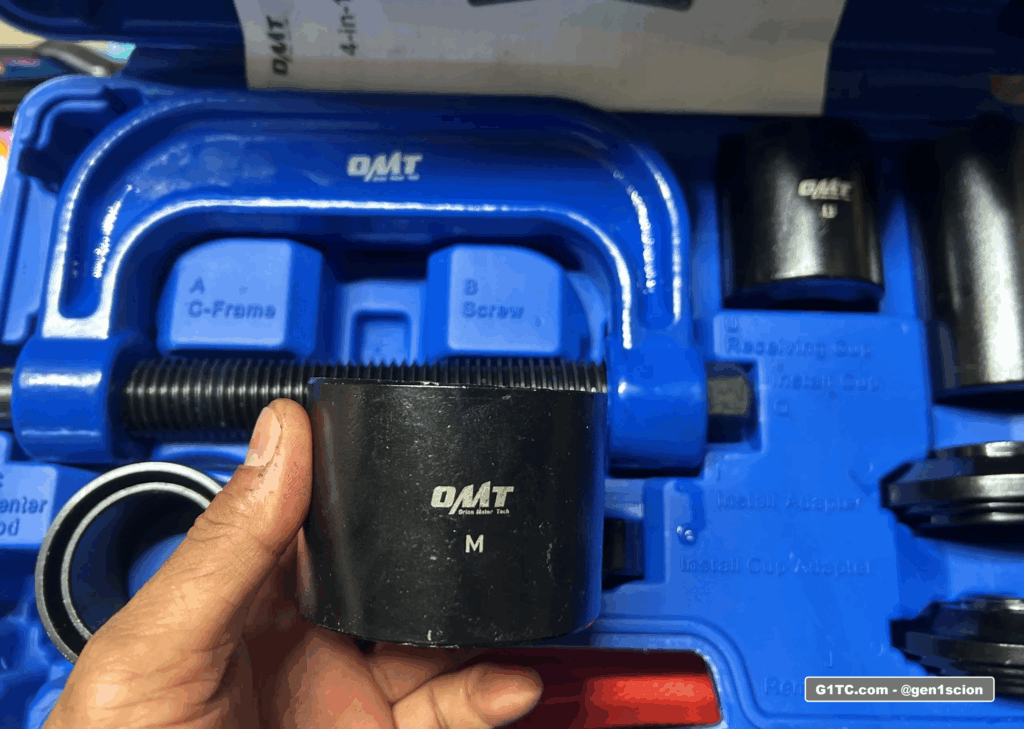
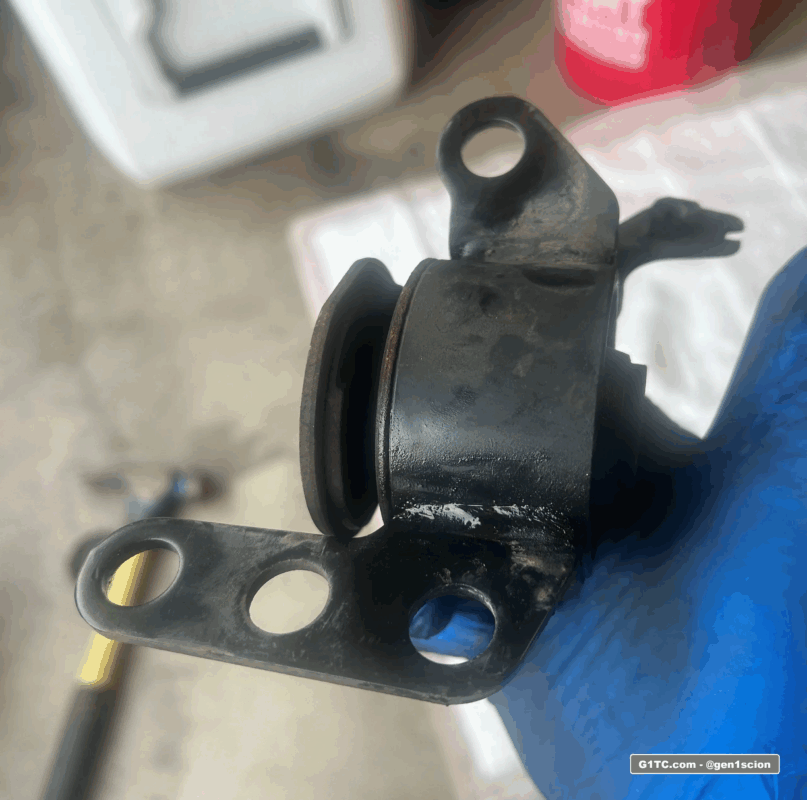
The rear trailing arm OEM bushing is a metal sleeve and bushing combo. You’ll need to press it out. I used a combination of heat from a propane Bernzomatic torch, the OMT ball joint kit, and an assorted disc kit (55mm is what worked for me).
Removing the old bushing sleeve
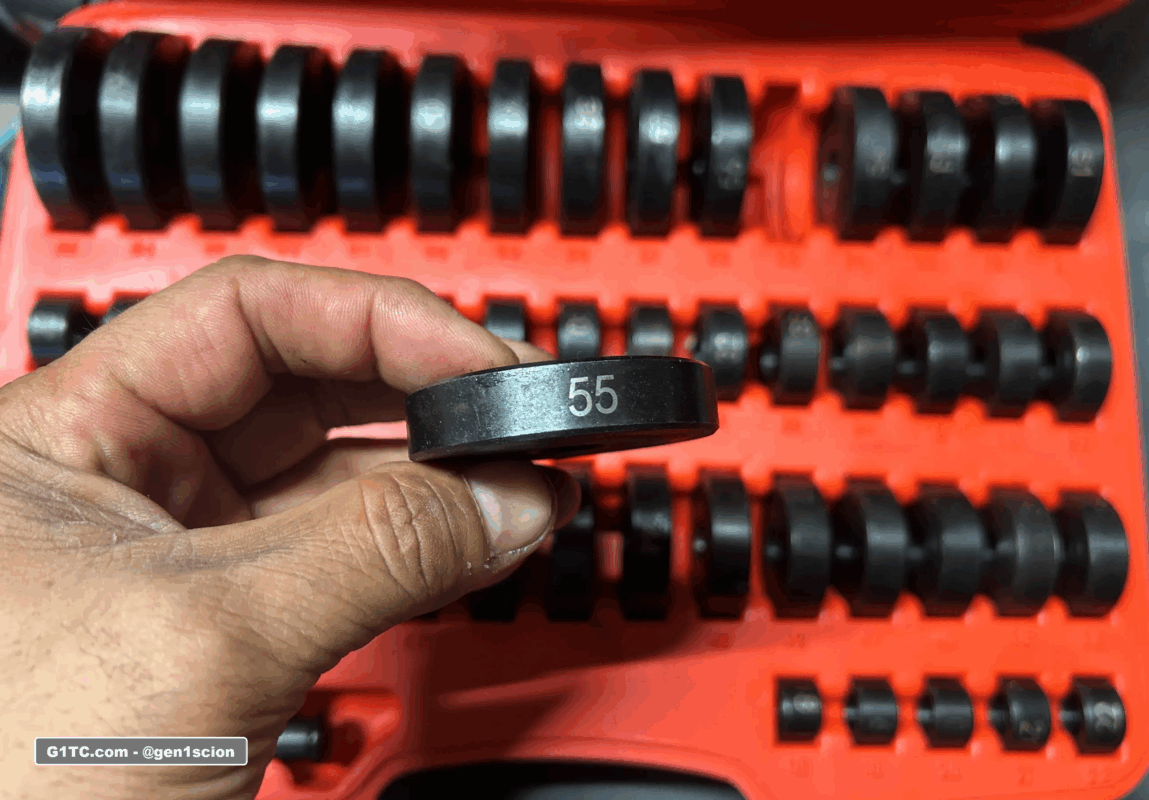
2. The 55mm disc from this 52-piece Bushing Driver Set Wheel Axle Bearing Race and Seal Installer kit (super handy with all the sizes it comes with)
3. 10mm, 14mm, 17mm, 19mm sockets, wrenches and impacts. Table vise.
Removal procedure
- Chock the front wheels
- Jacking the rear of your car up
- Put jack stands on the rear pinch welds
- Take off the back wheels
- Remove the 19mm bolt from the bottom of the strut
- Remove the brace, 14mm bolts
- Remove the brackets to the attached lines, 10mm
- Remove the center bolt of the carrier, 17mm
- Remove the three 14mm bolts that hold the carrier to the frame
- Wiggle the bushing assembly and release tension from the trailing arm to remove it.
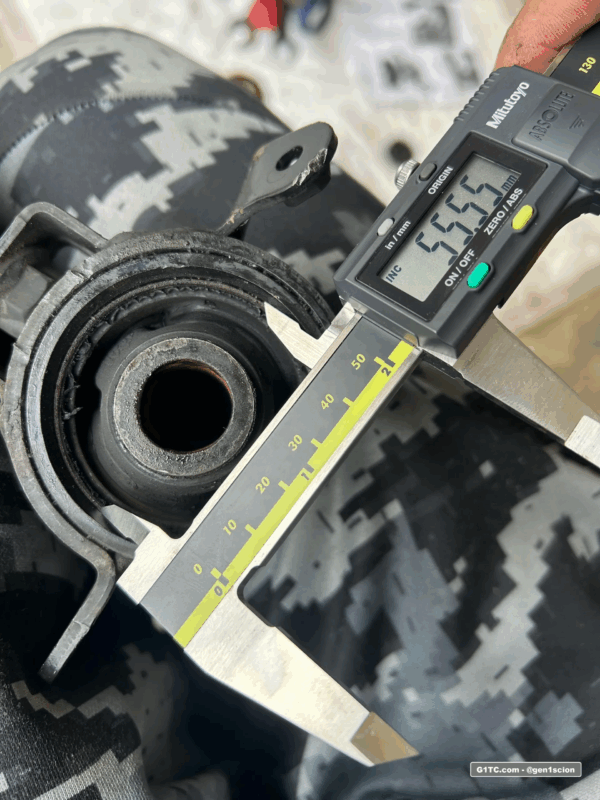
I measured the ID of the carrier assembly, which is the OD of the inner sleeve (that holds the bushing) at 55.55mm. I use Mititoyo digital calipers, but any thing accurate will do.
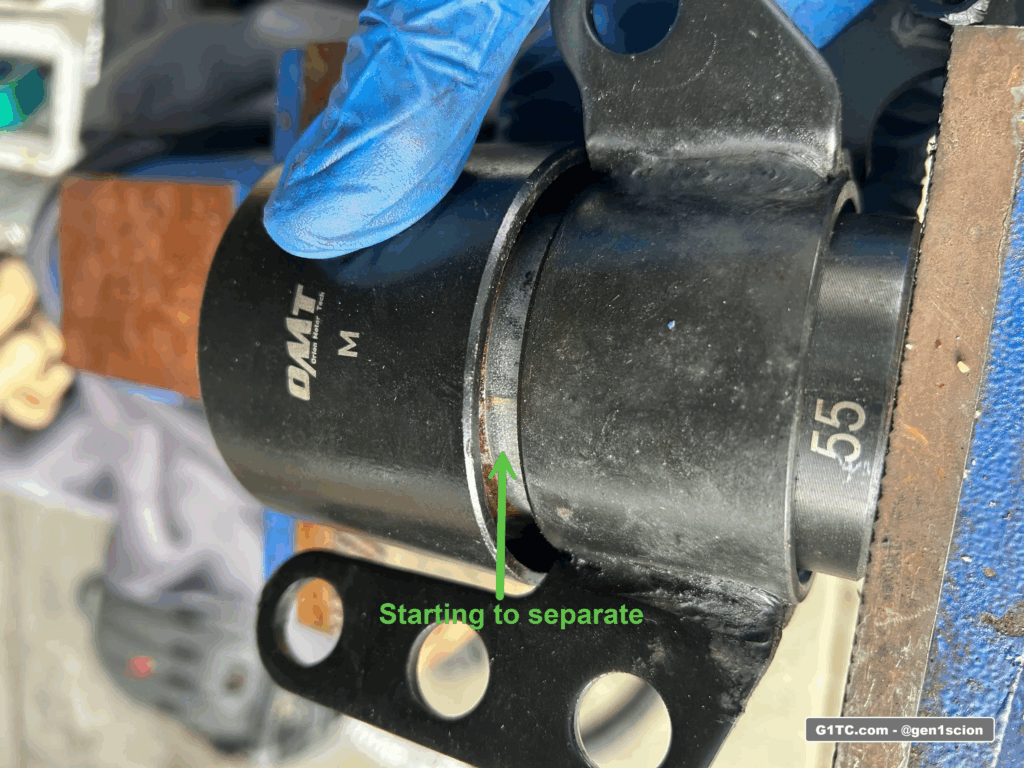
I rigged together parts from both kits to get this out. Using the 55mm disc, I pressed out the bushing sleeve (initially) at the table vise. I had to stack a few disks to push it out the rest of the way but it worked like a charm
Here’s what it looks like removed.
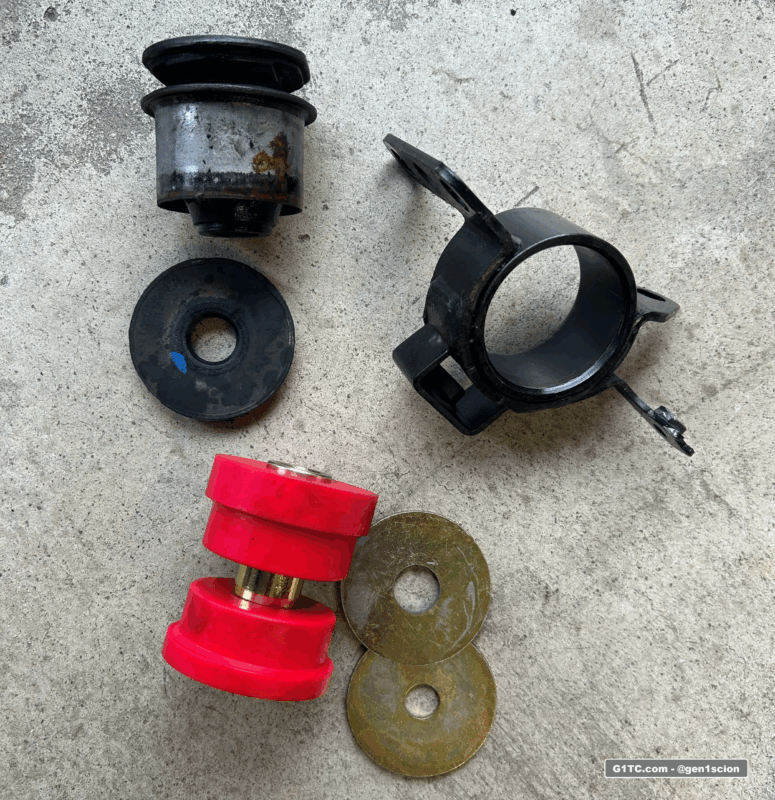
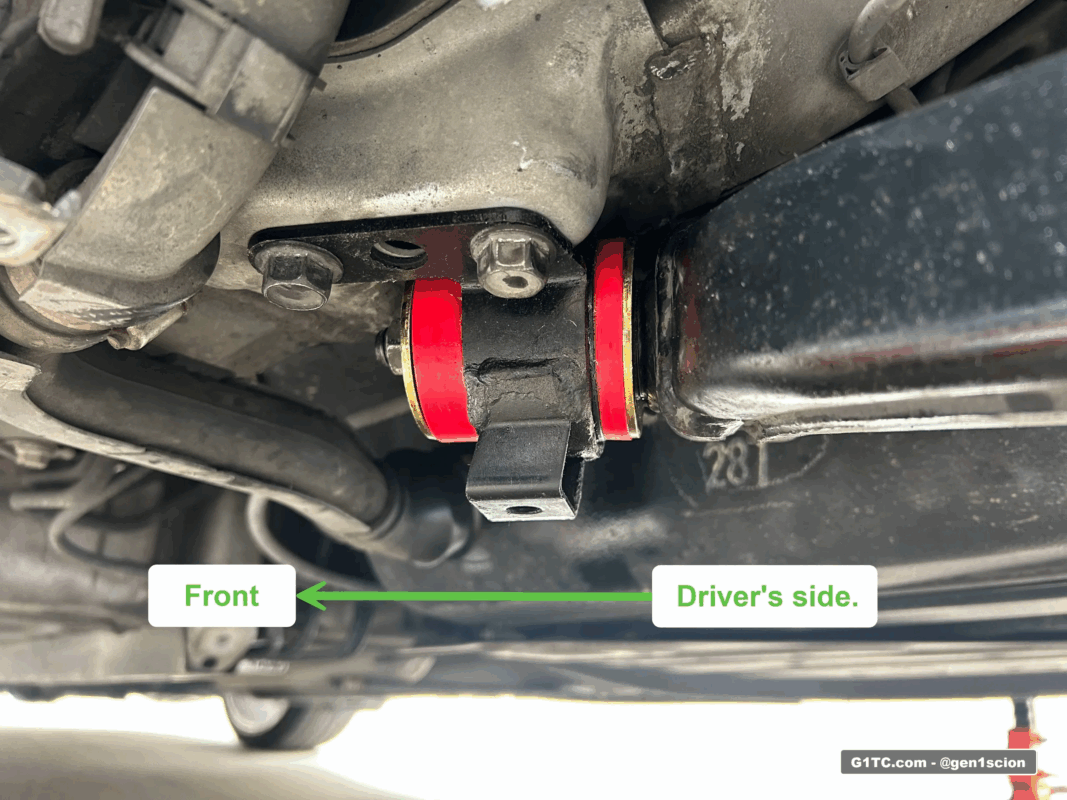
Install your new bushings using the provided lubricant from Energy Suspension. Make sure to orient the thicker bushing marked 2705 toward the front.
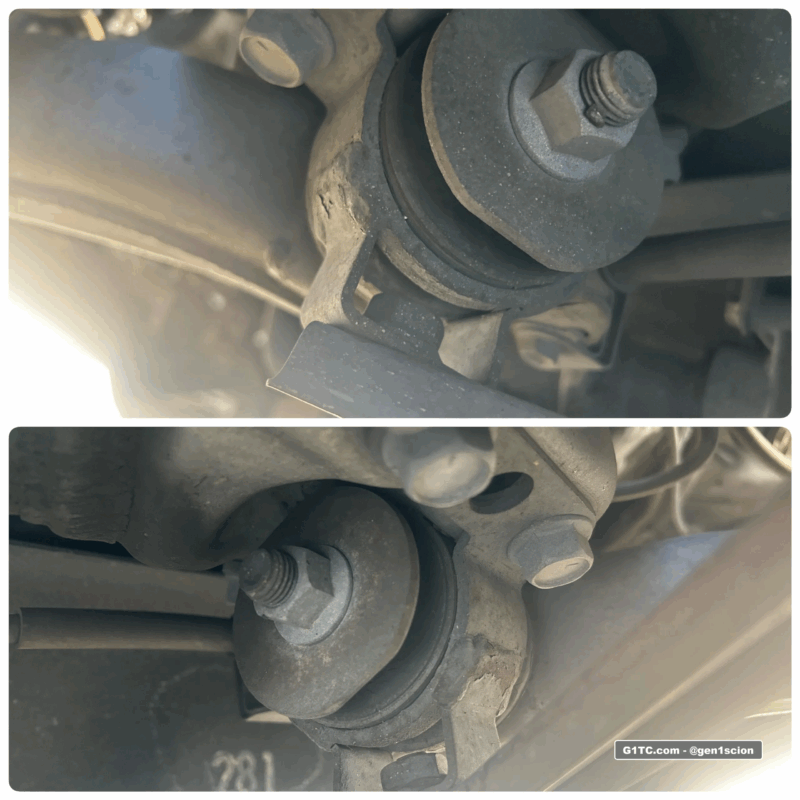
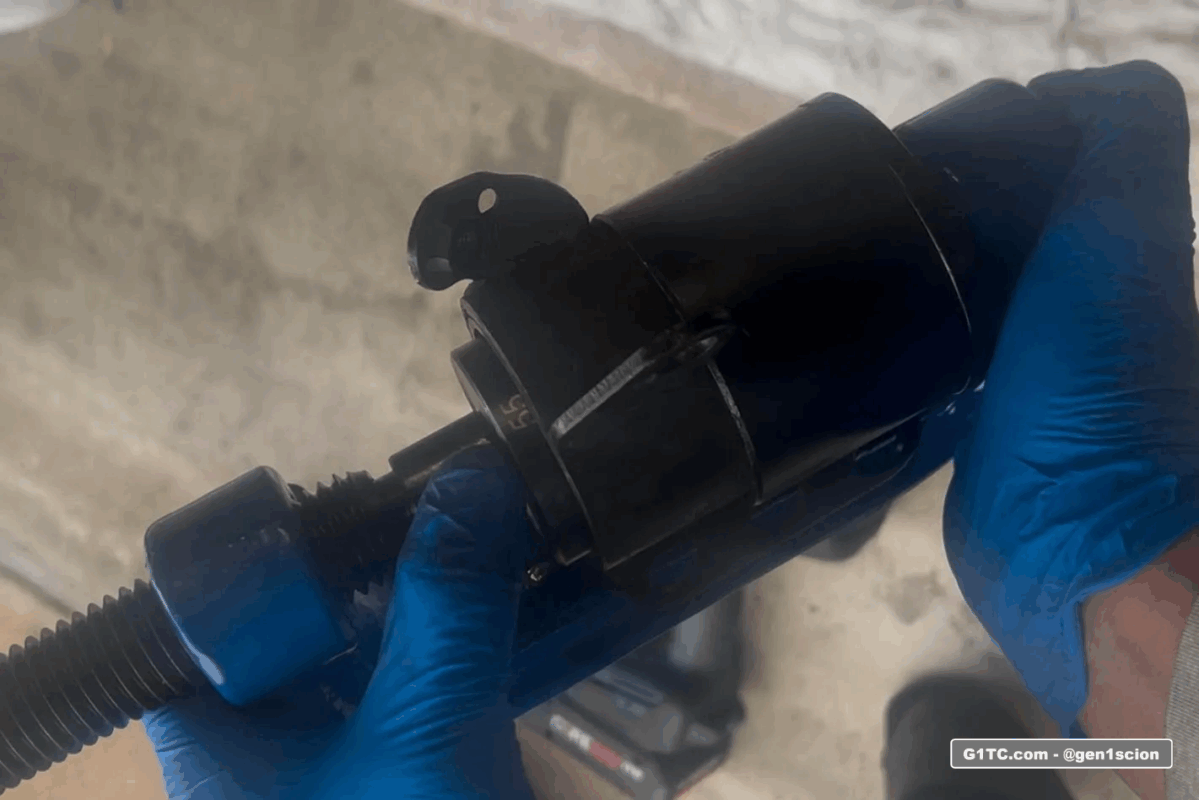
Repeat for the passenger side. My passenger side was stubborn. I ended up heating up the carrier housing with a Bernzomatic and using my impact. Here’s the setup:
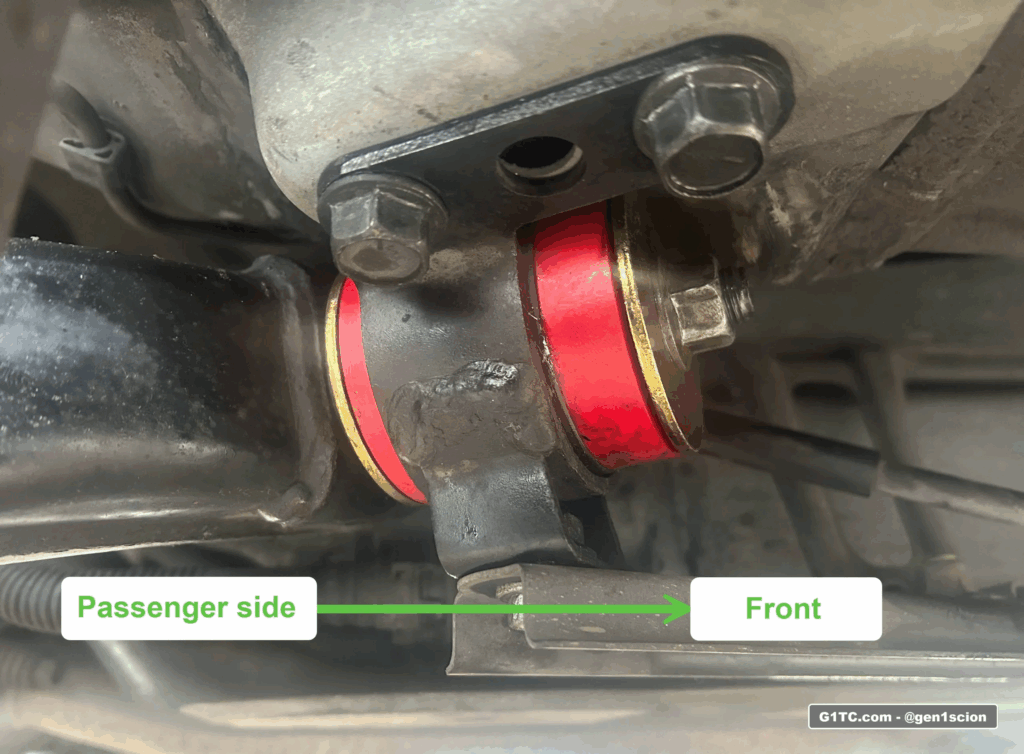
Passenger side trailing arm bushing assembly installed.
Impressions
Right off the bat, I noticed less sag in the rear. As a result I’d say it went up about .5″. I’ll adjust that later after breaking this in a bit more. But the ride is now smooth on flat surfaces, but more firm on rougher roads, that was expected. Car holds well going fast on tight turns, but I think I have some room for improvement. I knew this would stiffen up the rear so I’m planning to soften the dampening a few clicks on the BC Racing BR Coilovers as well as adjust the ride height and potentially take the Hotchkis adjustable rear sway bars down a notch. Additionally, I installed Swift Springs in the front and rear.