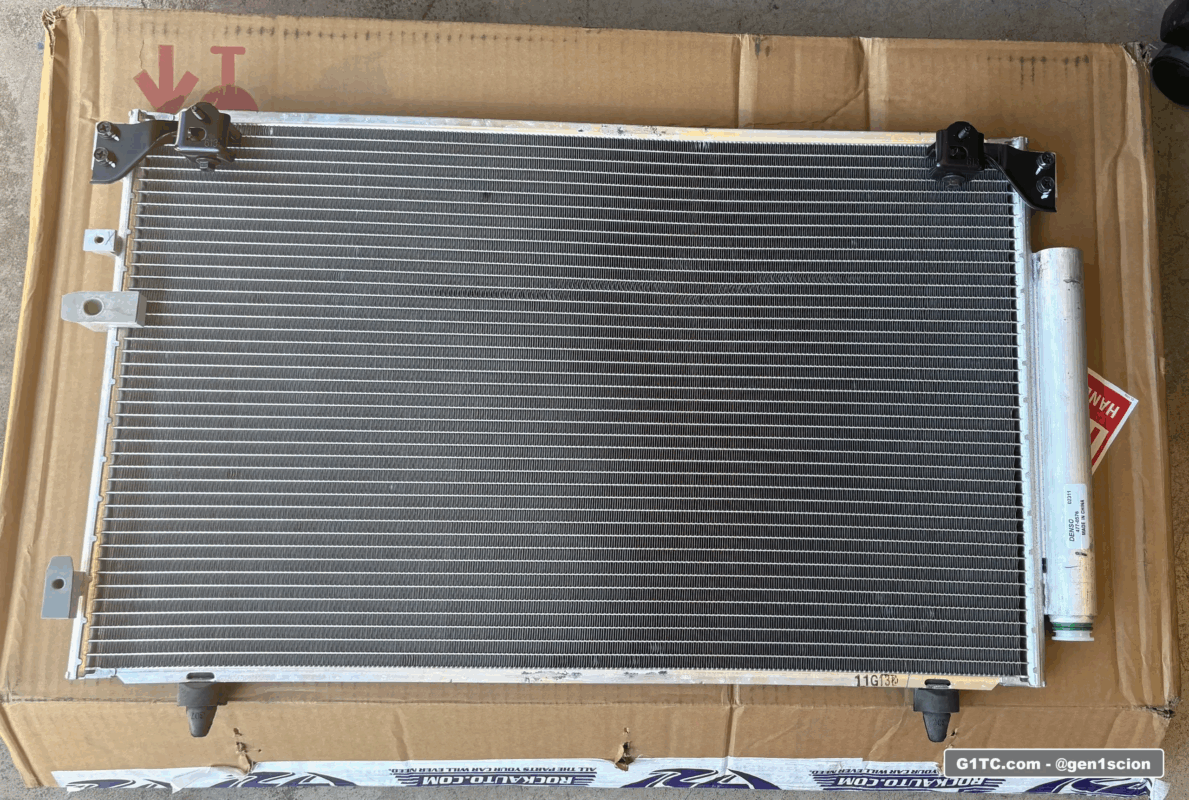
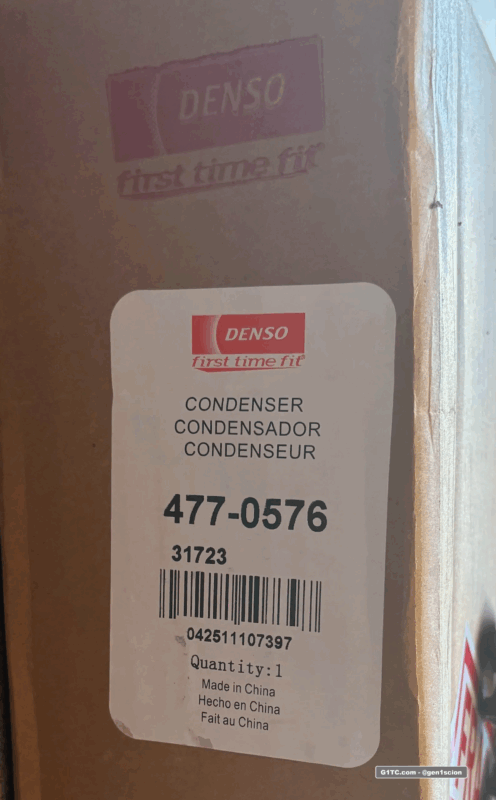
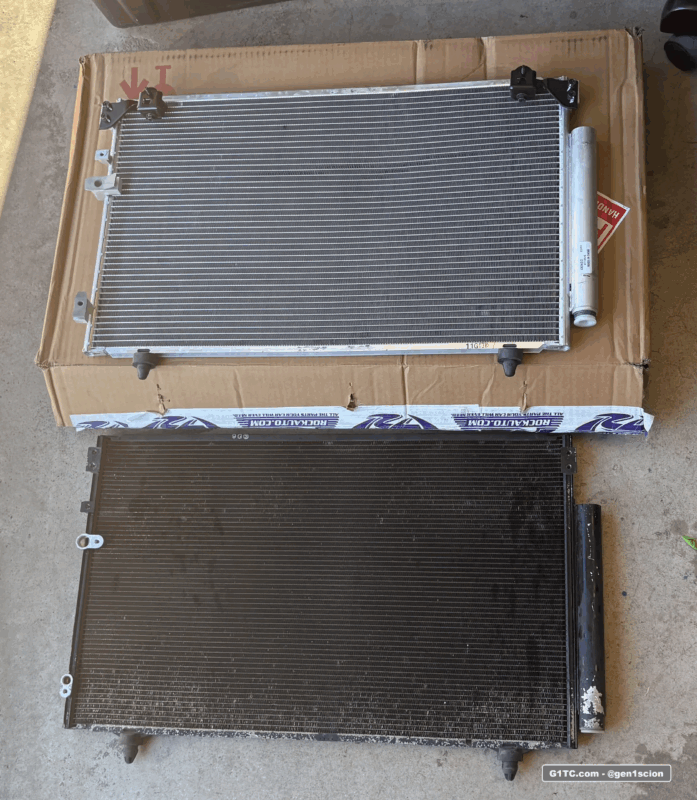
In this article I’ll replace my original AC condenser (244k miles old) with a new Denso AC condenser (4770576) as part of my AC system refresh.
Click here for the article on how I replaced my OEM 10S15C Denso AC compressor with a Four Seasons 98365 AC compressor
Tools Used
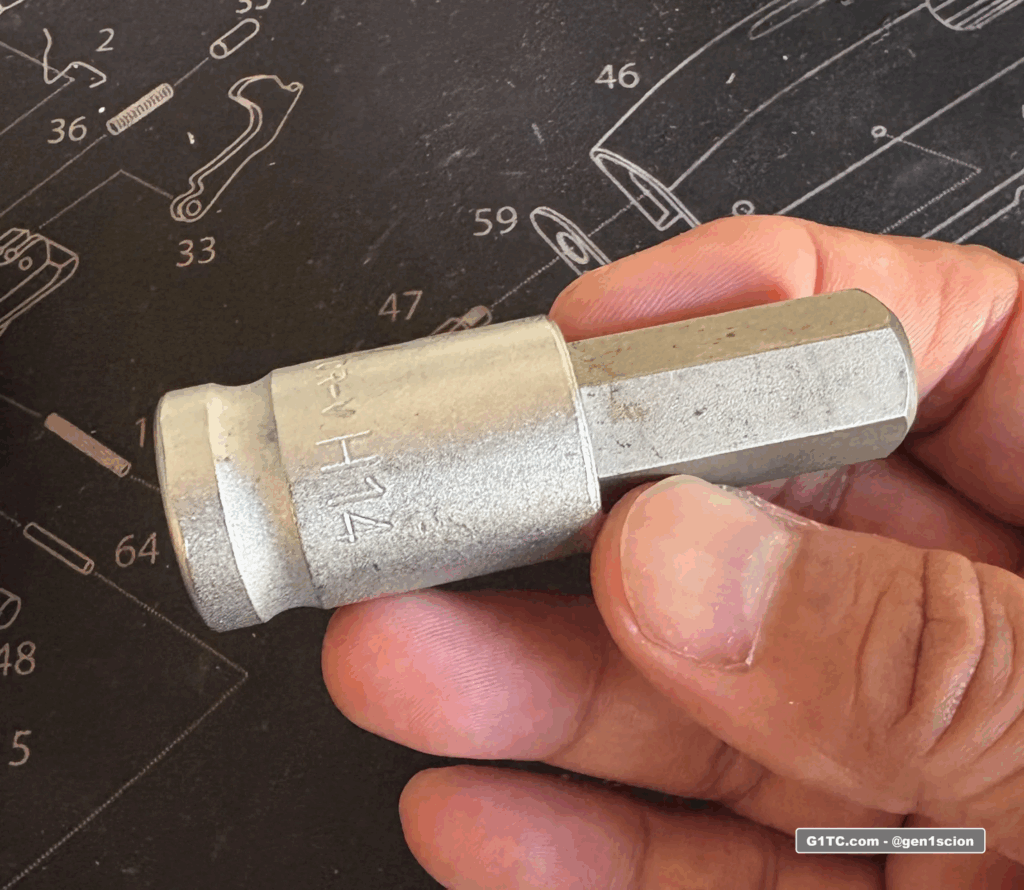
– 10mm wrenchs and sockets
– The new Denso AC condenser (4770576) includes a drier, however if you need a new drier element kit the part number is Denso 4781500.
Installation Tips
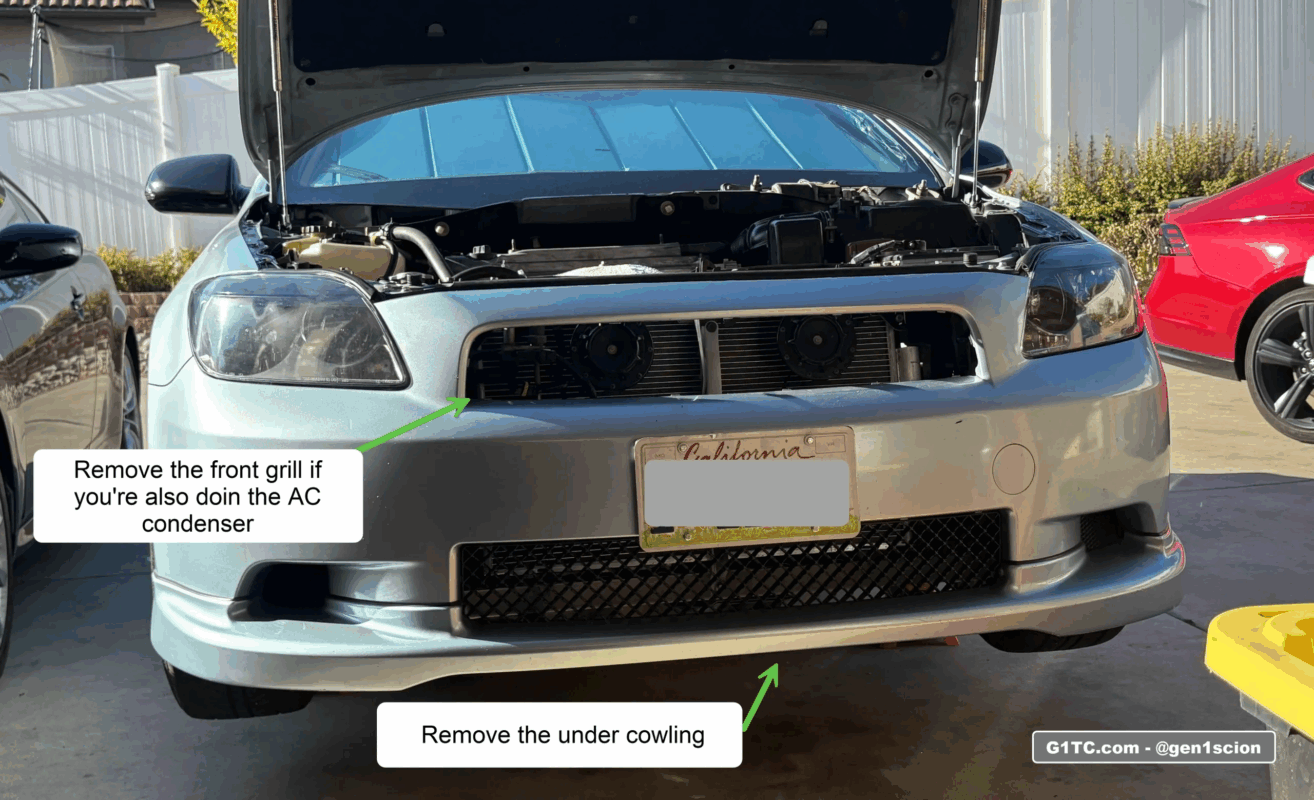
1. Jack your car up and remove all the underbelly cowling. Remove the front grill.
2. Depressurize the system legally. Yes, it is illegal to intentionally depressurize and vent an air conditioner into the atmosphere. Under the Clean Air Act, it is prohibited to release refrigerants into the open air. Penalties can include fines and even jail time.
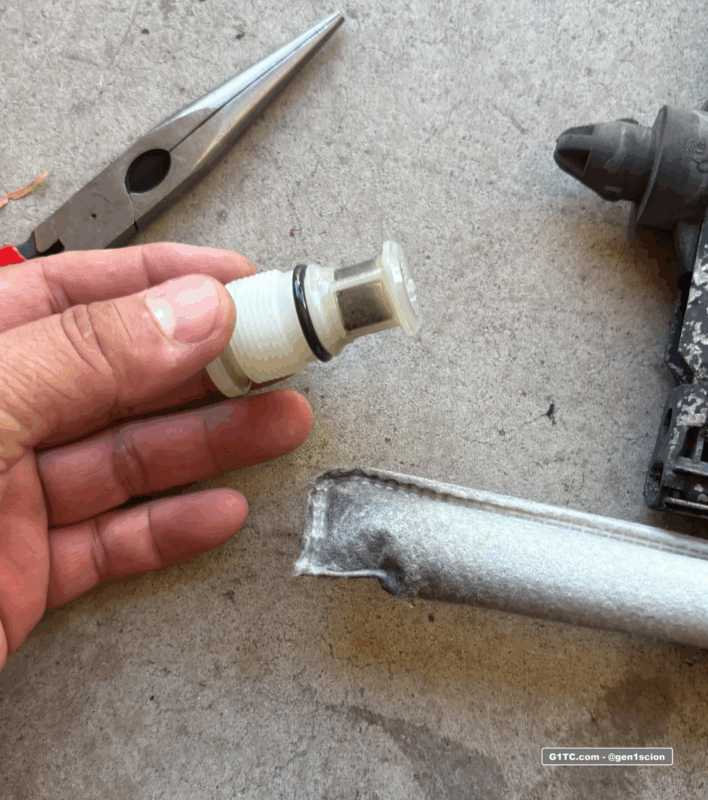
3. Inspect the new condenser before installation. Inspect the integrity of the fins. Also remove the desiccant drier housing plug and ENSURE there is a new desiccant drier inside.
5. After verifying the condition of the desiccant drier, reinstall and tighten the plug. Do not over tighten. If you need to order a desiccant drier separately, you’re looking for Denso 4781500.
6. Remove the radiator brackets and push the radiator back to make room.
7. To make things easy, uninstall the brackets (10mm bolts, 2 on each bracket) so the old unit slides out from the top with a thinner profile. You will reinstall the brackets later.
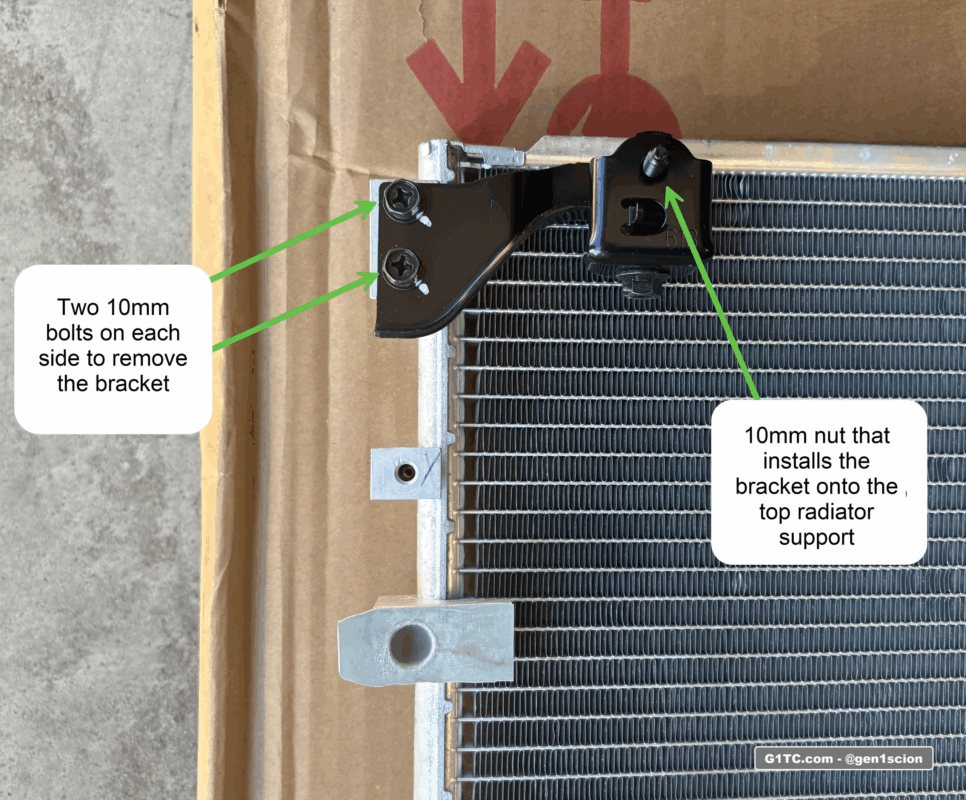
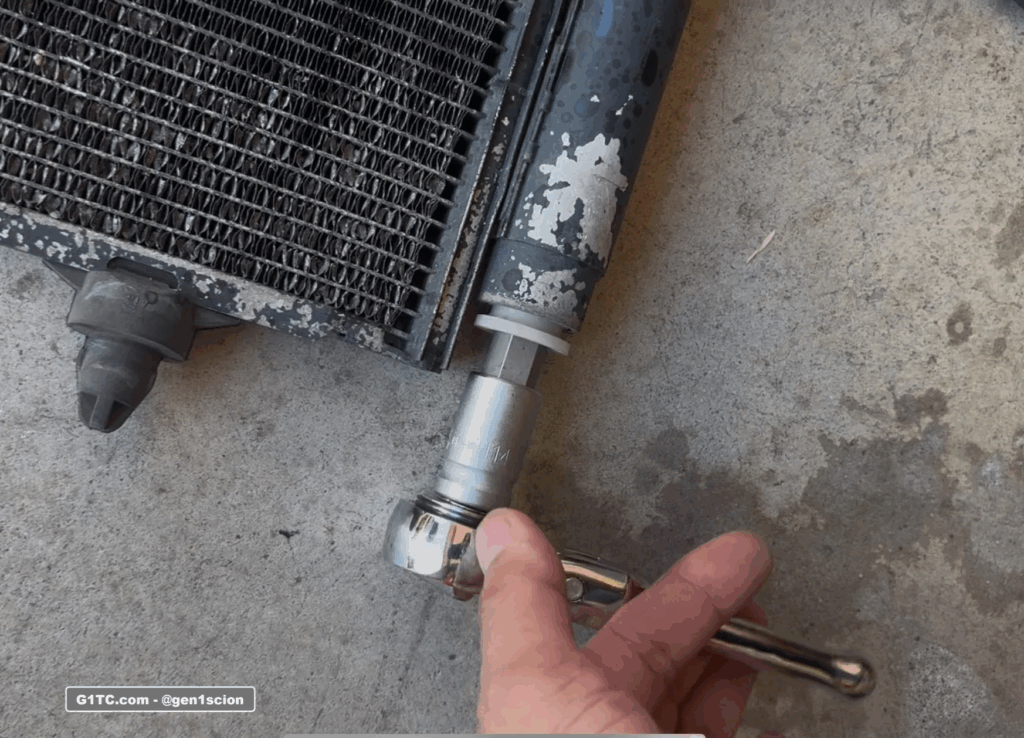
8. Install the new AC Condenser, it will slide in from the top, reinstall the condenser brackets (10mm). Reinstall the radiator brackets.
9. Stage everything hand tight before the final tighten.
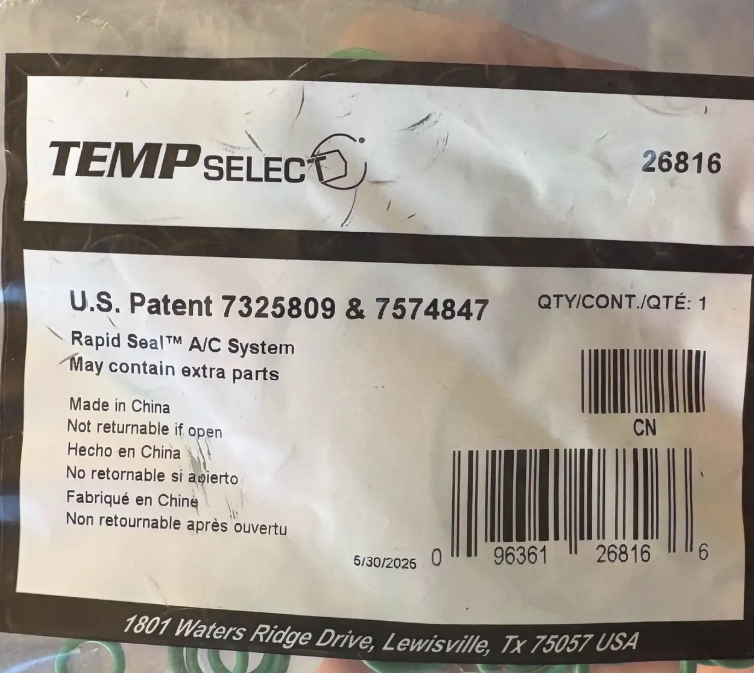
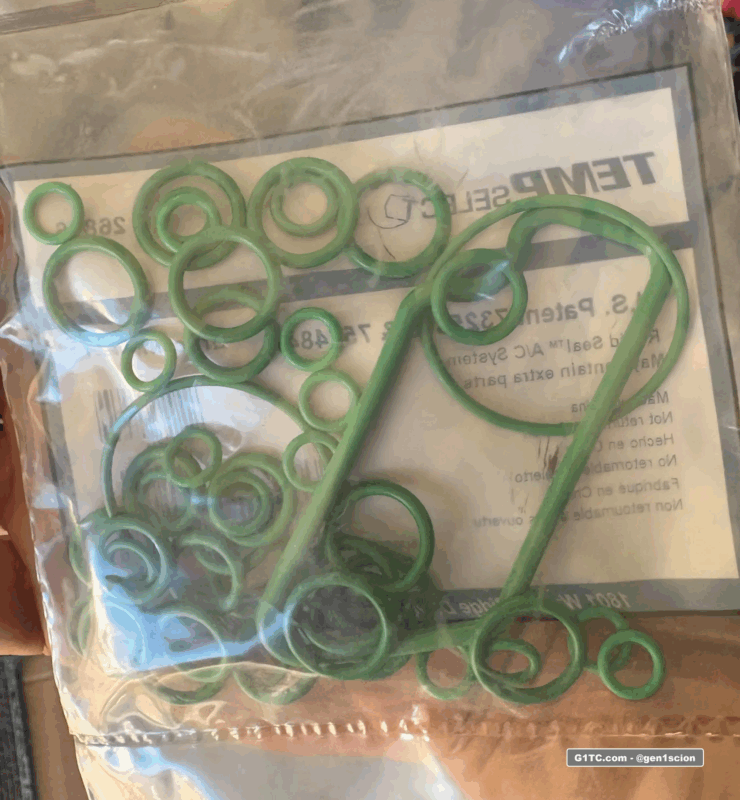
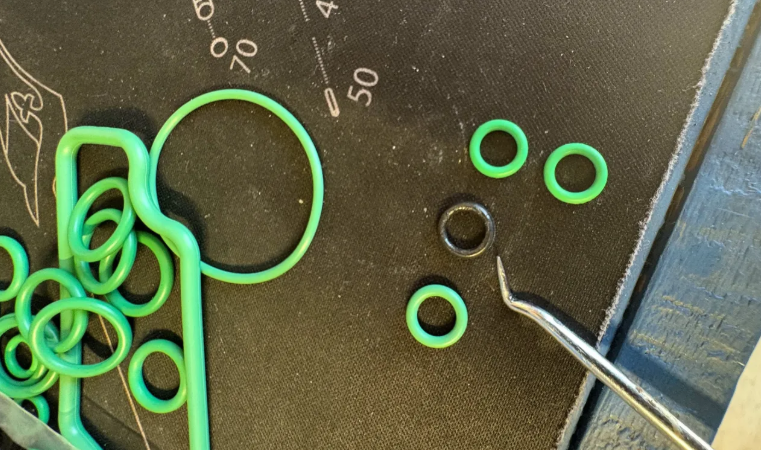
10. Replace the seals to the AC Condenser low and high pressure hoses. I had to use 2 seals from the Four Seasons 26816 A/C System O-Ring Kit. You’ll end up with a bunch of extra seals.
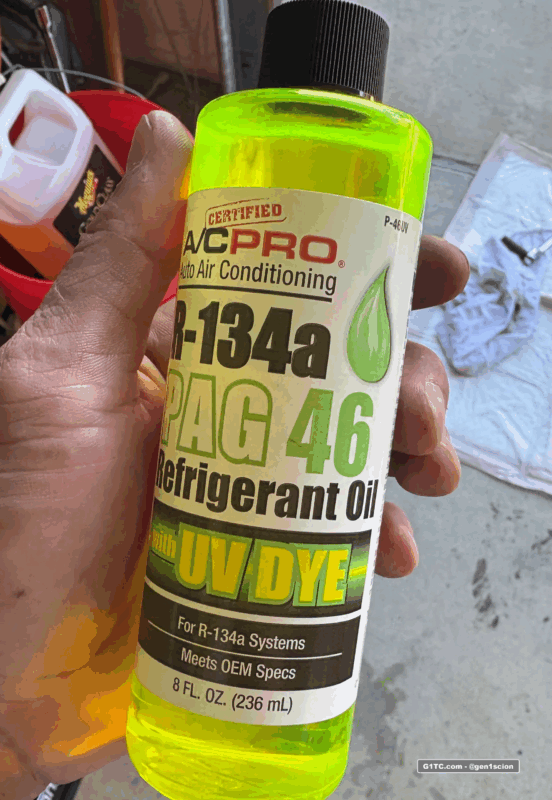
11. Add PAG46 oil to the low pressure port of the condensor as prescribed (I added 2 oz in my case).
12. Install the low and high pressure hoses on the condensor and do your final tighten of the entire unit (10mm). DO NOT OVER TIGHTEN! The condenser inlets are soft aluminum and will strip if too tight.
13. Double check and tighten all the bolts on the AC Condenser and radiator brackets.
14. Take your car to a shop for a full flush and recharge of the system, inspect for leaks using a UV light. My shop charged me $125.