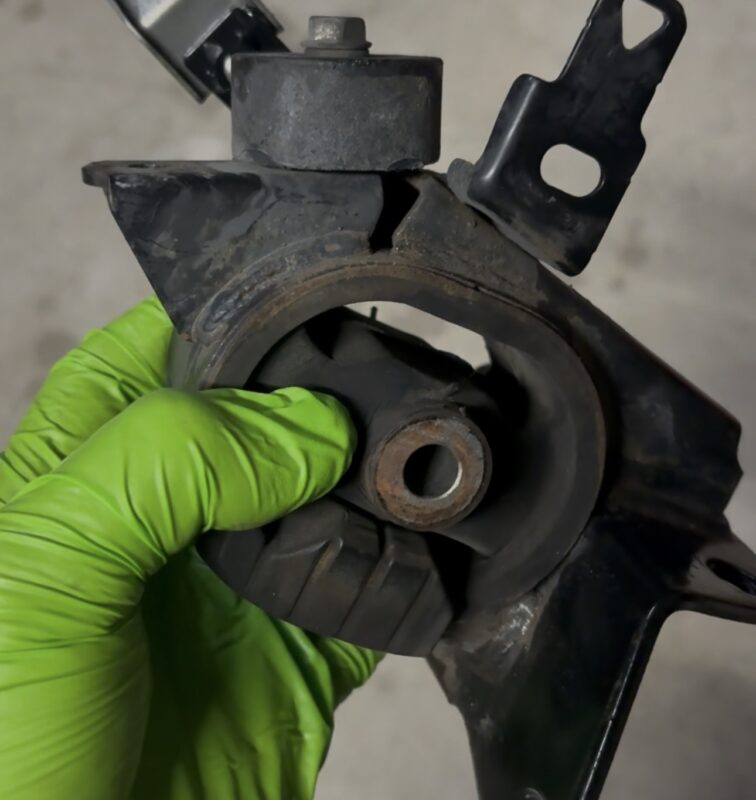
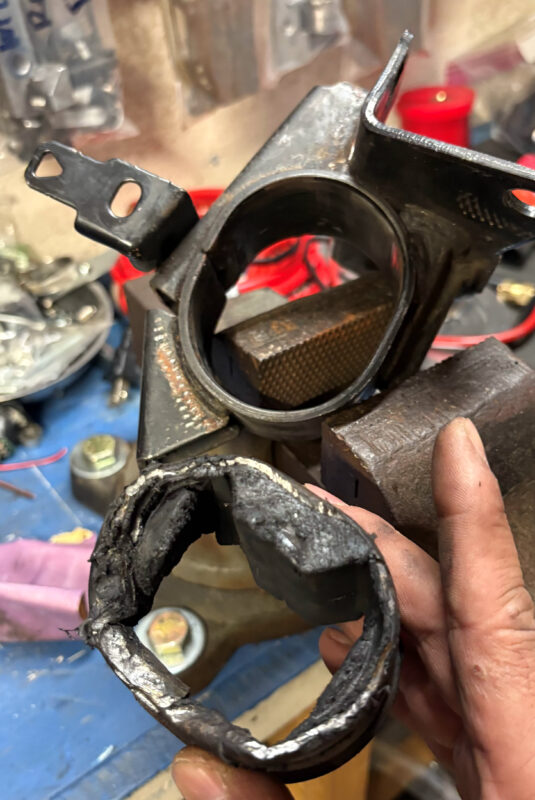
I finally replaced my transmission mount bushing after 246k miles. It had a big crack at the inner sleeve and then also 2 hairline cracks where it bonds to the outersleeve.
Remove the old mount
- Download the Energy Suspension installation guide
- Removal and re-install is pop and swap
- Remove your airbox
- Remove your battery if you want even more room to work with
- Remove the connecting hardware 10mm bolts
- Put a jack and wood block under the transmission and jack it up a tad, 1/2″ or so, to relieve tension/weight on the mount.
- Unbolt the 14mm bolts: 2 top, 2 side
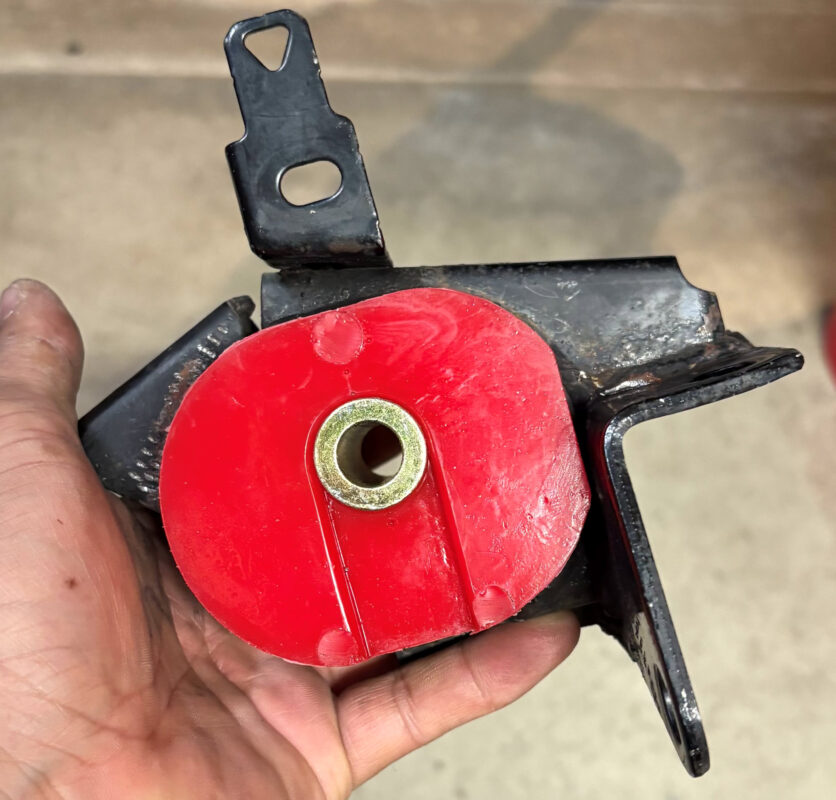
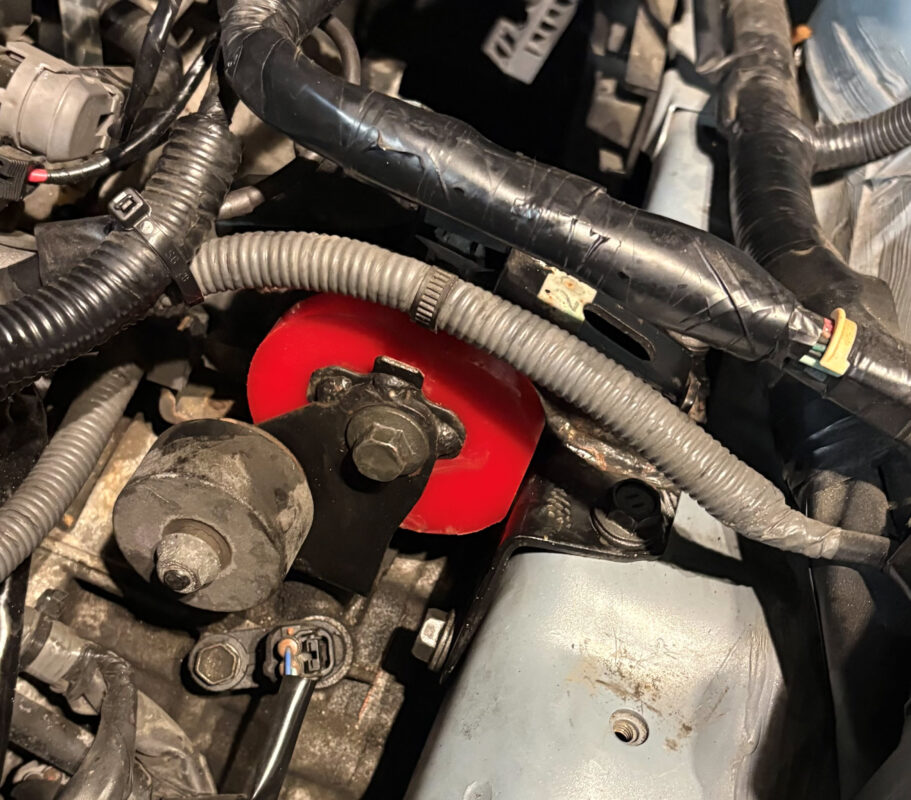
For this replacement I went with solid polyurethane bushings by Energy Suspension
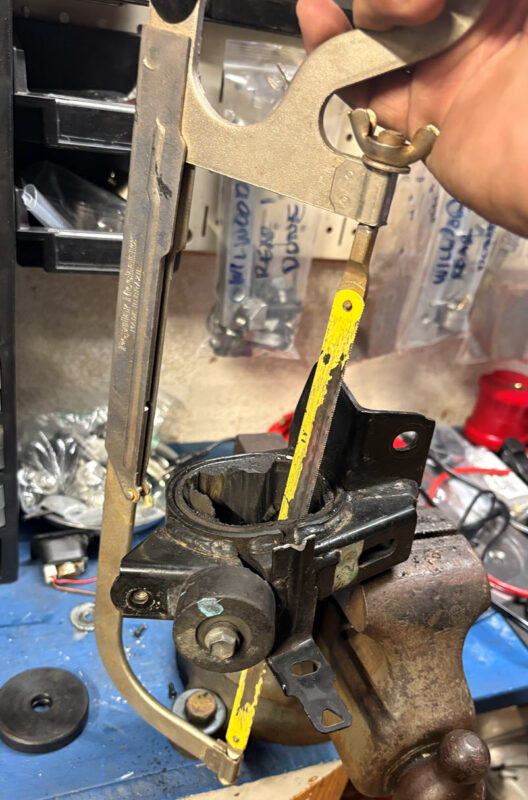
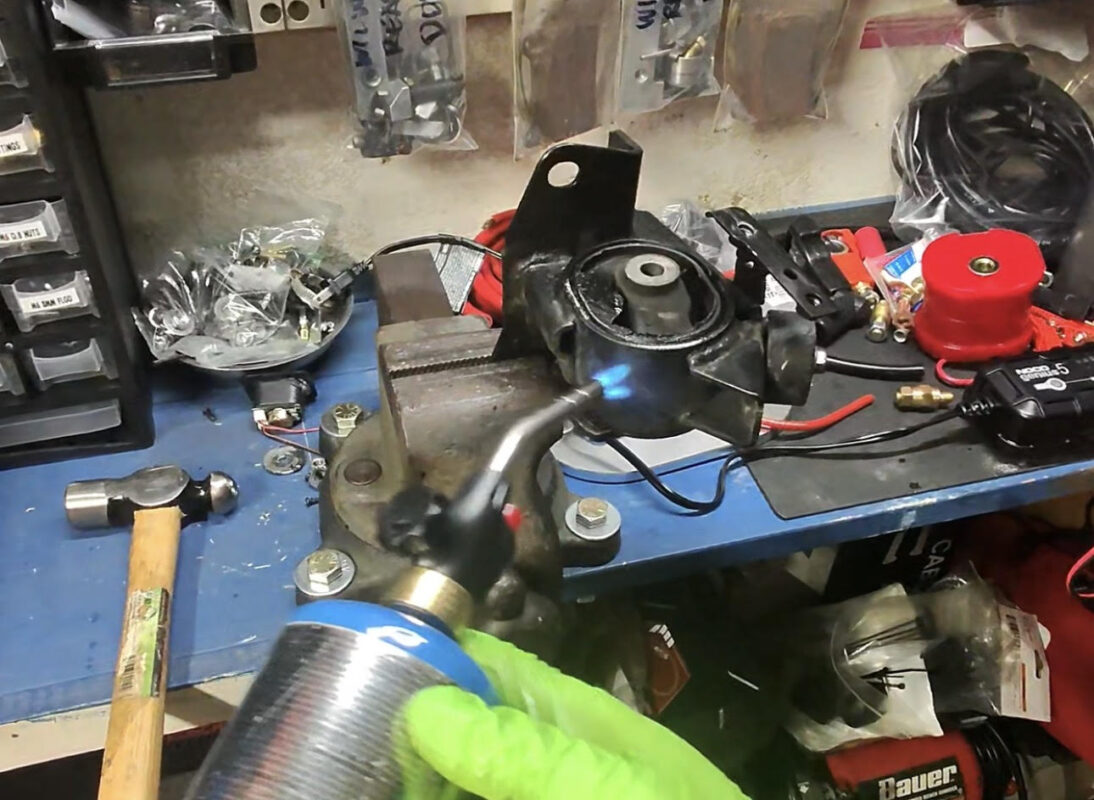
Use heat to remove the old sleeve
If you have a press, congratulations this will be much easier. I cut the outer sleeve down to weaken it. Then used a Bernzomatic propane torch to heat and hammer out the sleeve.
Installation
The installation was straight forward. I put some bushing lubricant on the 2 piece bushing. For the bolt bushing I used the recommended 2.355” Sleeve per the installation instructions.
![]()